Forum Replies Created
- AuthorPosts
-
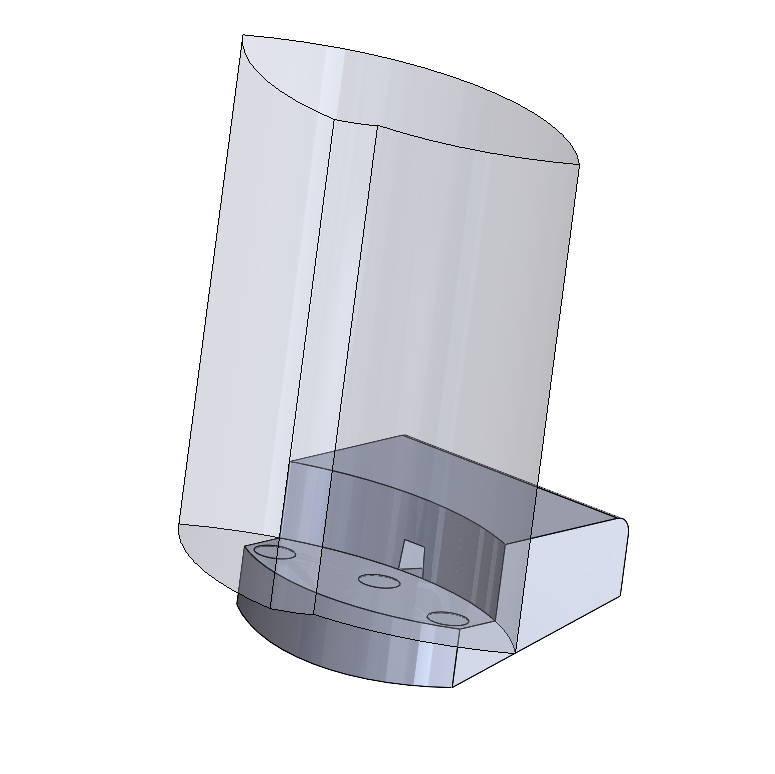
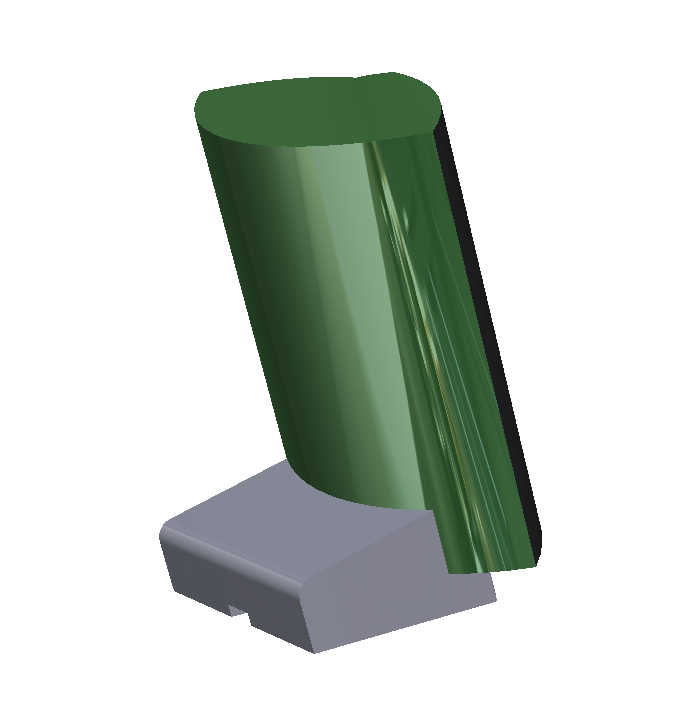
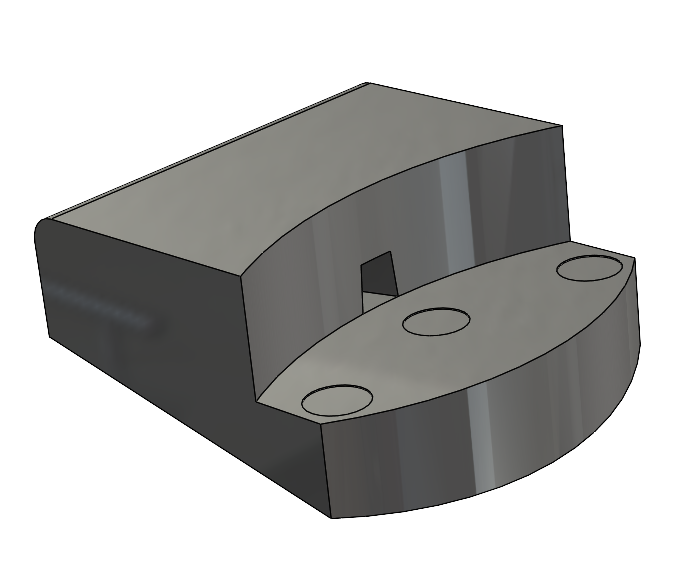
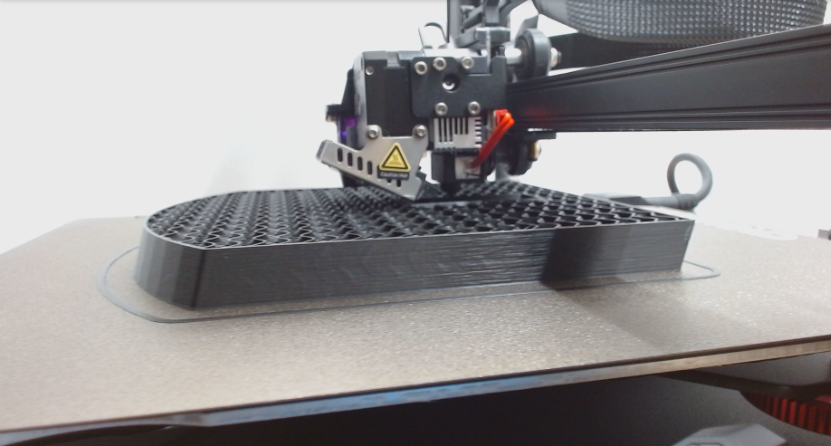
Working on the first iteration of a printable BeoLab 4000 upright / angled table stand. This is an eye-balled clone right now and will have the opportunity to fit-test tomorrow!
Hahaha! Before I signed in and saw the Futurama reference, you reminded me of the same thing!

Exciting times everyone – I get to update this thread!
The order of the posts isn’t quite right in the new forum format but I am here to declare the final chapter in this long journey.
Long ago in 2021 when I learned my employer would assign me to our Welsh office for one year, I immediately knew this would be the perfect opportunity to acquire my dream setup – a pair of BeoLab 5s. As you can read in earlier posts, this mission of acquiring (and enjoying!) BeoLab 5s was executed swiftly however my assignment has long since ended. So what ended up happening?
Well I returned to America full time. Here are the details.
Back in August(?) of last year I packed away this precious gear as I exited Wales and prepared to relocate back to the US permanently. In the weeks leading up to my departure I needed to build pallets and packing material capable of transporting all of this immense gear back to my current home state of California. Sounds simple but at the time, my only car was a Caterham Seven so transporting lumber and pallets from around town was not an option. I had to be resourceful and modify pallets available at my office place. Luckily this was achieved in the end but they all required great additions in able to securely transport the BeoVision 7-55 and its floor stand. Luckily I still had the original packing for the BeoLab 5s so that wasn’t so hard, but man was this a ton of work. Several long evenings after work and a few weekends were needed to get absolutely everything done but I did it.
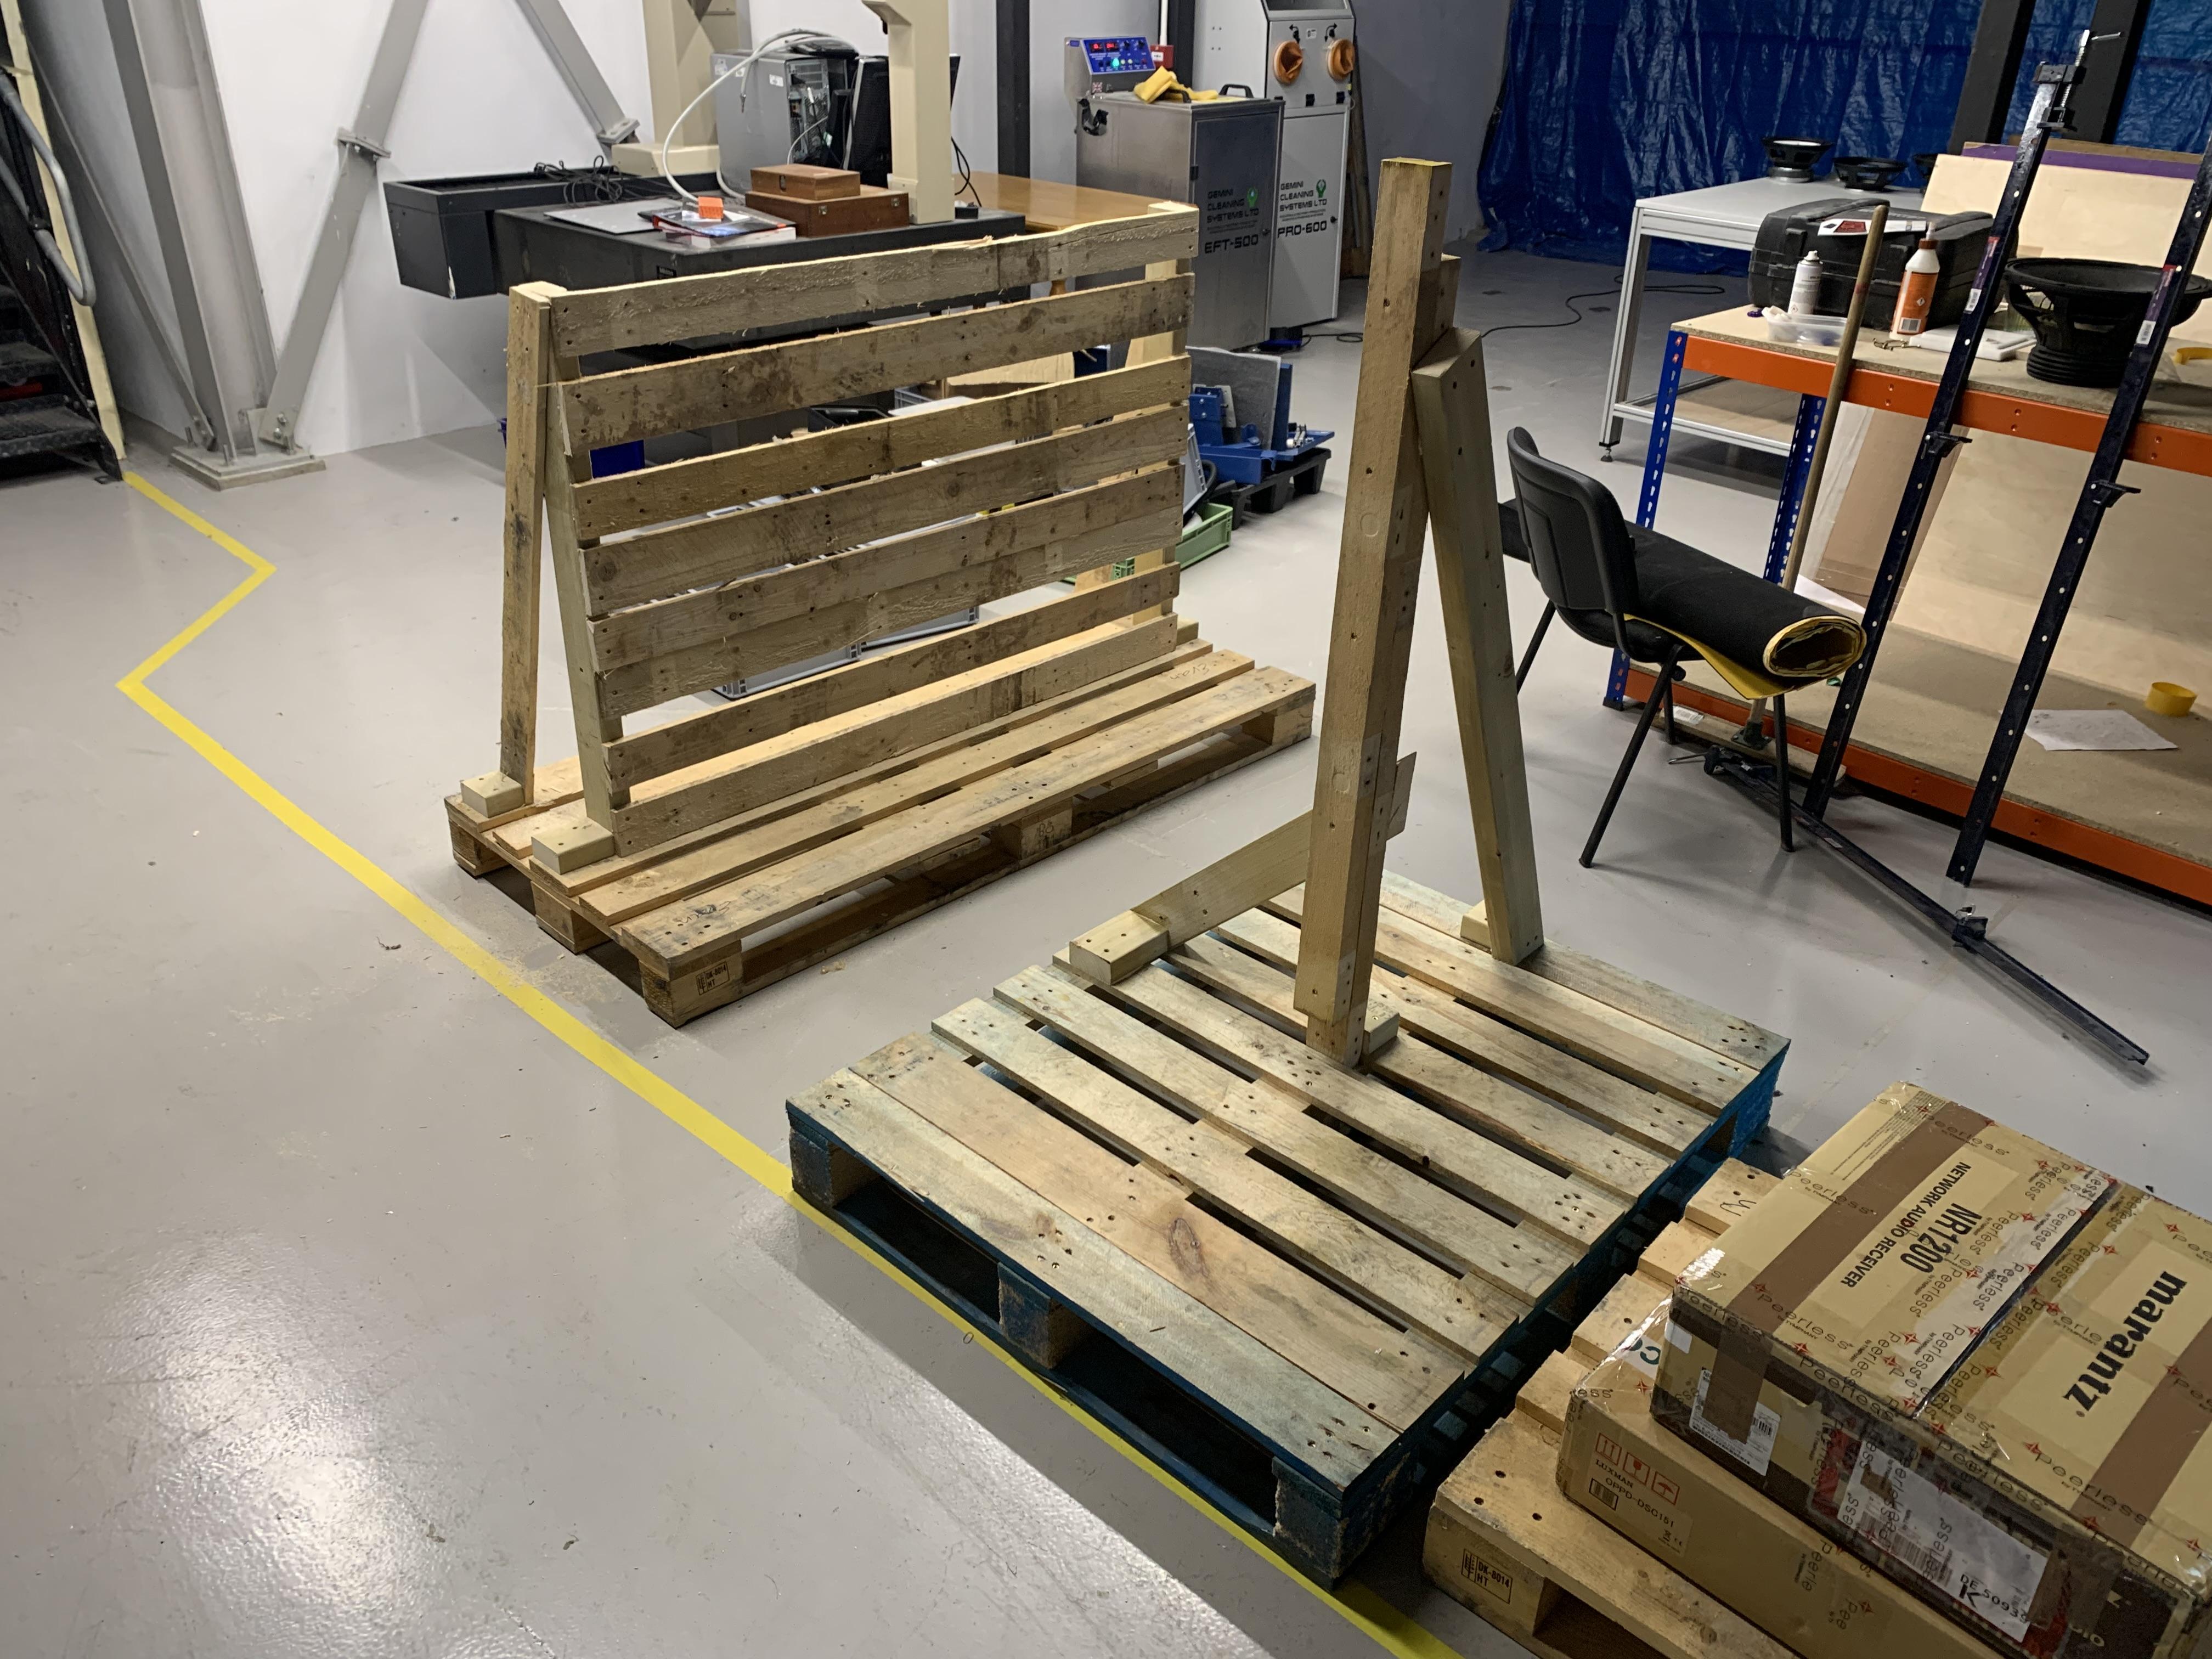
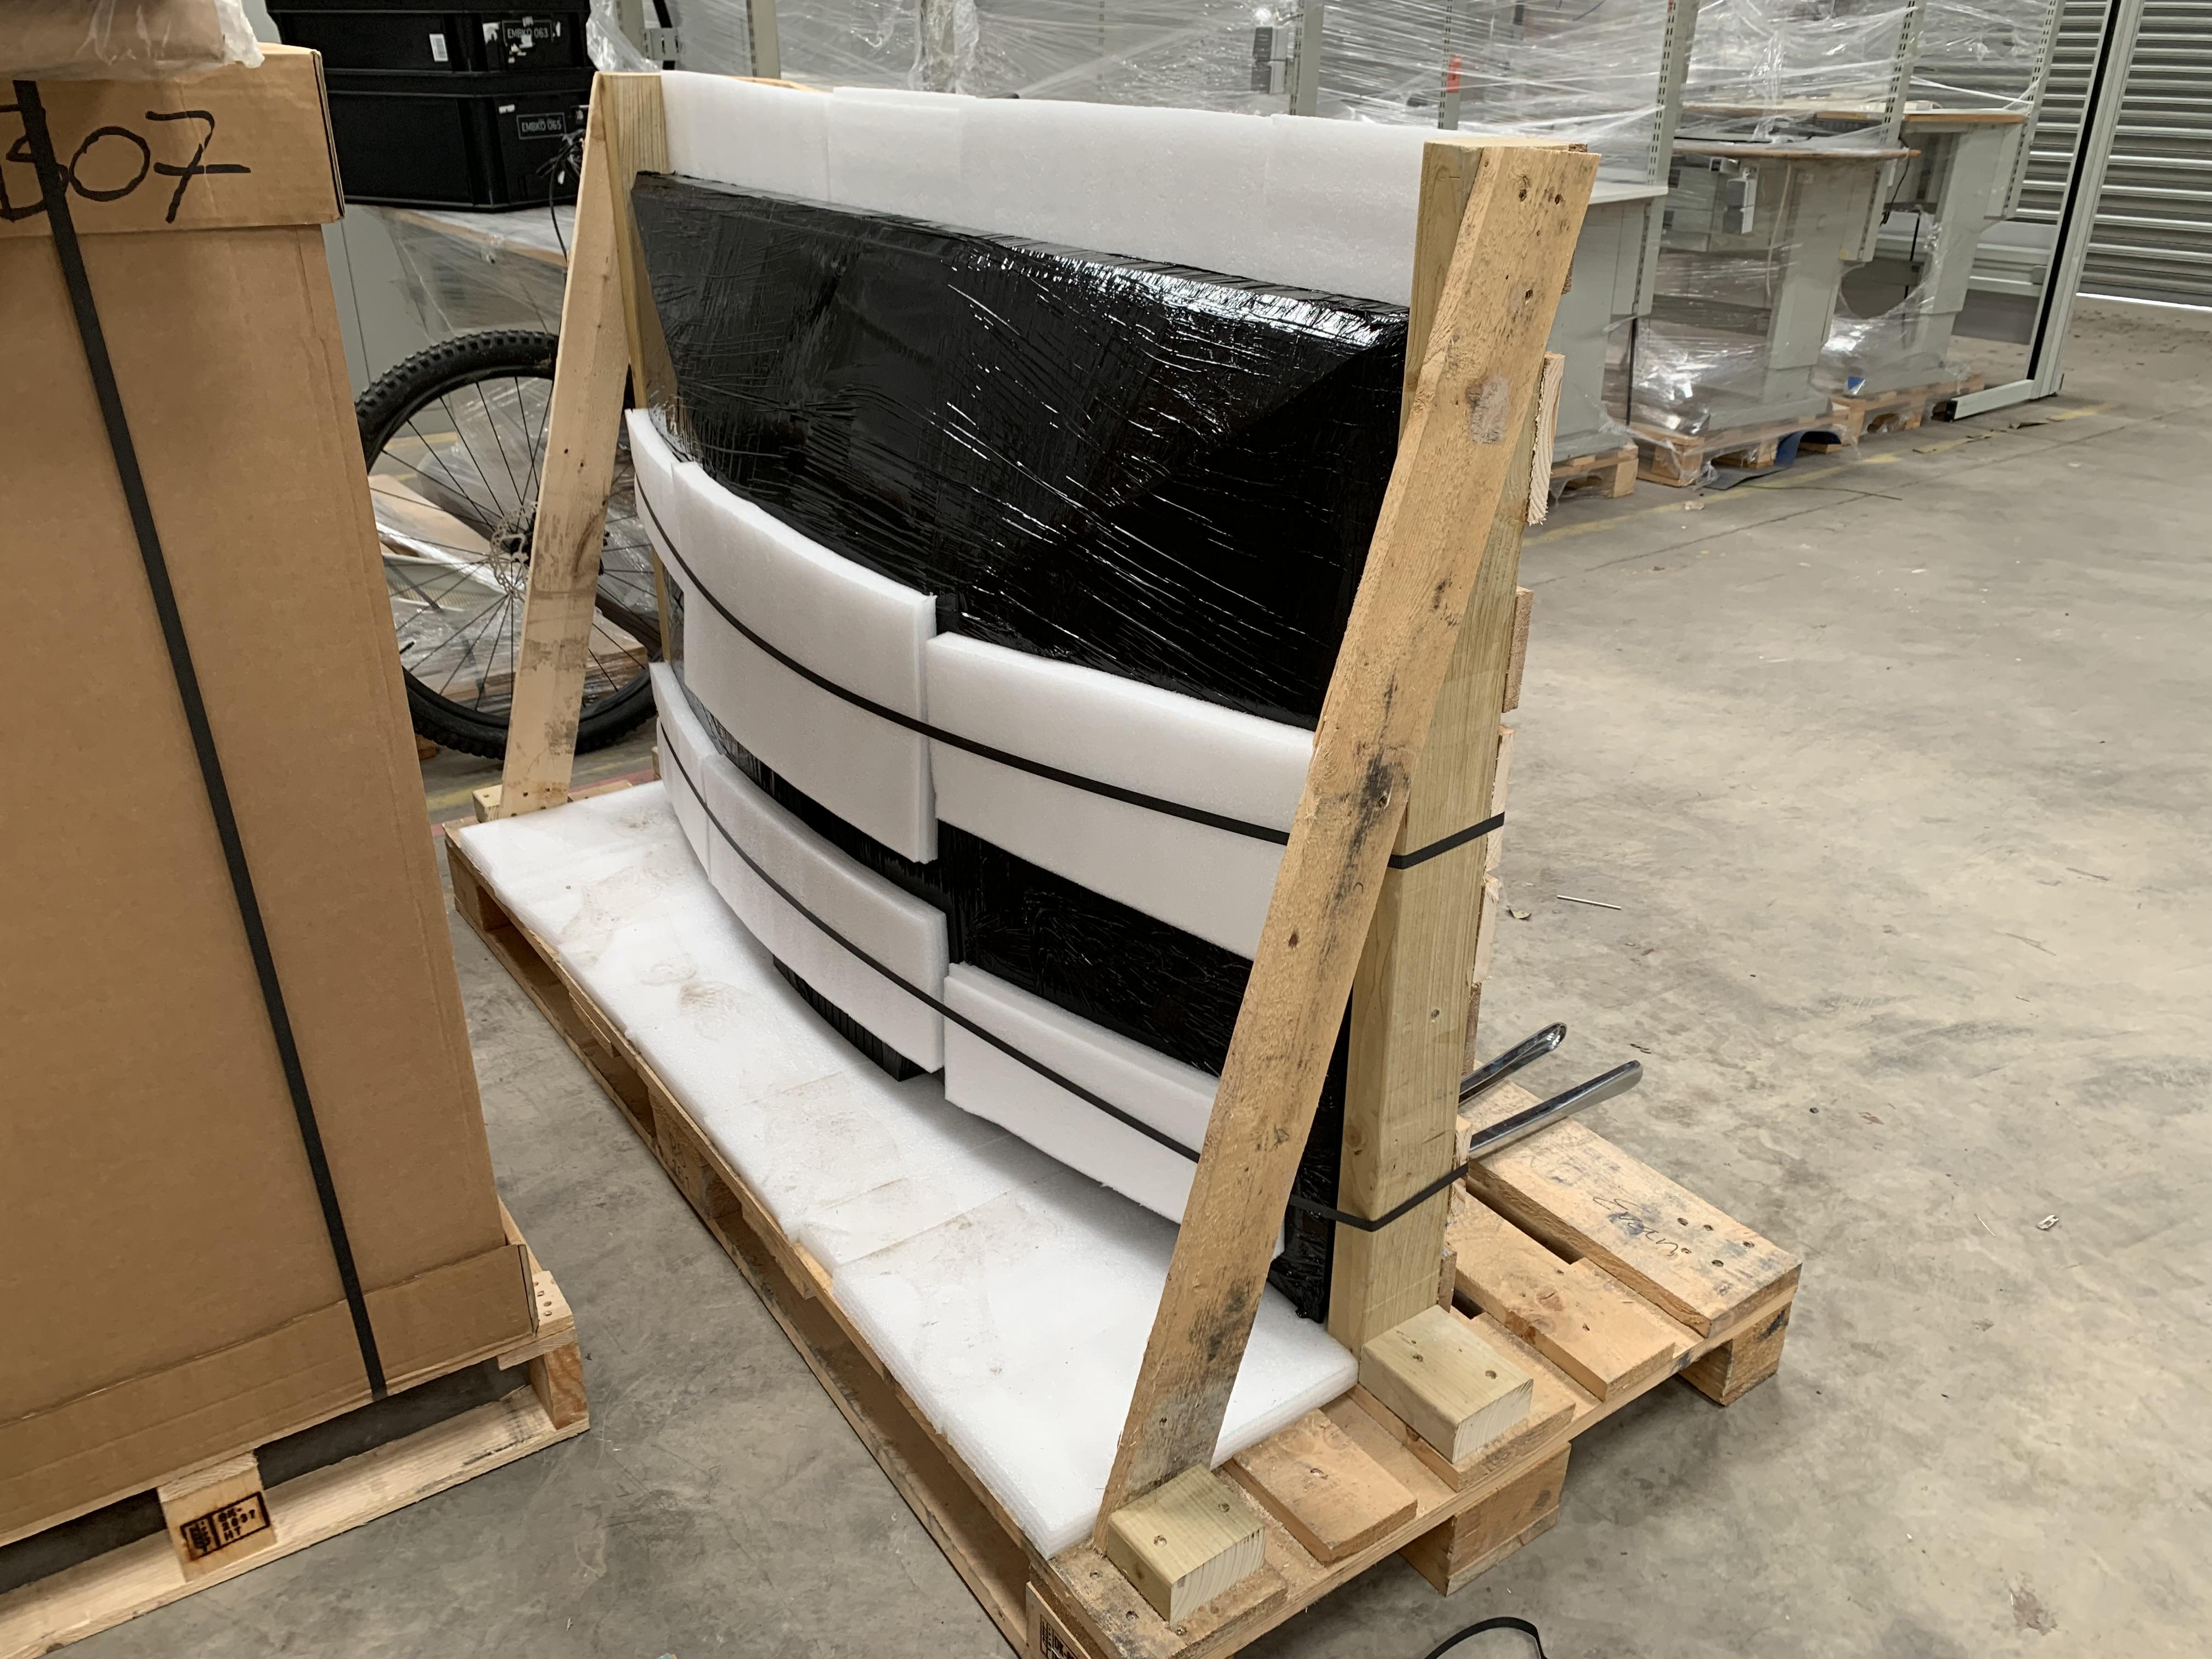
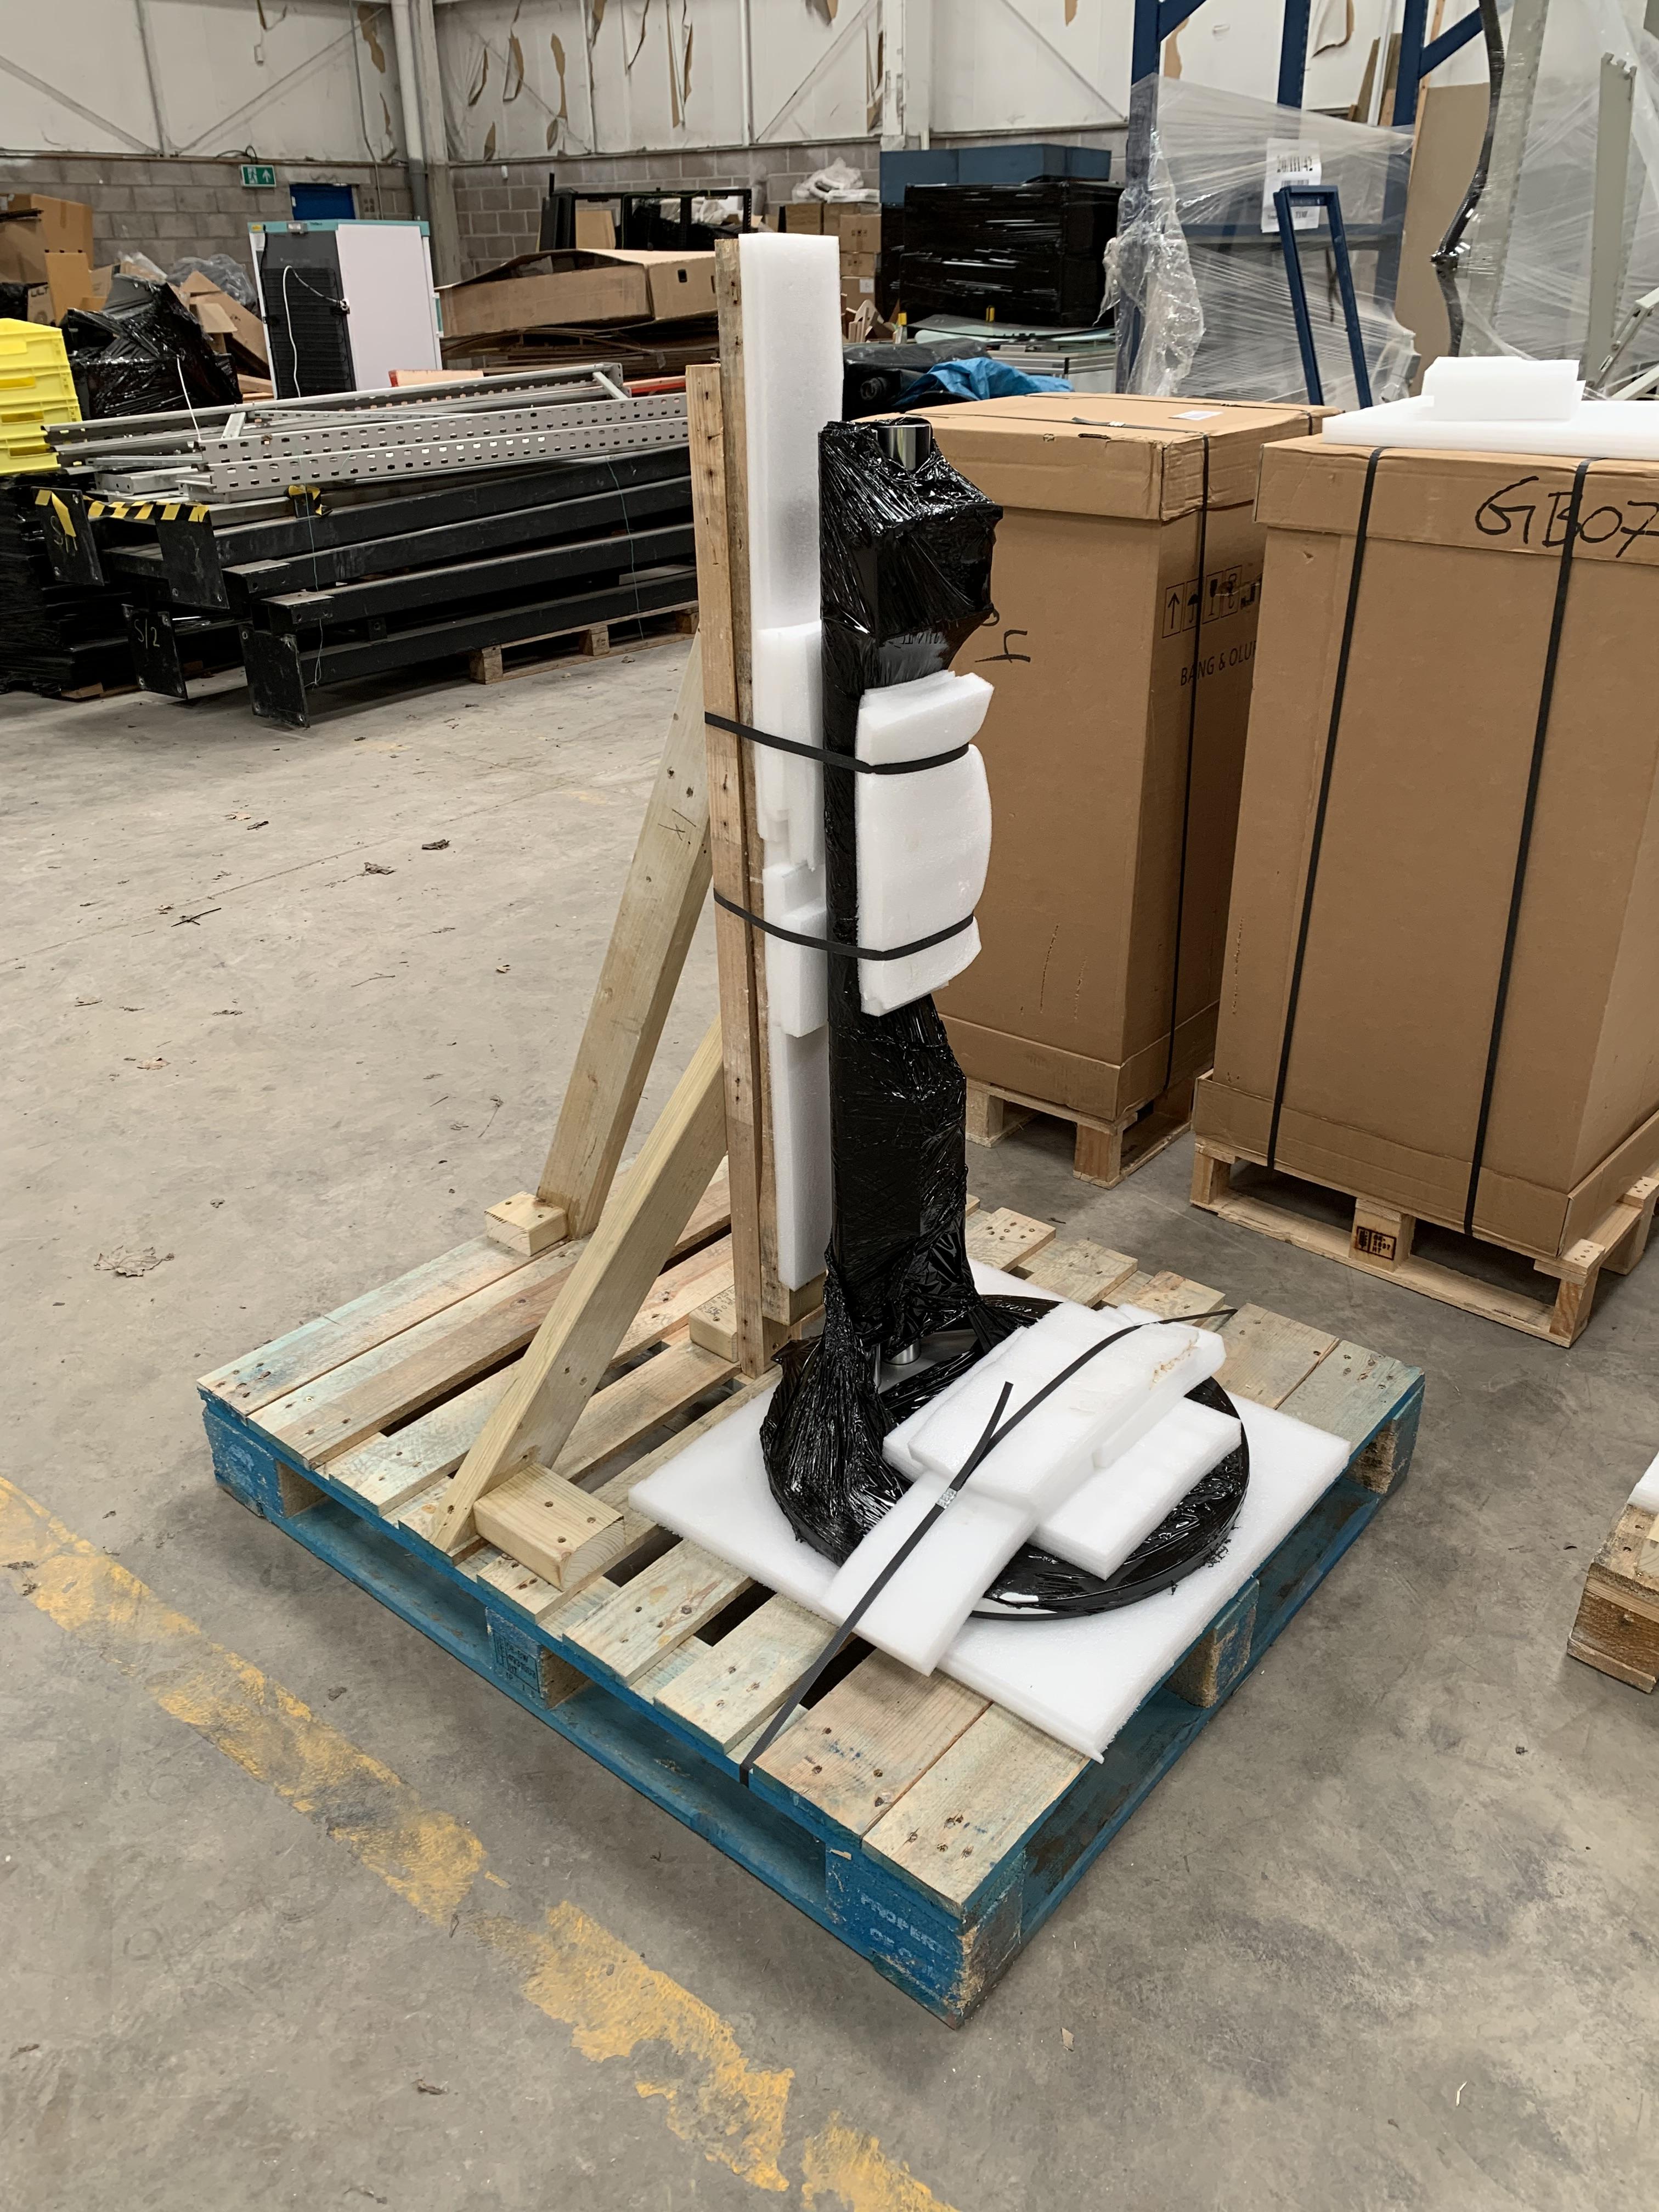
After getting over my anxiety of shipping my dream system across the ocean I managed to get a quote and initiate the whole process of getting the items collected and shipped across the pond.
So why am I telling you this now?? Well all of the gear showed up in four great wooden crates yesterday.
A colleague of mine had to come and save the day, there was no way I was getting all of this upstairs on my own!
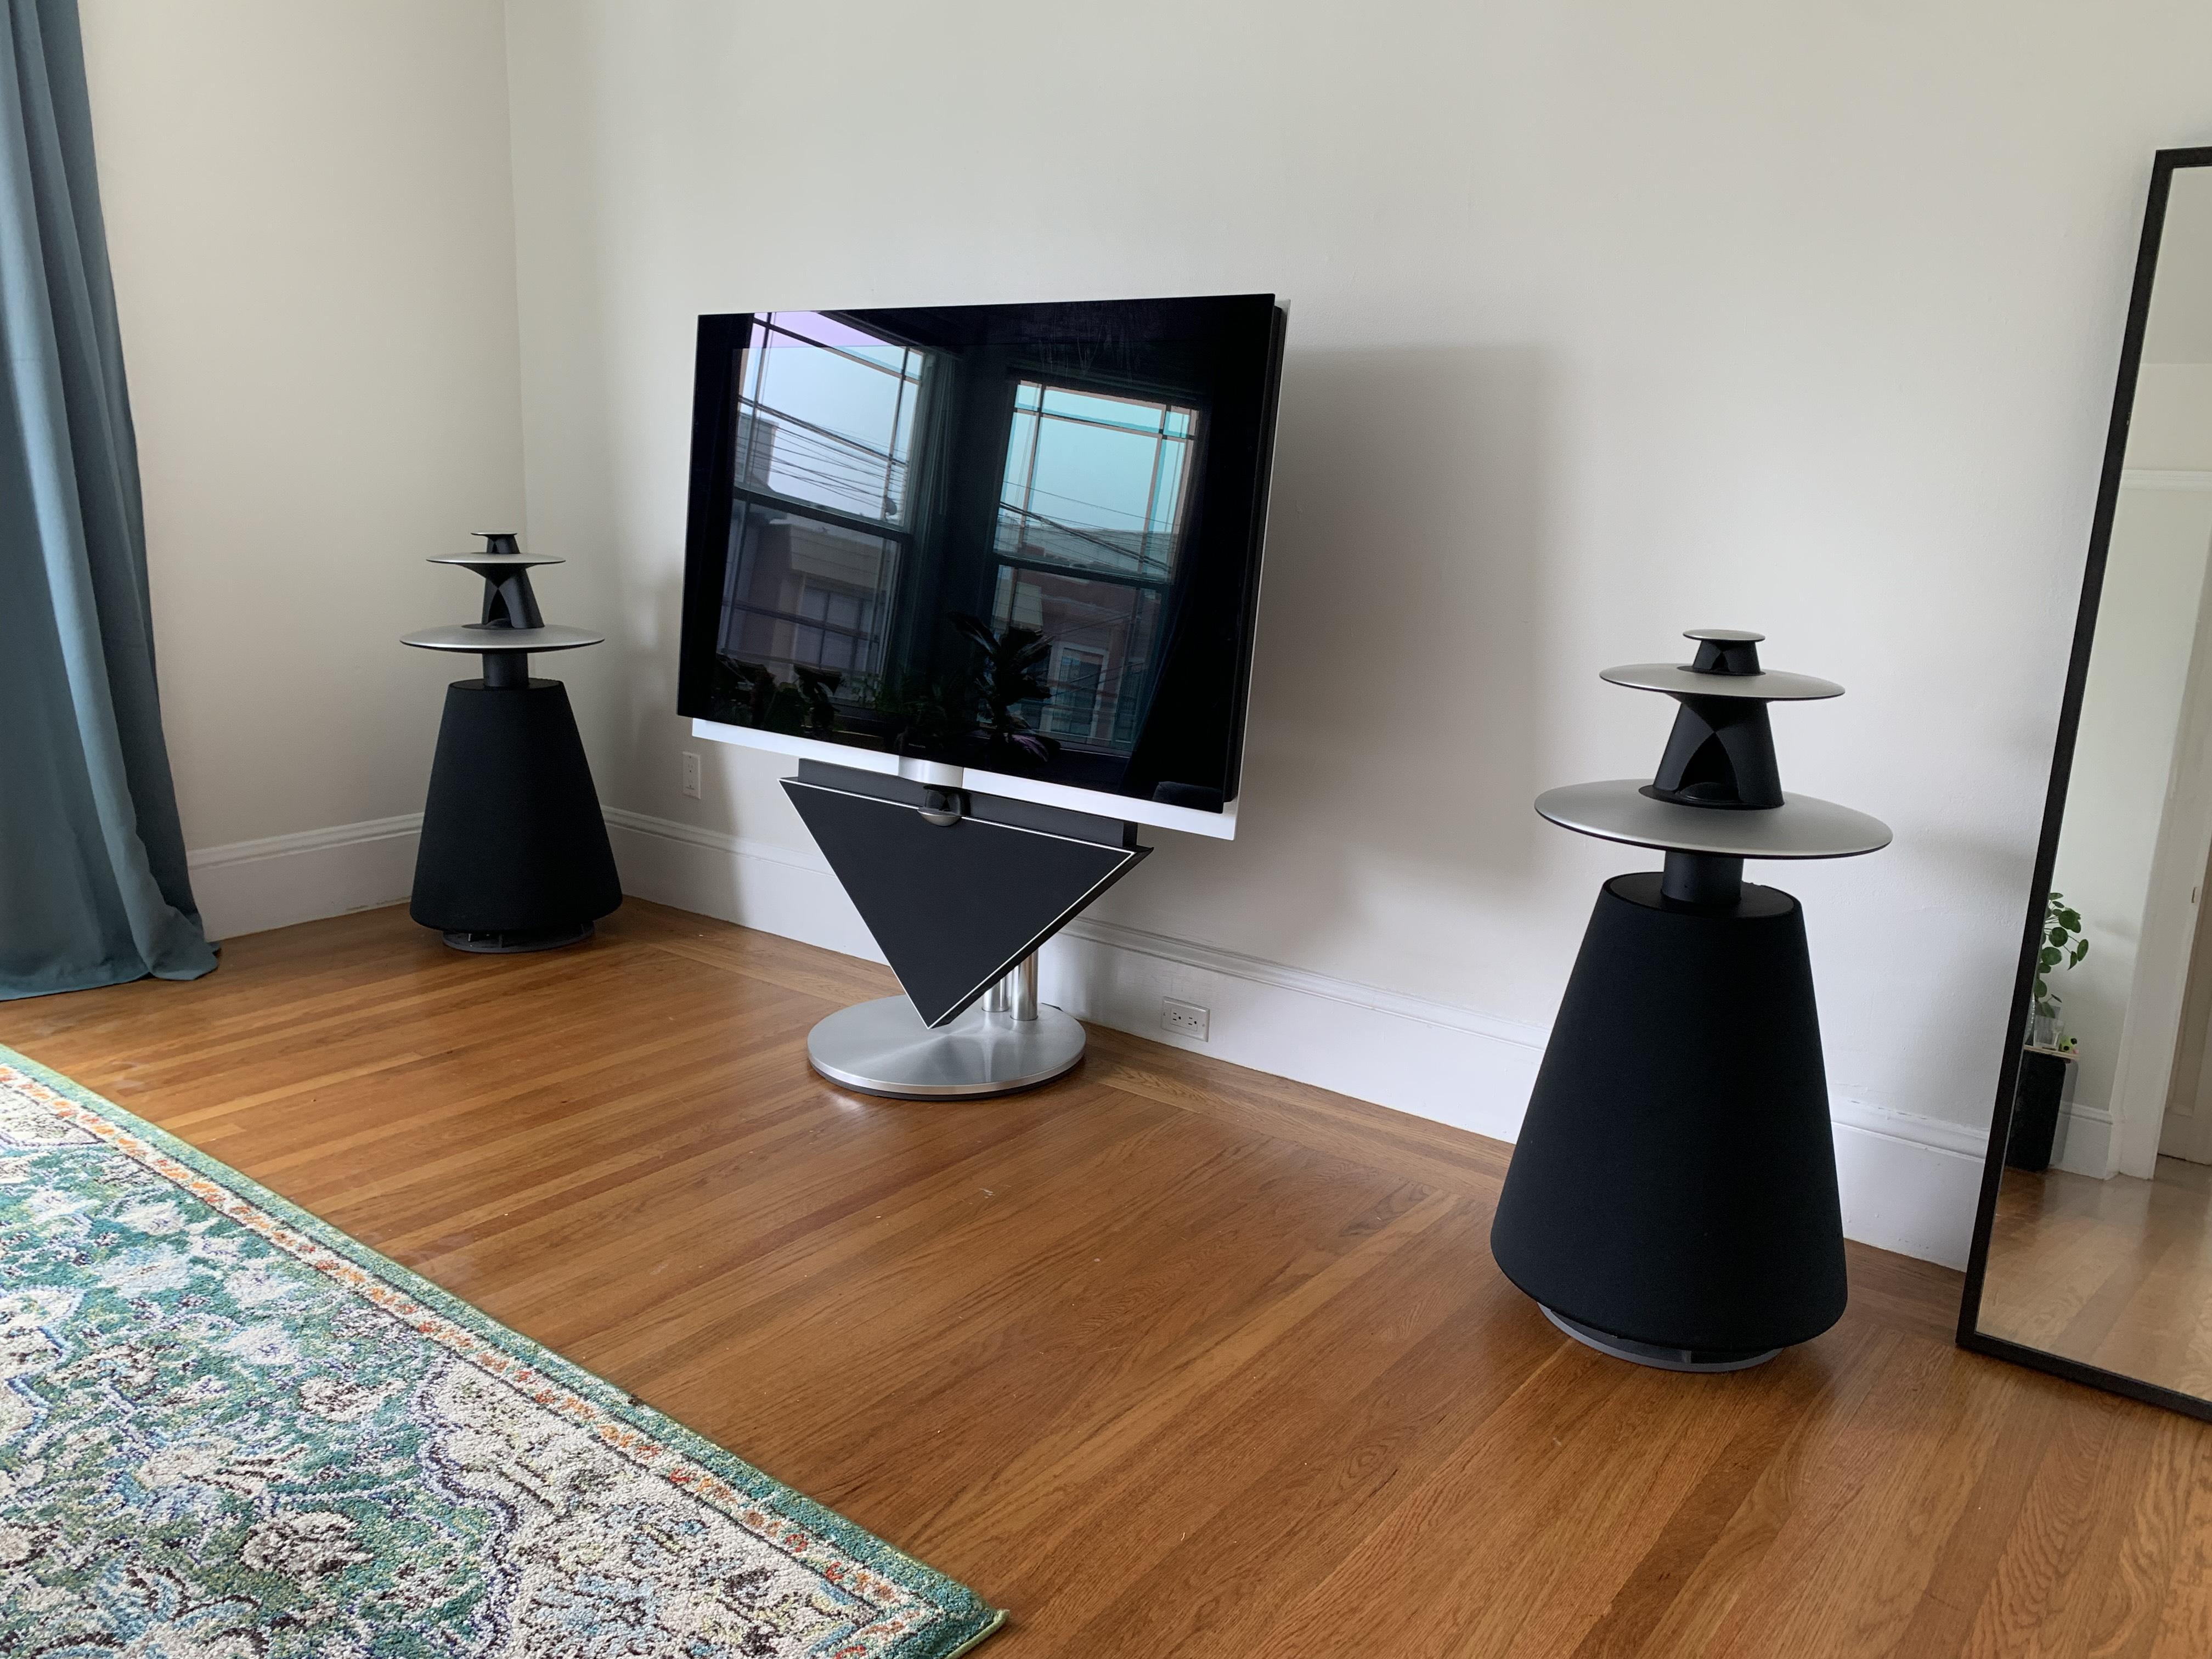
Ladies and gentlemen, I present you with the final implementation of my 2008 dream system. Later today I will be testing everything (I had to get my hands on some step-up transformers, but more on that later!).
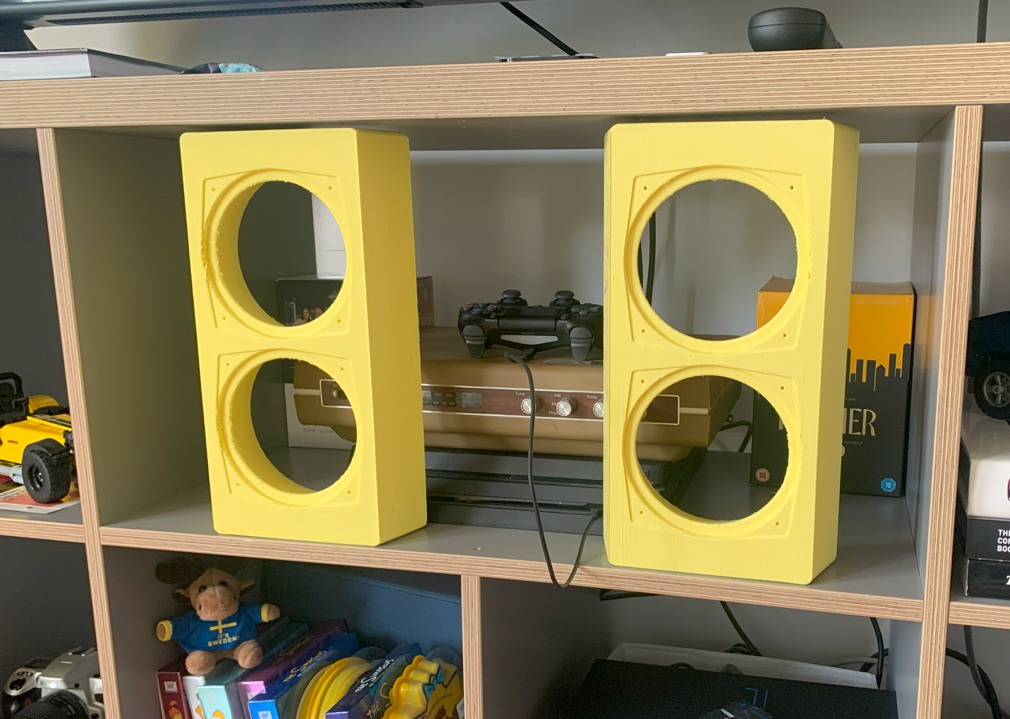
Hey everyone! Busy weekend here but managed to hustle the printer along to make some progress. 80 hours later, I have two very sturdy woofer baffles ready. These parts need a little bit of clean up but overall they are in great shape.
Looking forward to getting some of this assembled!
Have you listened to a set? I find them to be highly capable. They don’t really need too much extra bass for music in my opinion, however, they do need a boost for use in home theater applications. It isn’t my favorite speaker in the whole world but it does many things extremely well for its price point and size. Its not too large considering its capability and it is very accessible price-wise. Clearly was a high runner back in the day judging by how many I find available second hand these days.
The sad reality is that these are hard to find in sorted condition. They are one of the more easy to find bits of B&O in the US but they have usually lived hard lives and are completely neglected leaving all the maintenance/overhaul work for the second owners. Most likely, the mids will be rotted, the caps will need replacing and the amps (if equipped) have some issues to sort as well. My overhaul activities have revealed that the foam tape that seals the enclosure pieces together will also need replacing. However if all of that work is indeed done already, you would get at least a couple decades out of them without issue.
Would be great to see new transducers and an updated crossover become available for the Penta. As I’ve mentioned in my ongoing Penta project, the drivers are pretty vanilla – nothing special.
That being said, I think there is something special about Penta as a system. It is a speaker worth preserving. I hope B&O shines a light on it but in a more collaborative and novel way than the typical “c” projects so far. There are so many Pentas out there in the world to rescue. We should work (as a community) to develop a second life for them that is approachable for the prospective B&O community AND enthusiasts. Sustainability has been a topic on my mind in recent months, it is an area in the loudspeaker industry that needs a lot of attention and innovation. Perhaps B&O could support a way for people to easily bring these speakers back to life or some kind of cradle-to-cradle product cycle for these instead of developing a fresh version of the speaker that is completely out of reach for most folks.
Here is the baffle sub-assembly design so far. Still need to complete the design of the tweemid baffle and design in the enclosure for the midranges.
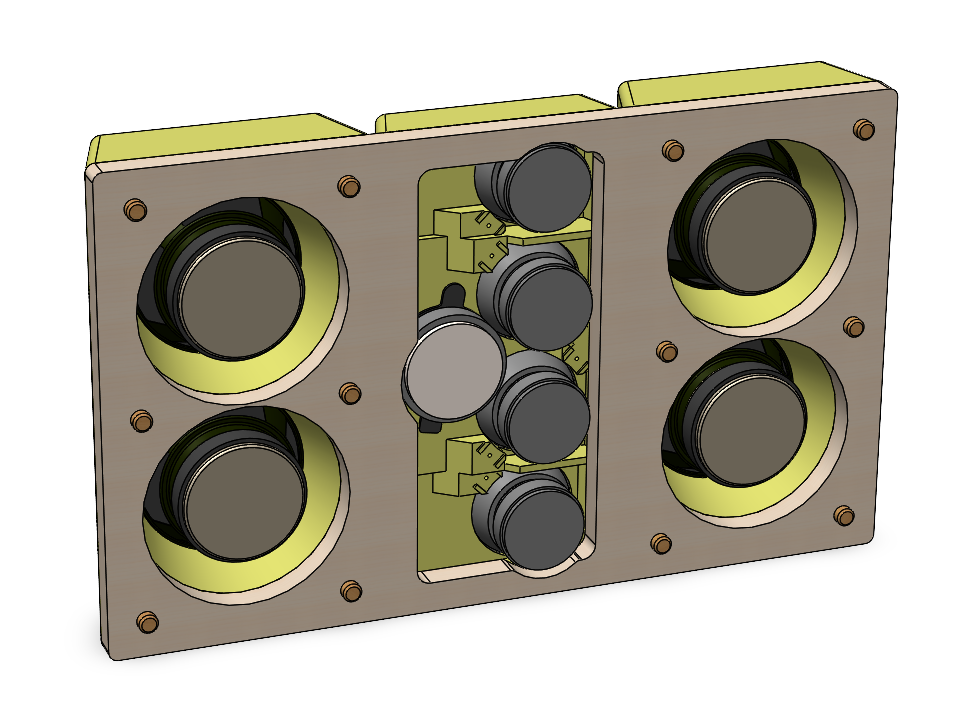
The tweemid module will be removeable since it may need to be disassembled in the future for servicing. The woofer baffles however will be permanently bonded (epoxied likely) to a wood baffle so I incorporated 1/2″ dowels into the design. in order to locate the parts during assembly later on.
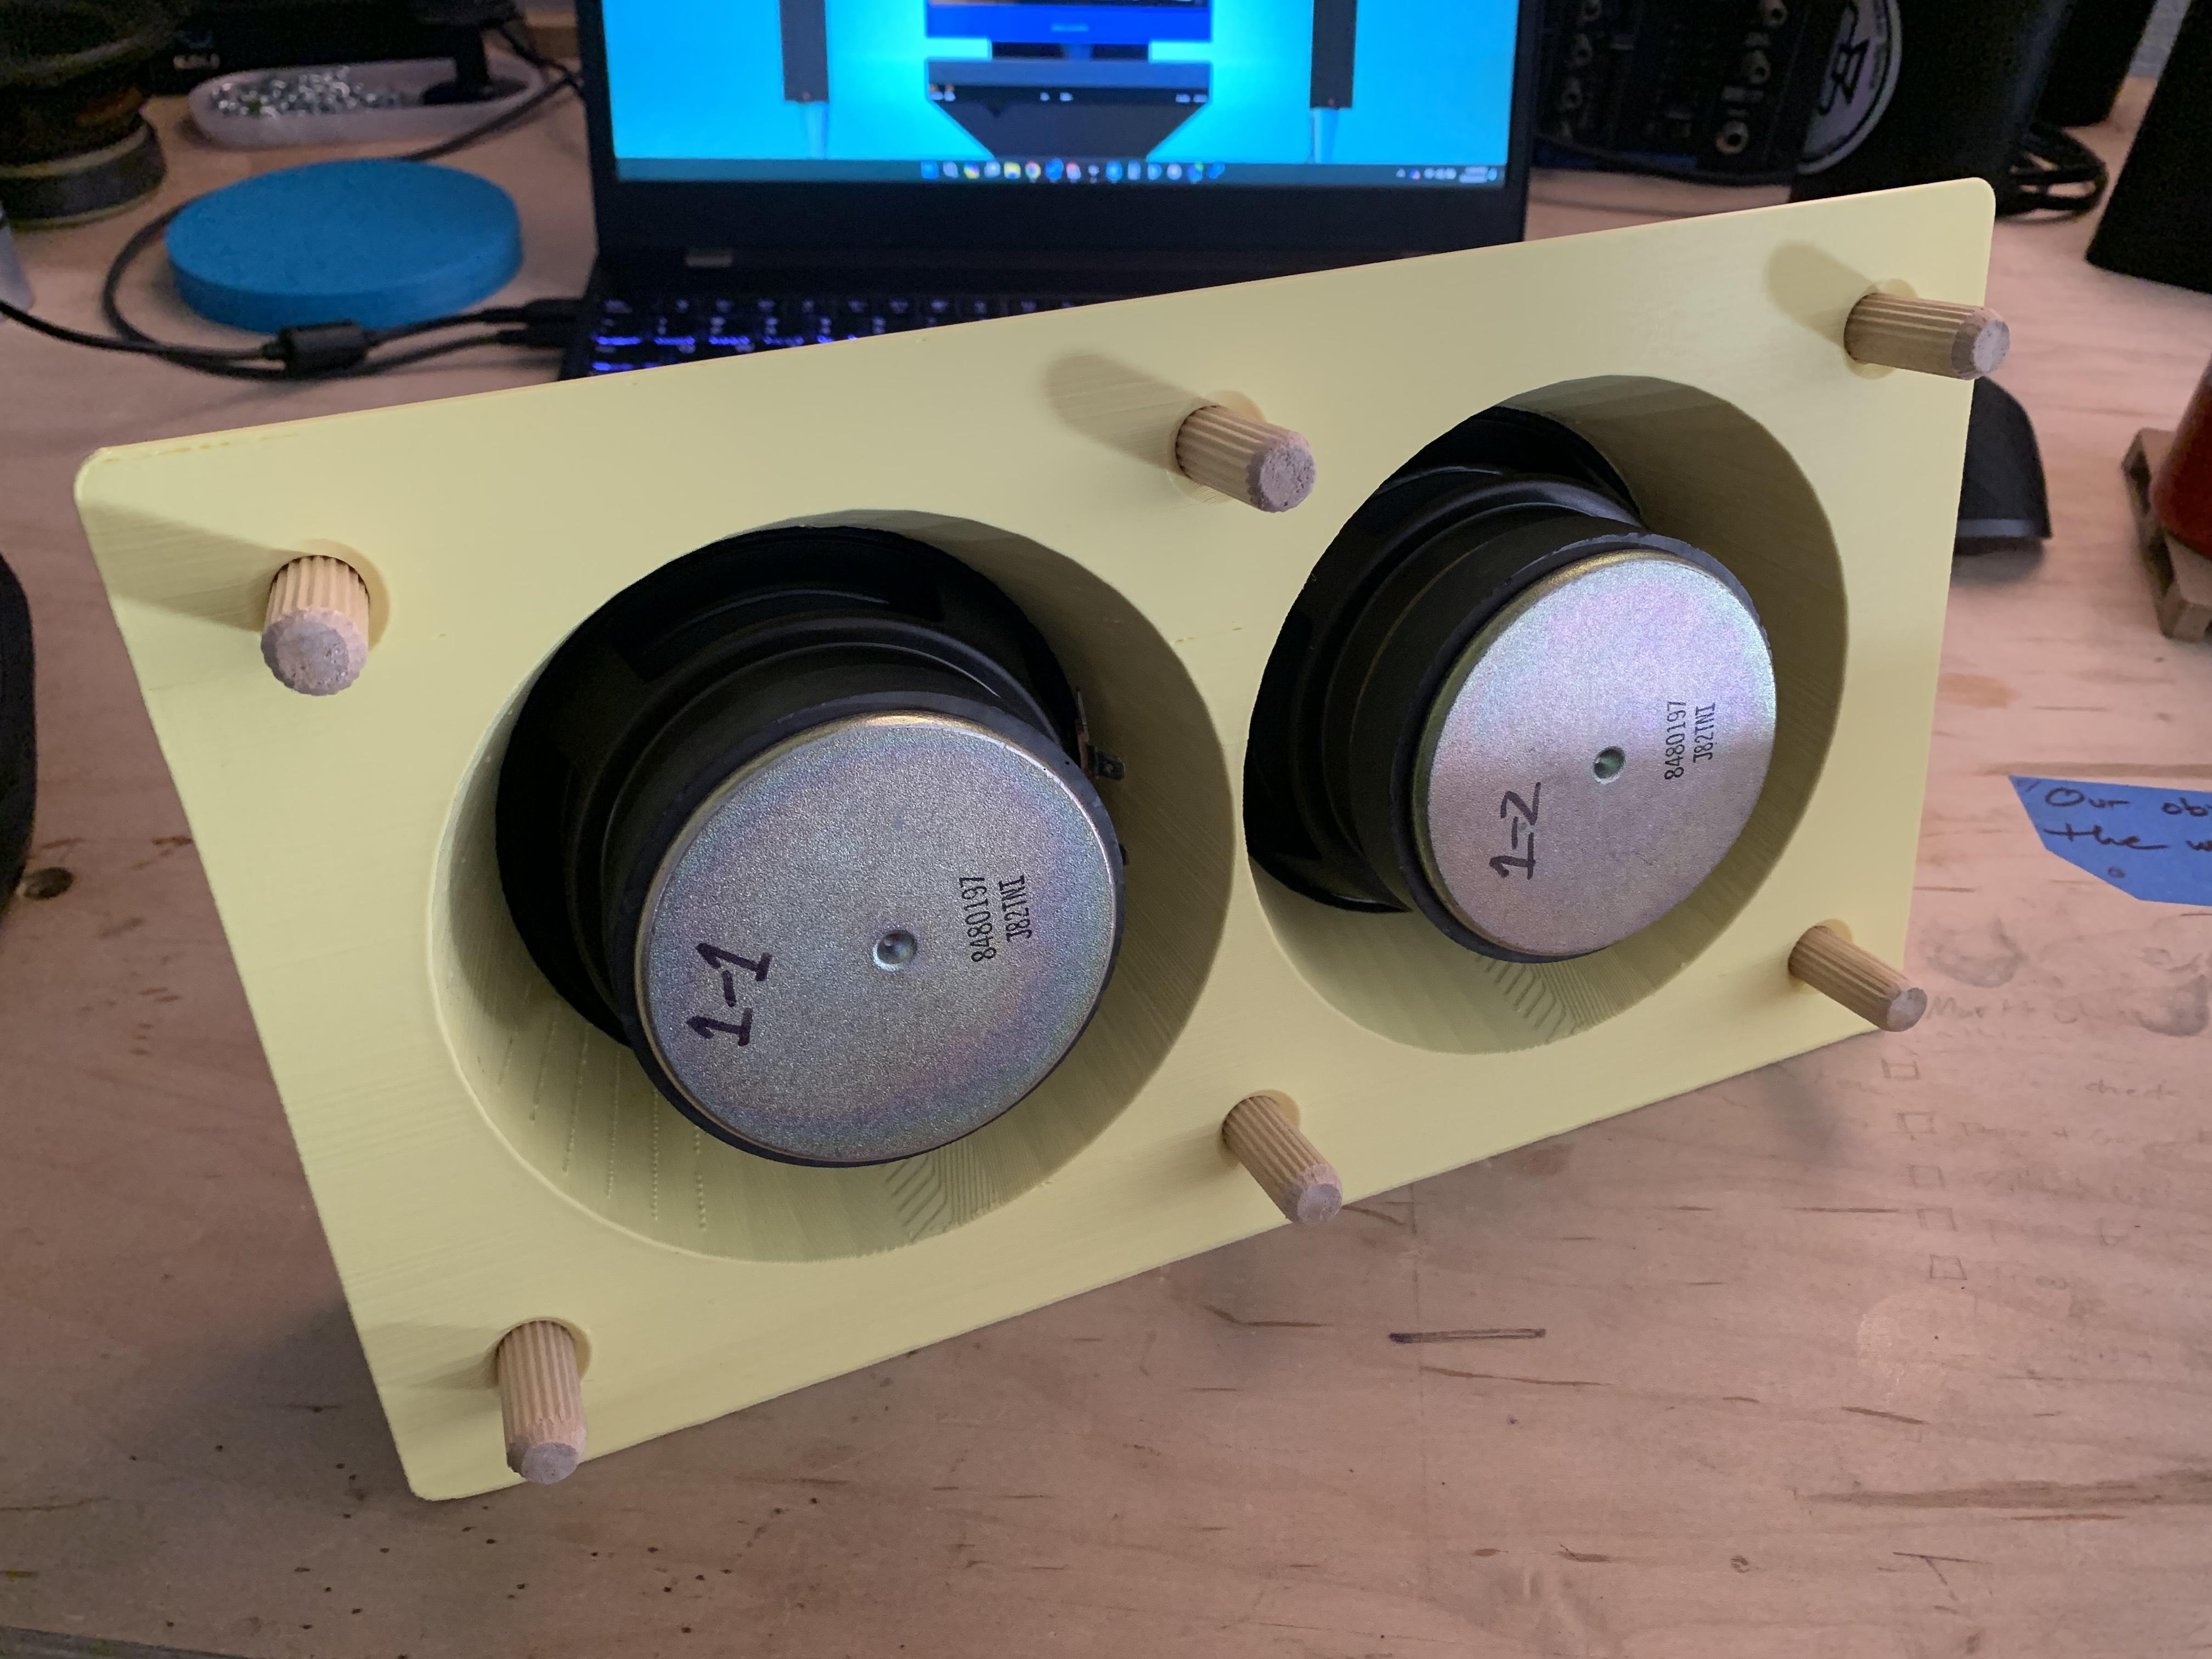
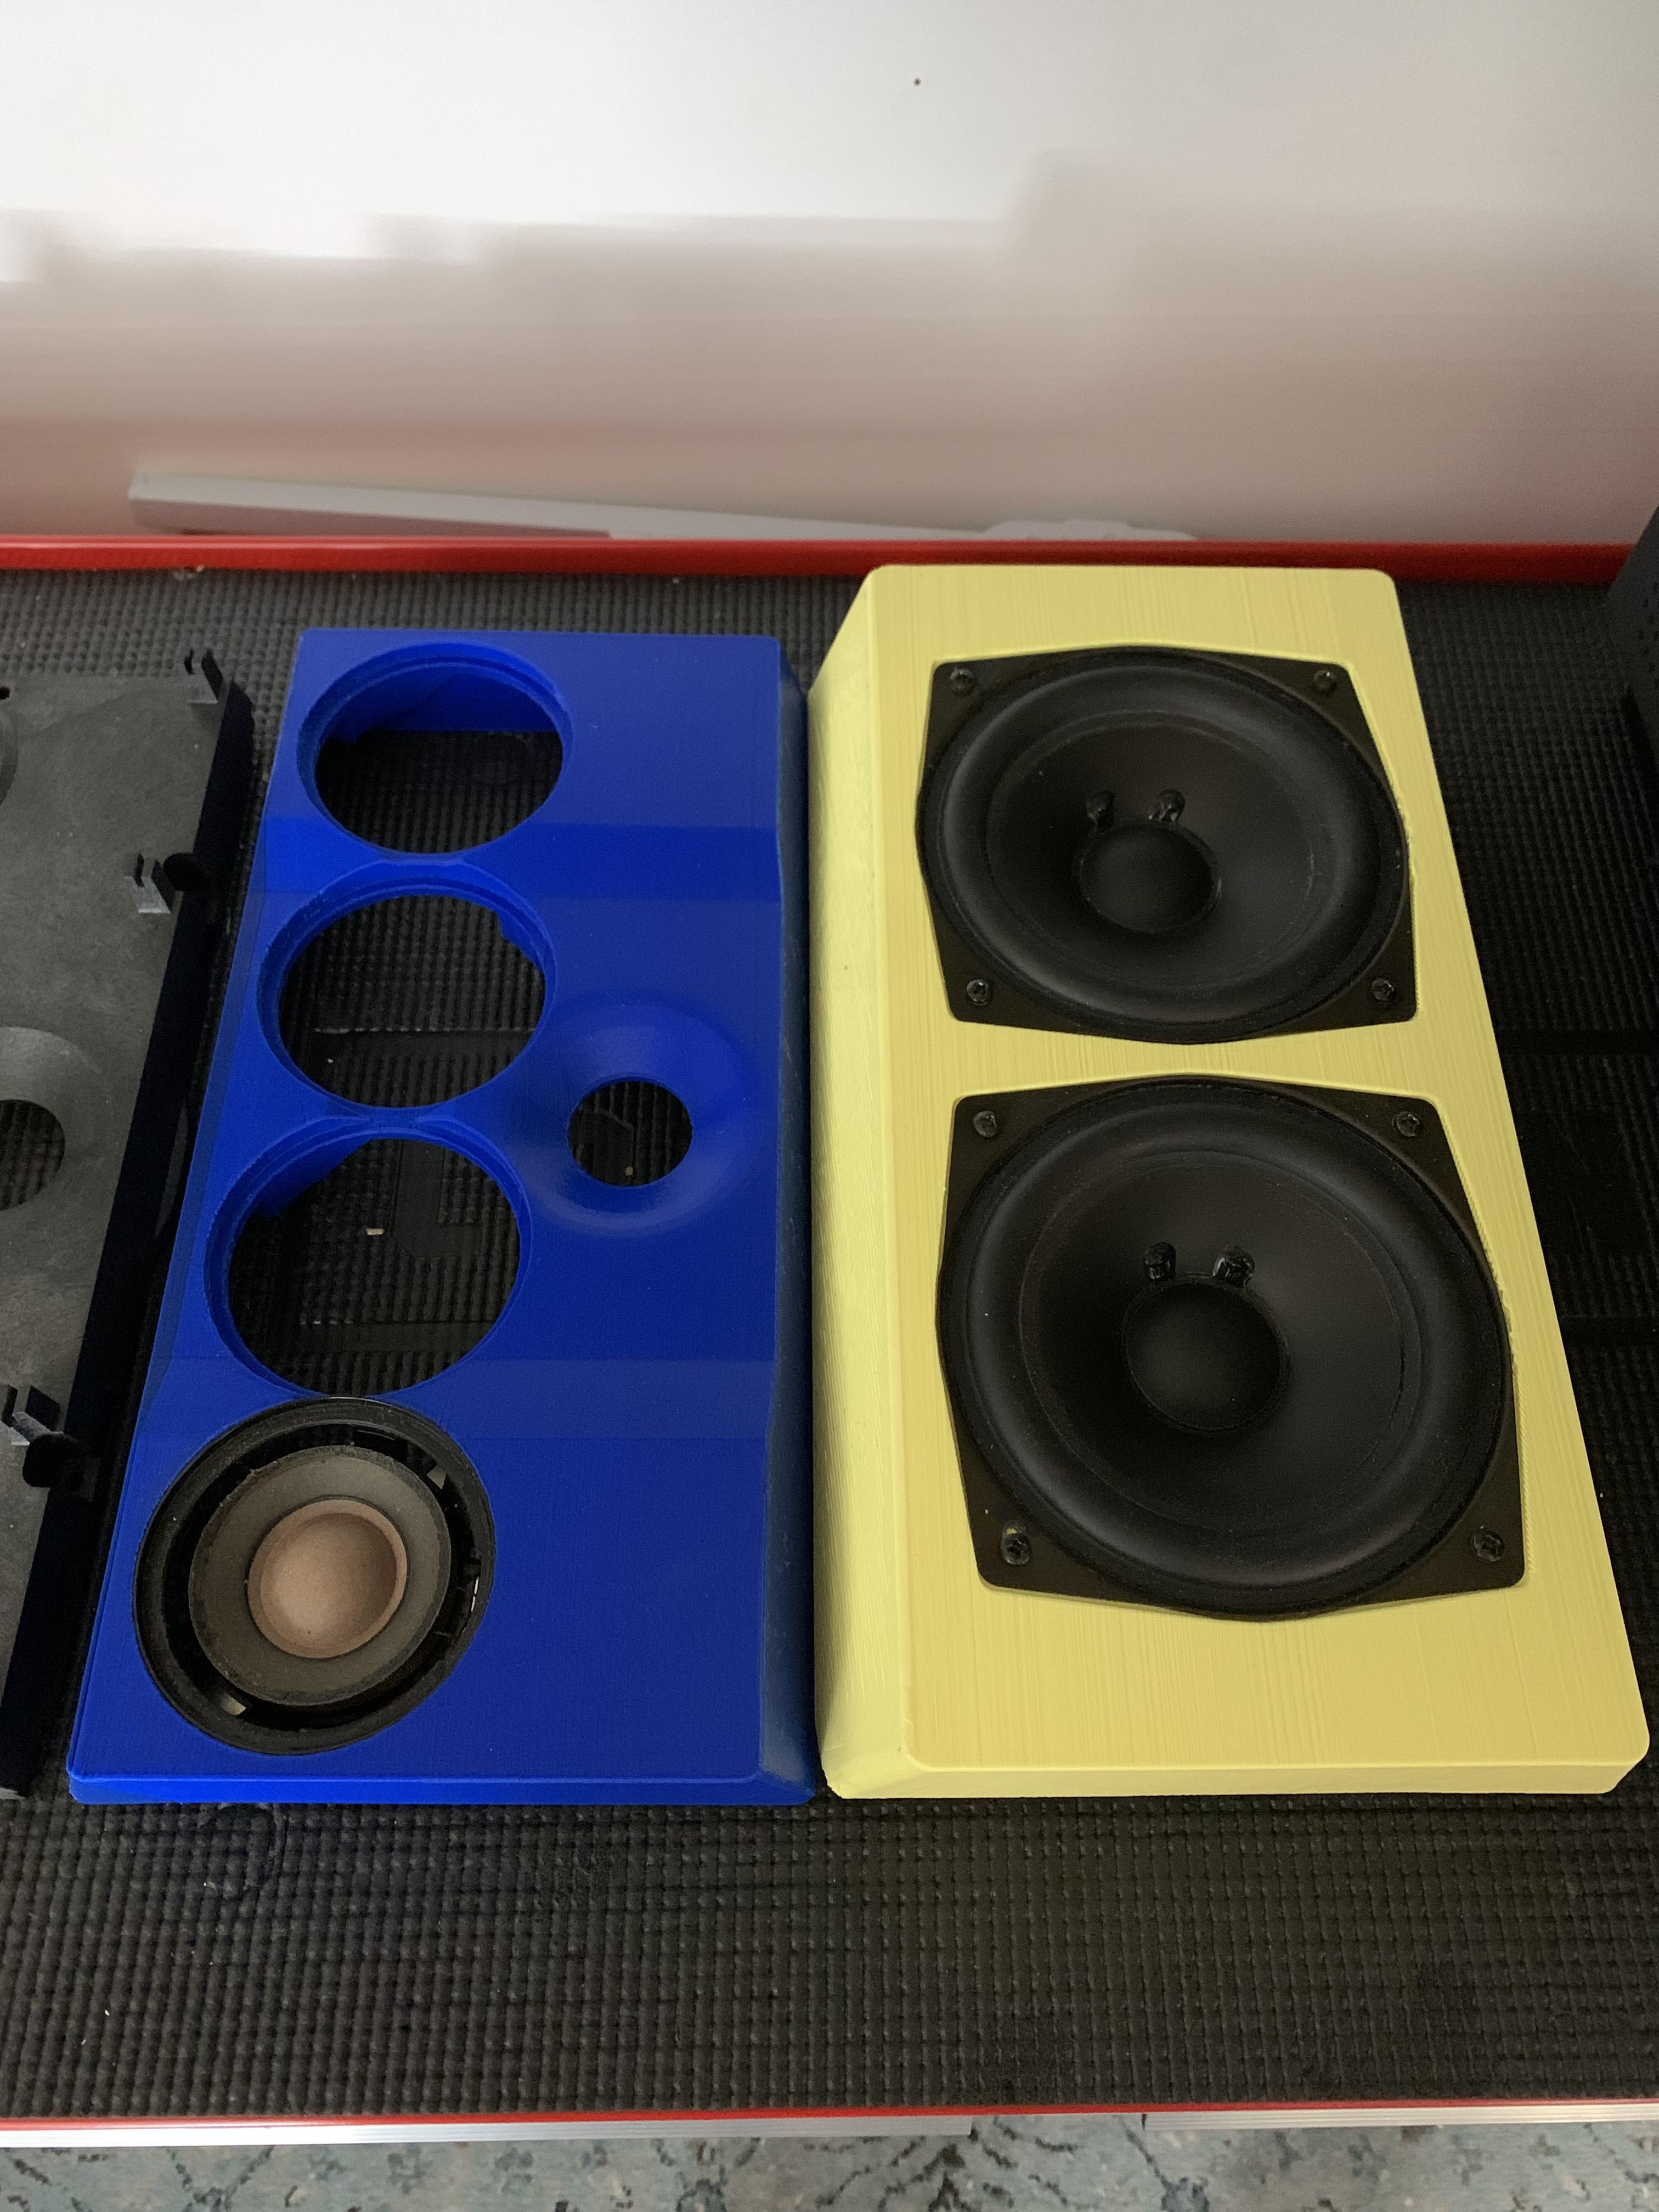
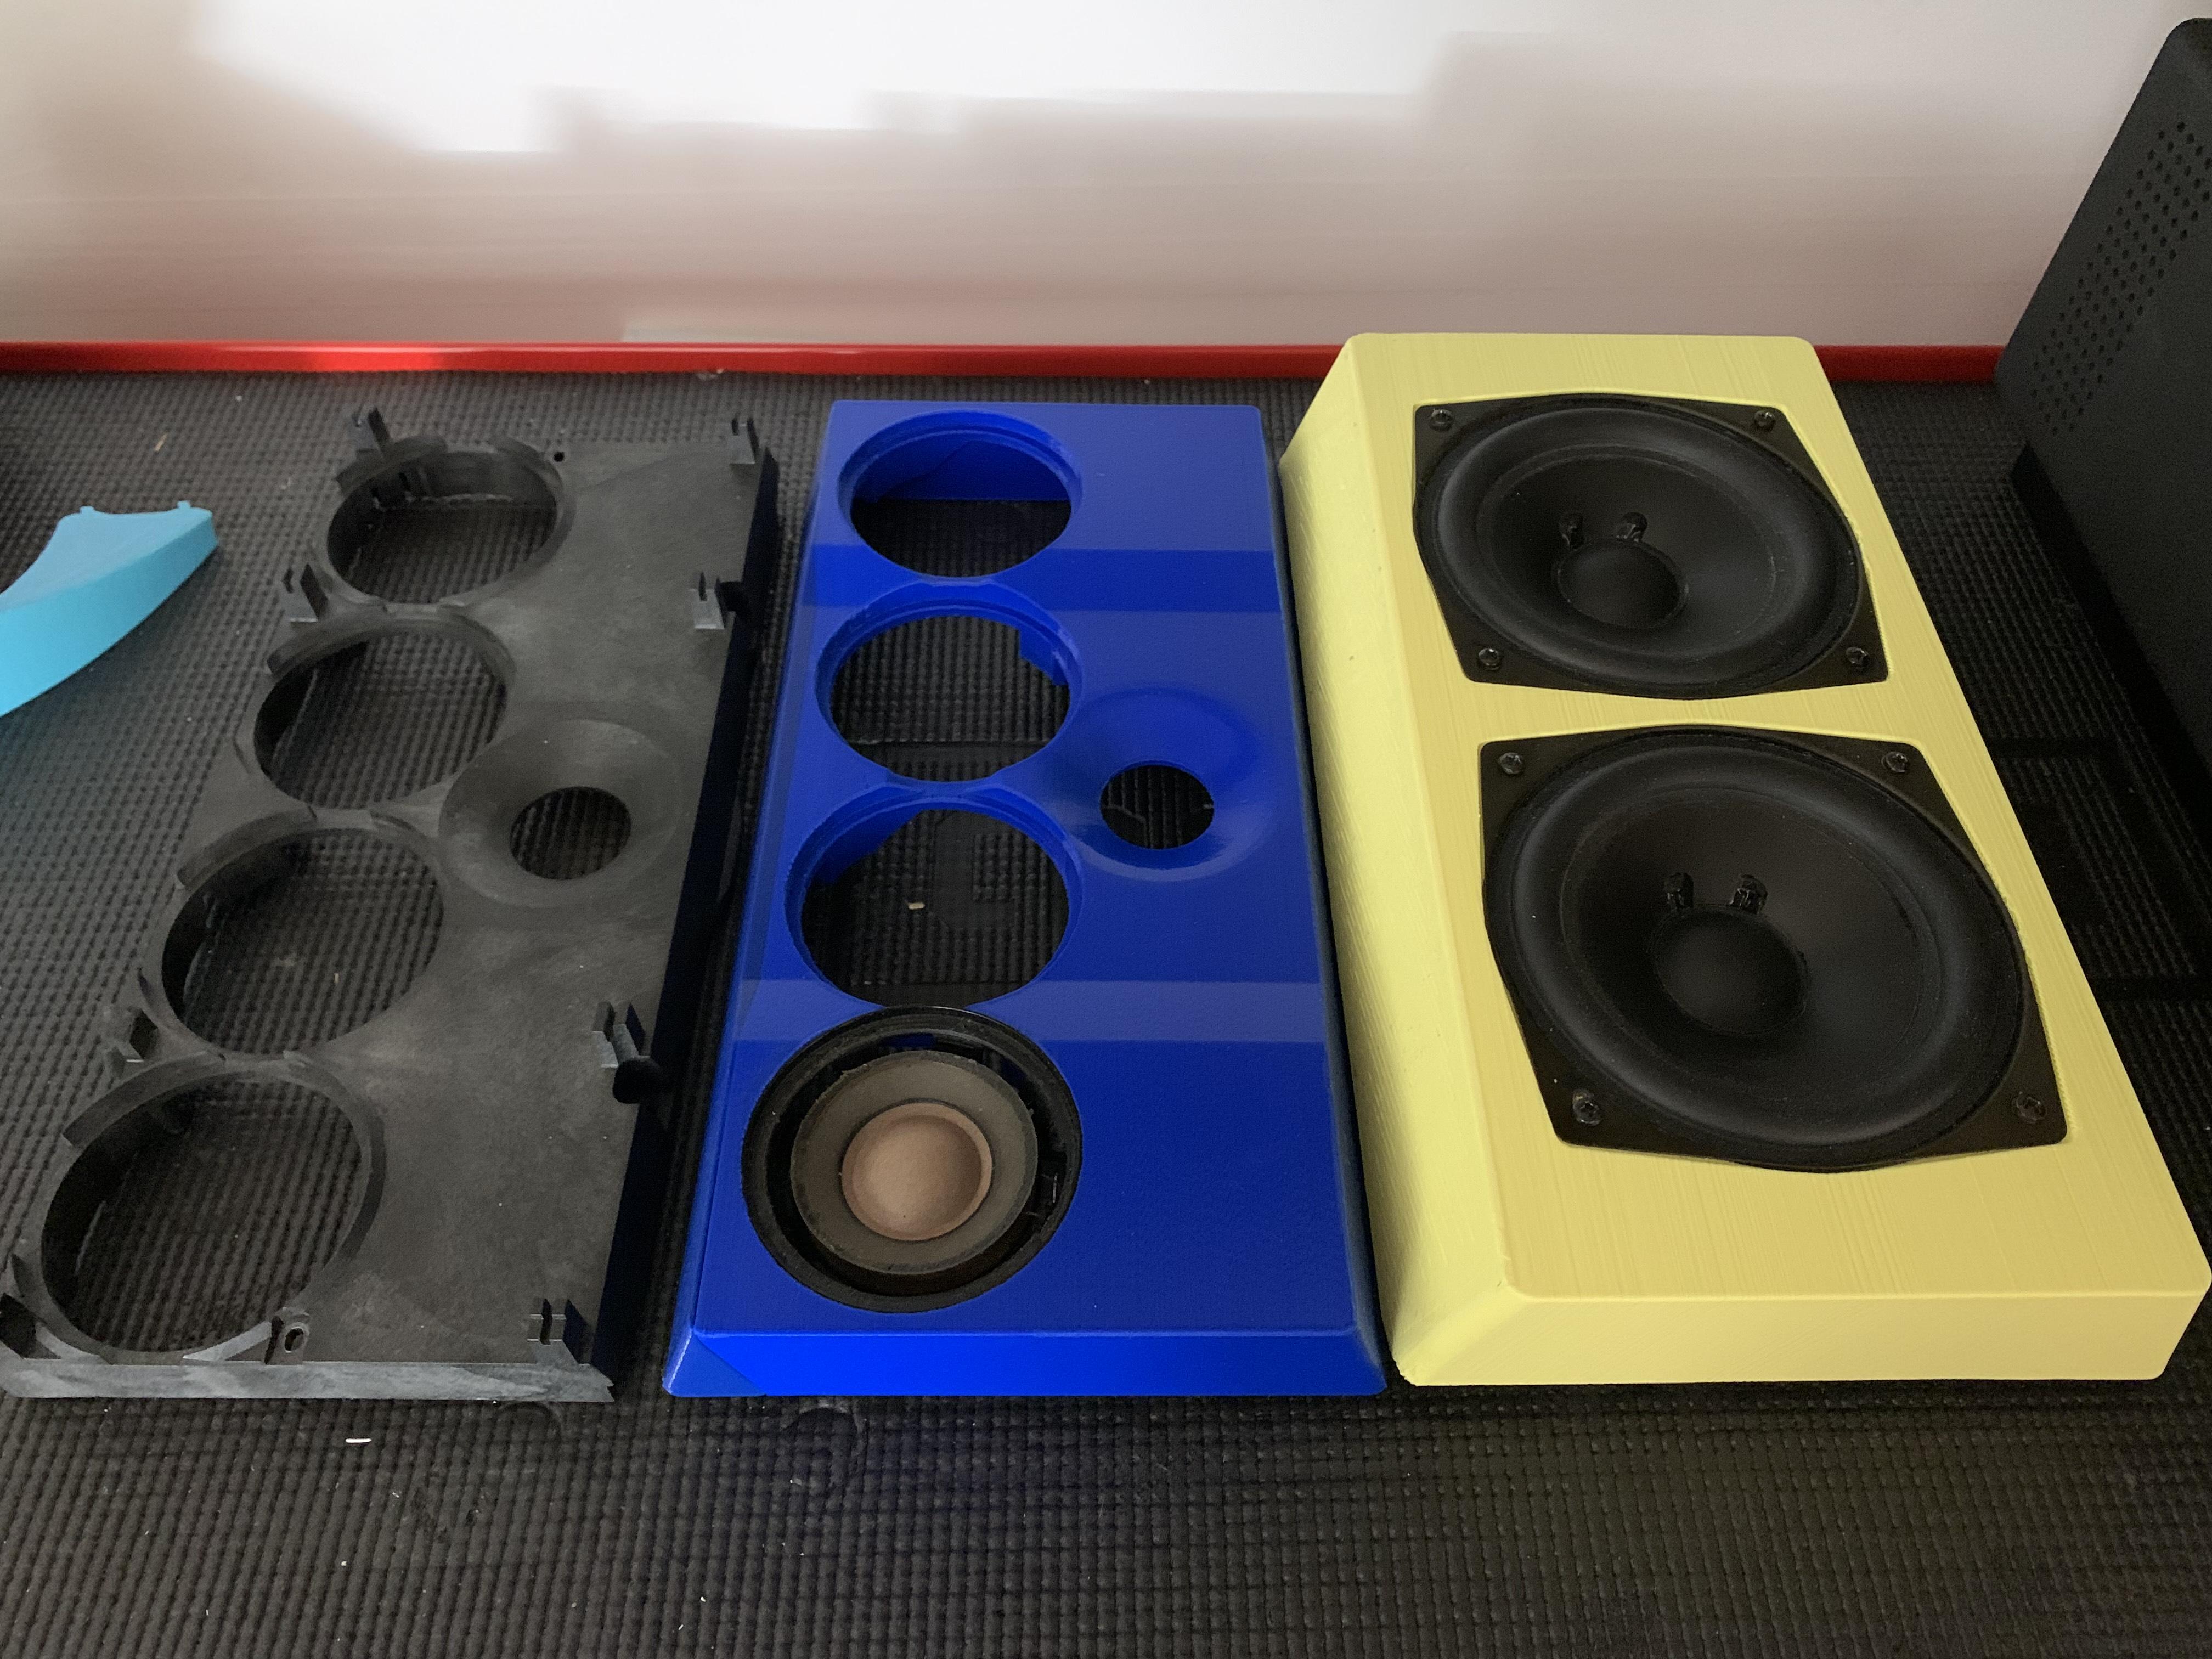
Some close ups of the parts. Woofers fit perfectly and the plastic-thread screws also went in smoothly and without any issues. The woofers have retained their gaskets well so they should be ok to re-use.
Really nice to see this thing taking shape!
Ok guys – getting caught up. Parents are visiting me soon so I’ve been frantically putting the house together and not spending as much time on this but there are some nice chunks of progress.
Here is what I’m calling the woofer baffle, being printed for the first time. This is a test for fitment (speakers and fasteners etc) but also a test for the color! Very much a pastel yellow compared to normal, opaque yellow PLA but it should look very nice in situ once my partner and I get the room all put together.
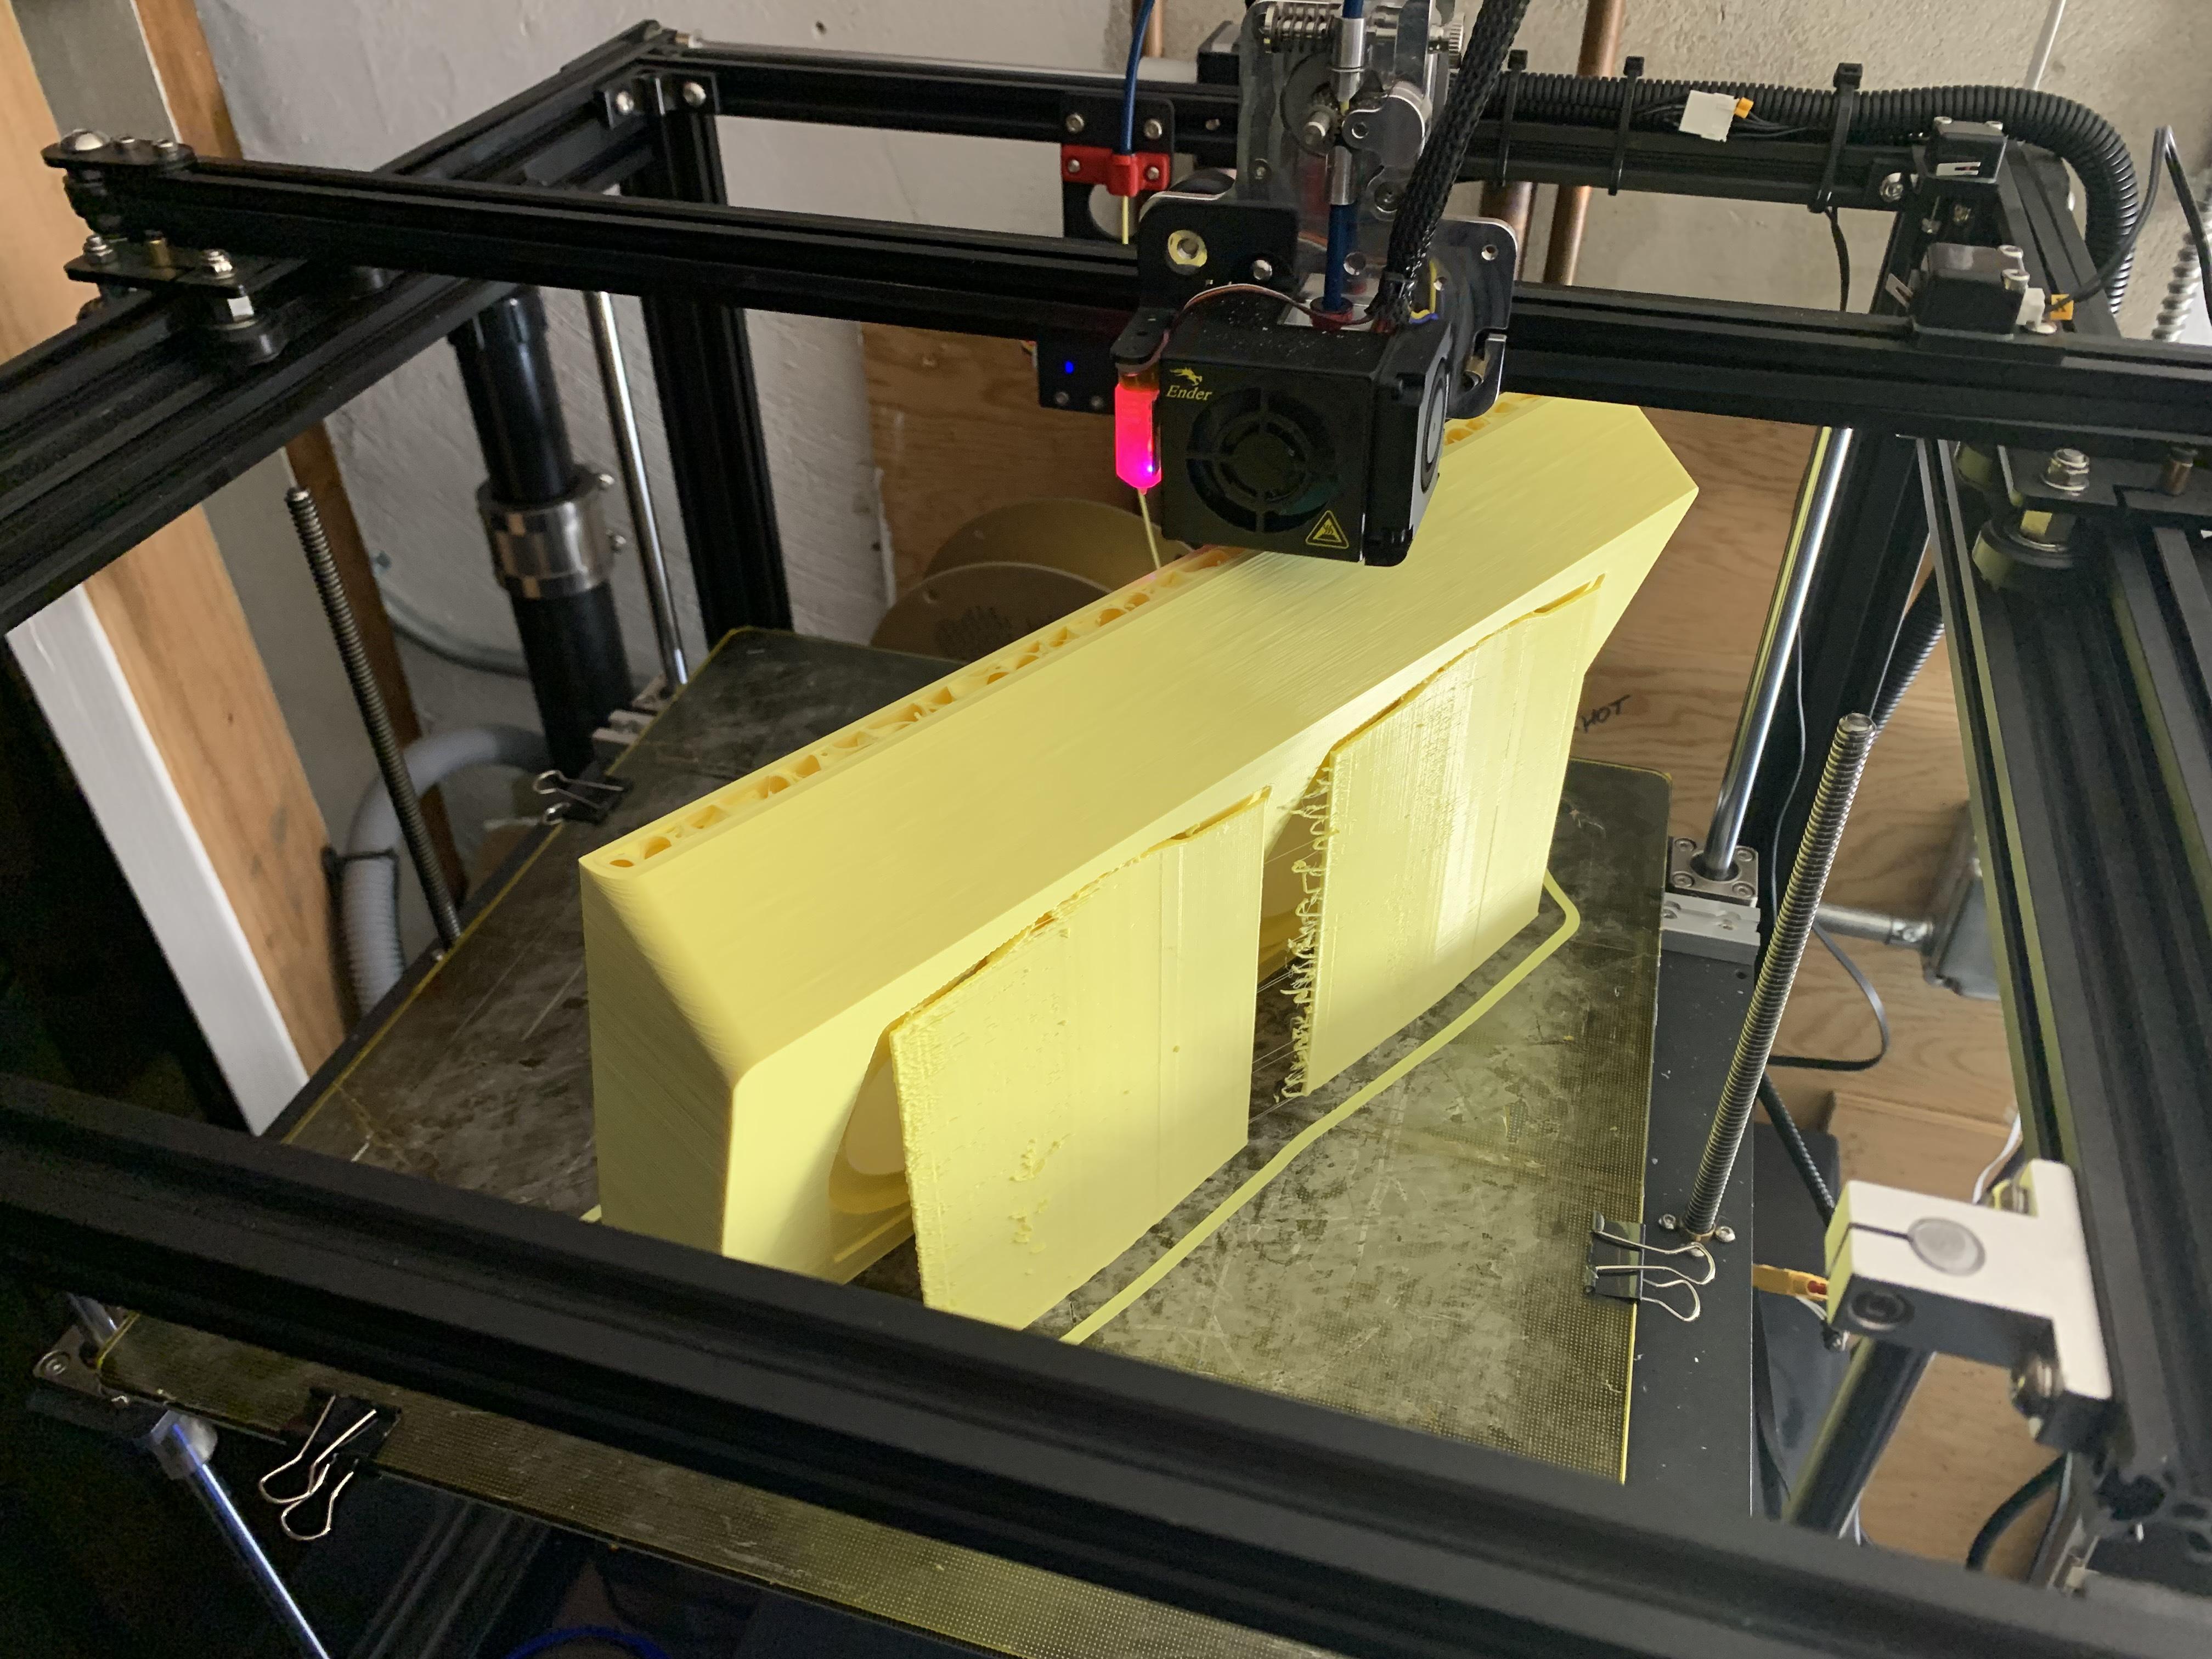
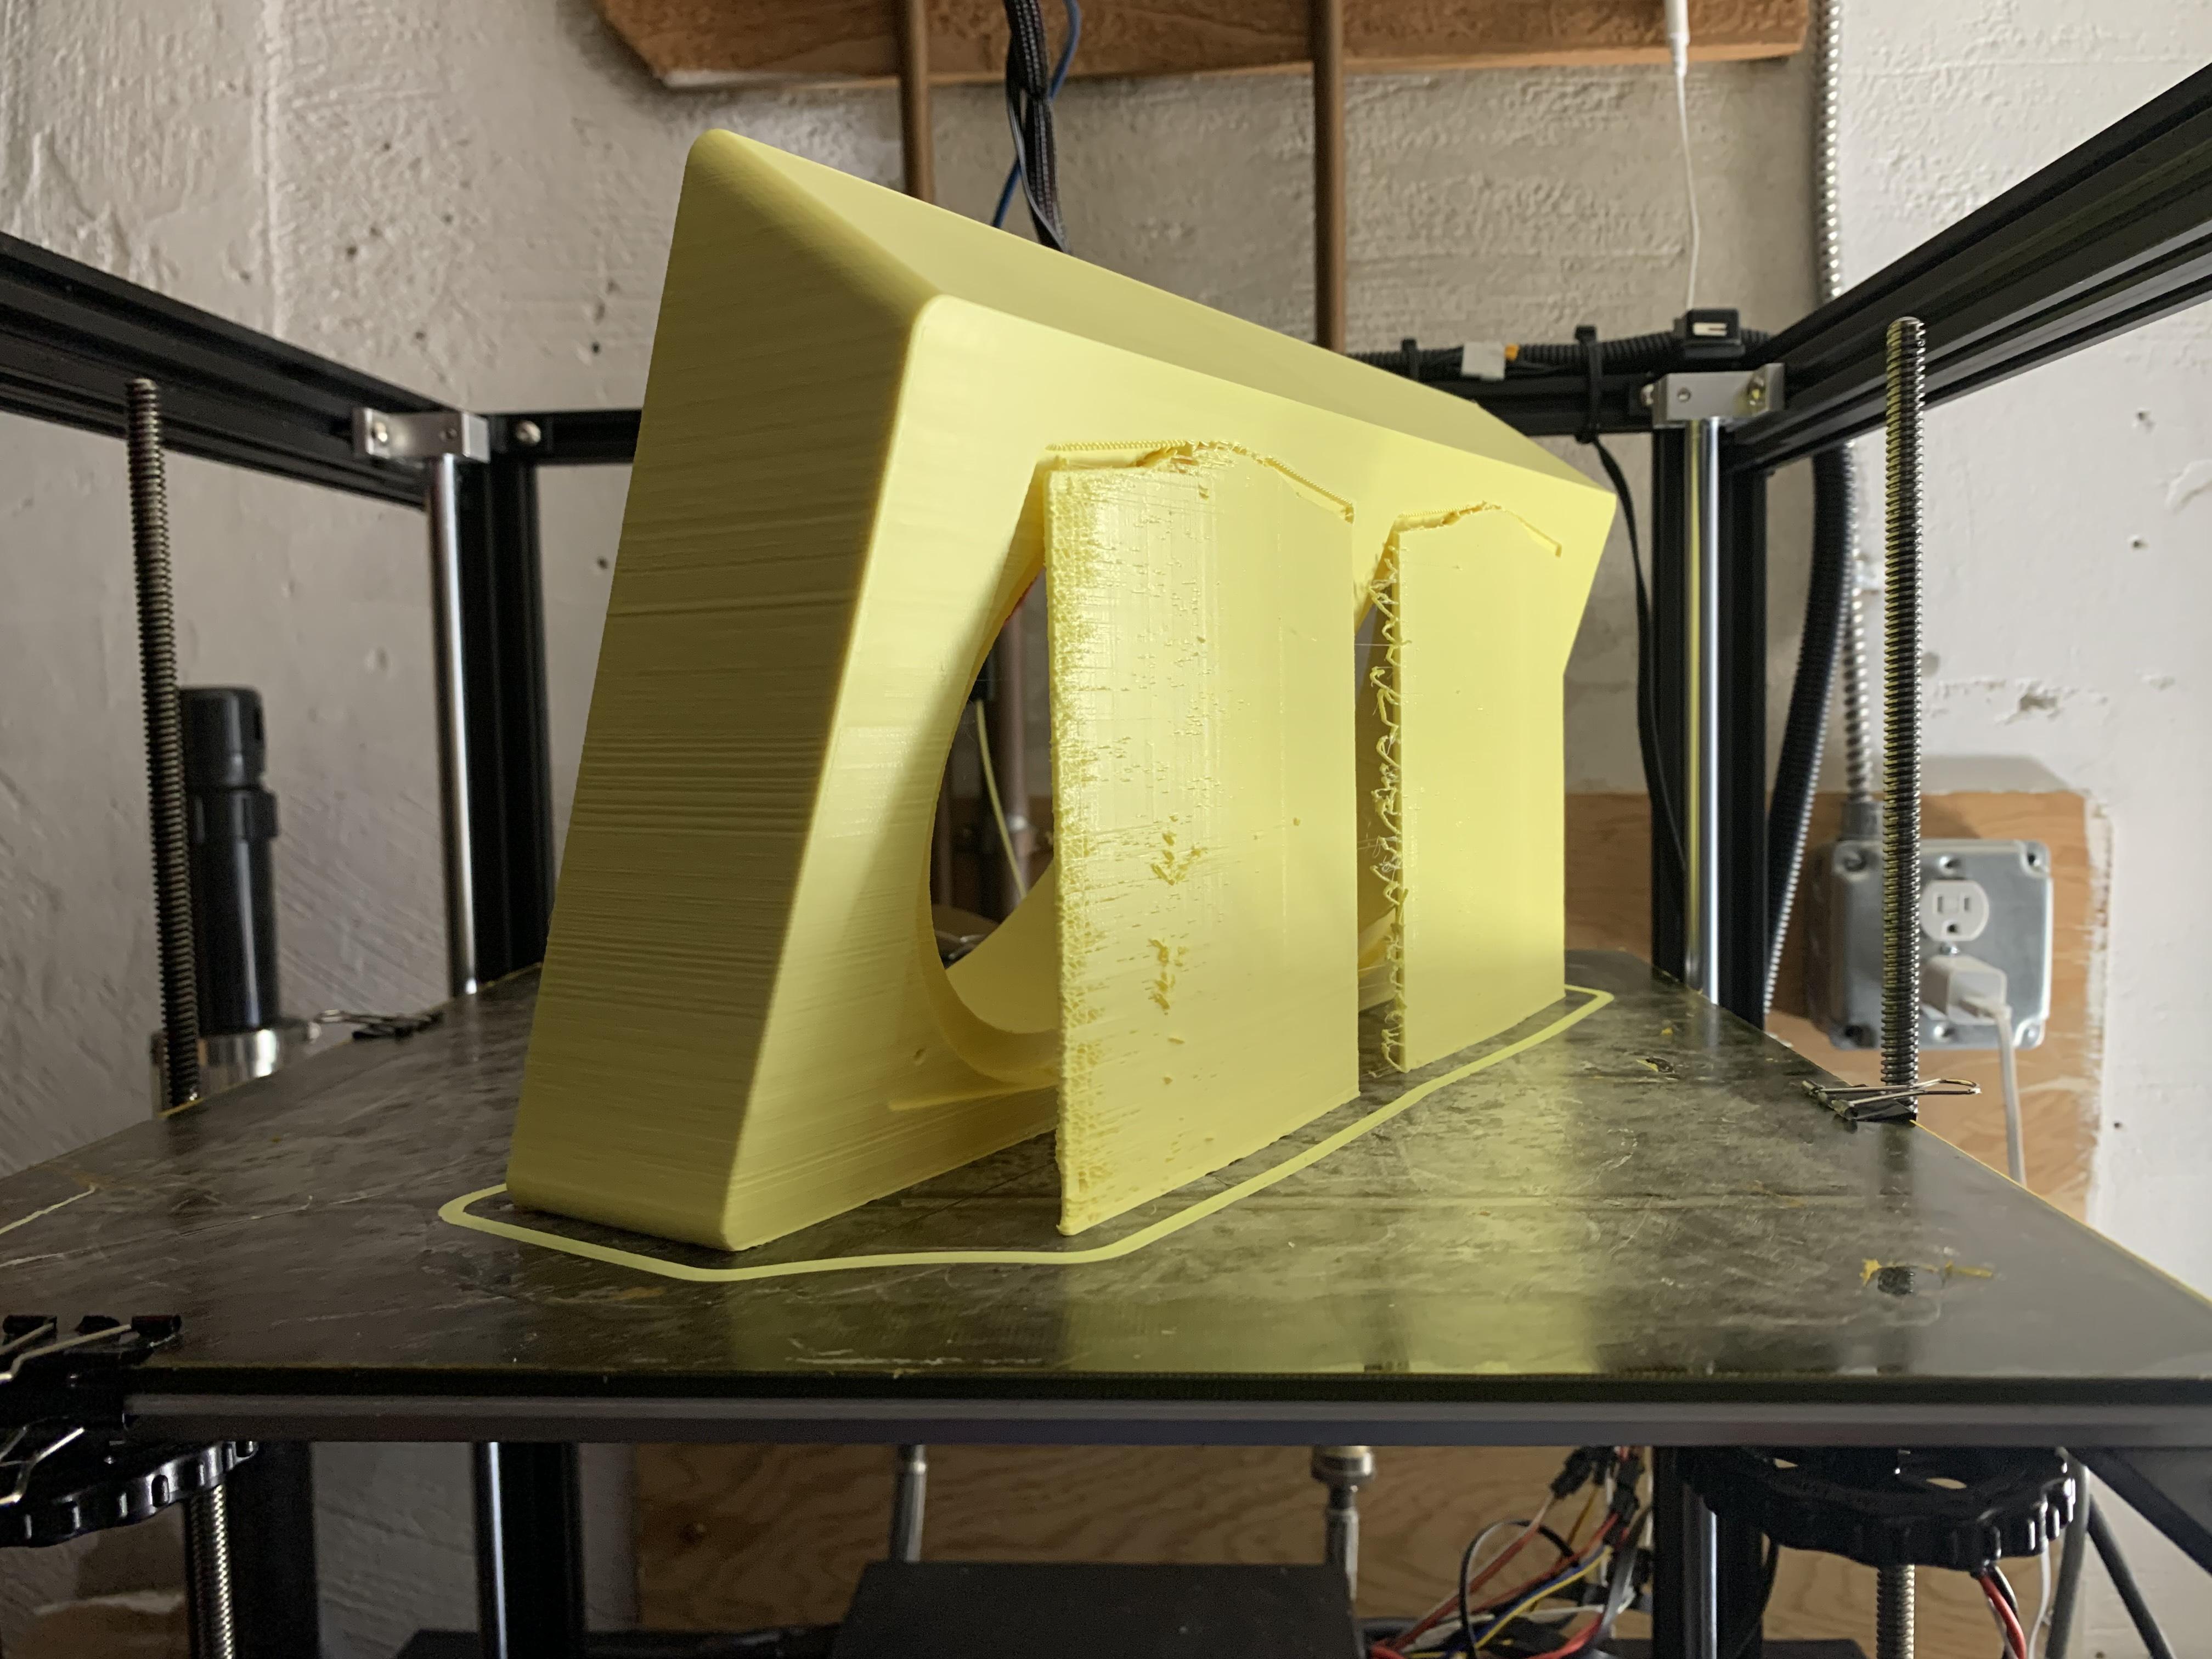
The print was good overall, but I did change some geometry to try and improve the quality. There was one corner that lifted slightly and the banding is quite serious so this part will not get used in the end I think.
Also, since I just changed the nozzle from 0.4mm to 1.0mm, there were some bone-headed slicer oversights so now those are updated as well.
Final print settings are going to be 0.3mm layer height, 18% gyroid infill and 3mm shell. Final printed part should be ~920g. Nearly an entire spool!
The woofer baskets are horribly e-coated and are a nasty greenish-brown. I might mask the speaker and spray them black so they don’t look so sickly when exposed!
I seem to be in the minority when it comes to 3D printed part appearance – I love printing and love seeing the parts. I think final execution of printing can go two ways; either you leave the part as-is and print to the best of your machines ability and in the color you want or as you say, Glitch, go “ten tenths” and completely finish the part with filler and paint etc.
This project will take the as-printed approach. I really like printed in color type parts as they don’t show wear very much when scratched etc.
Dying the speaker cones and dust caps is a great idea! The old dust caps are a not-so-great pink-ish brown color. Maybe later on I will do this.
I just started the first woofer module test print. I changed the nozzle to 1mm on my machine so some of the beauty has been compromised. Maybe I can do some final tweaks and re-print the final parts.
First tweemid baffle test print is complete. Only took 40 hours of time on the machine! I’ll be going up a size or two on the nozzle to speed this up on the next/final rounds. Also ran out of filament on the spool so there is a nasty color change at the top. This also led to a not-so-great structural result as there is a big split in the part at the layer where the print resumed. No problem though as this won’t happen on the final prints.
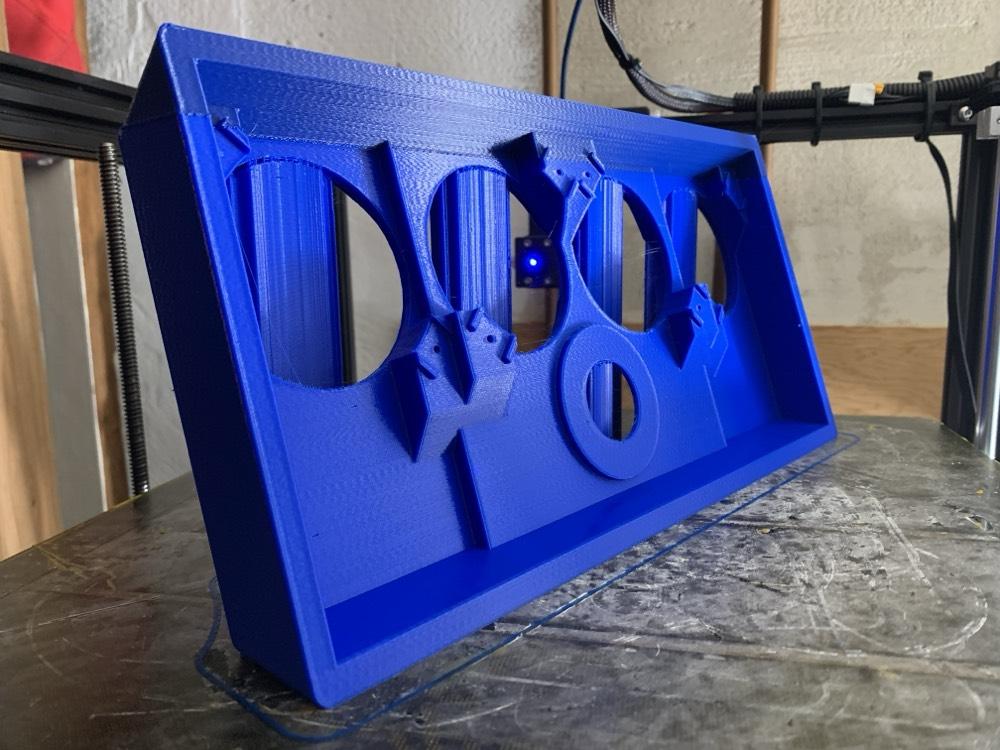
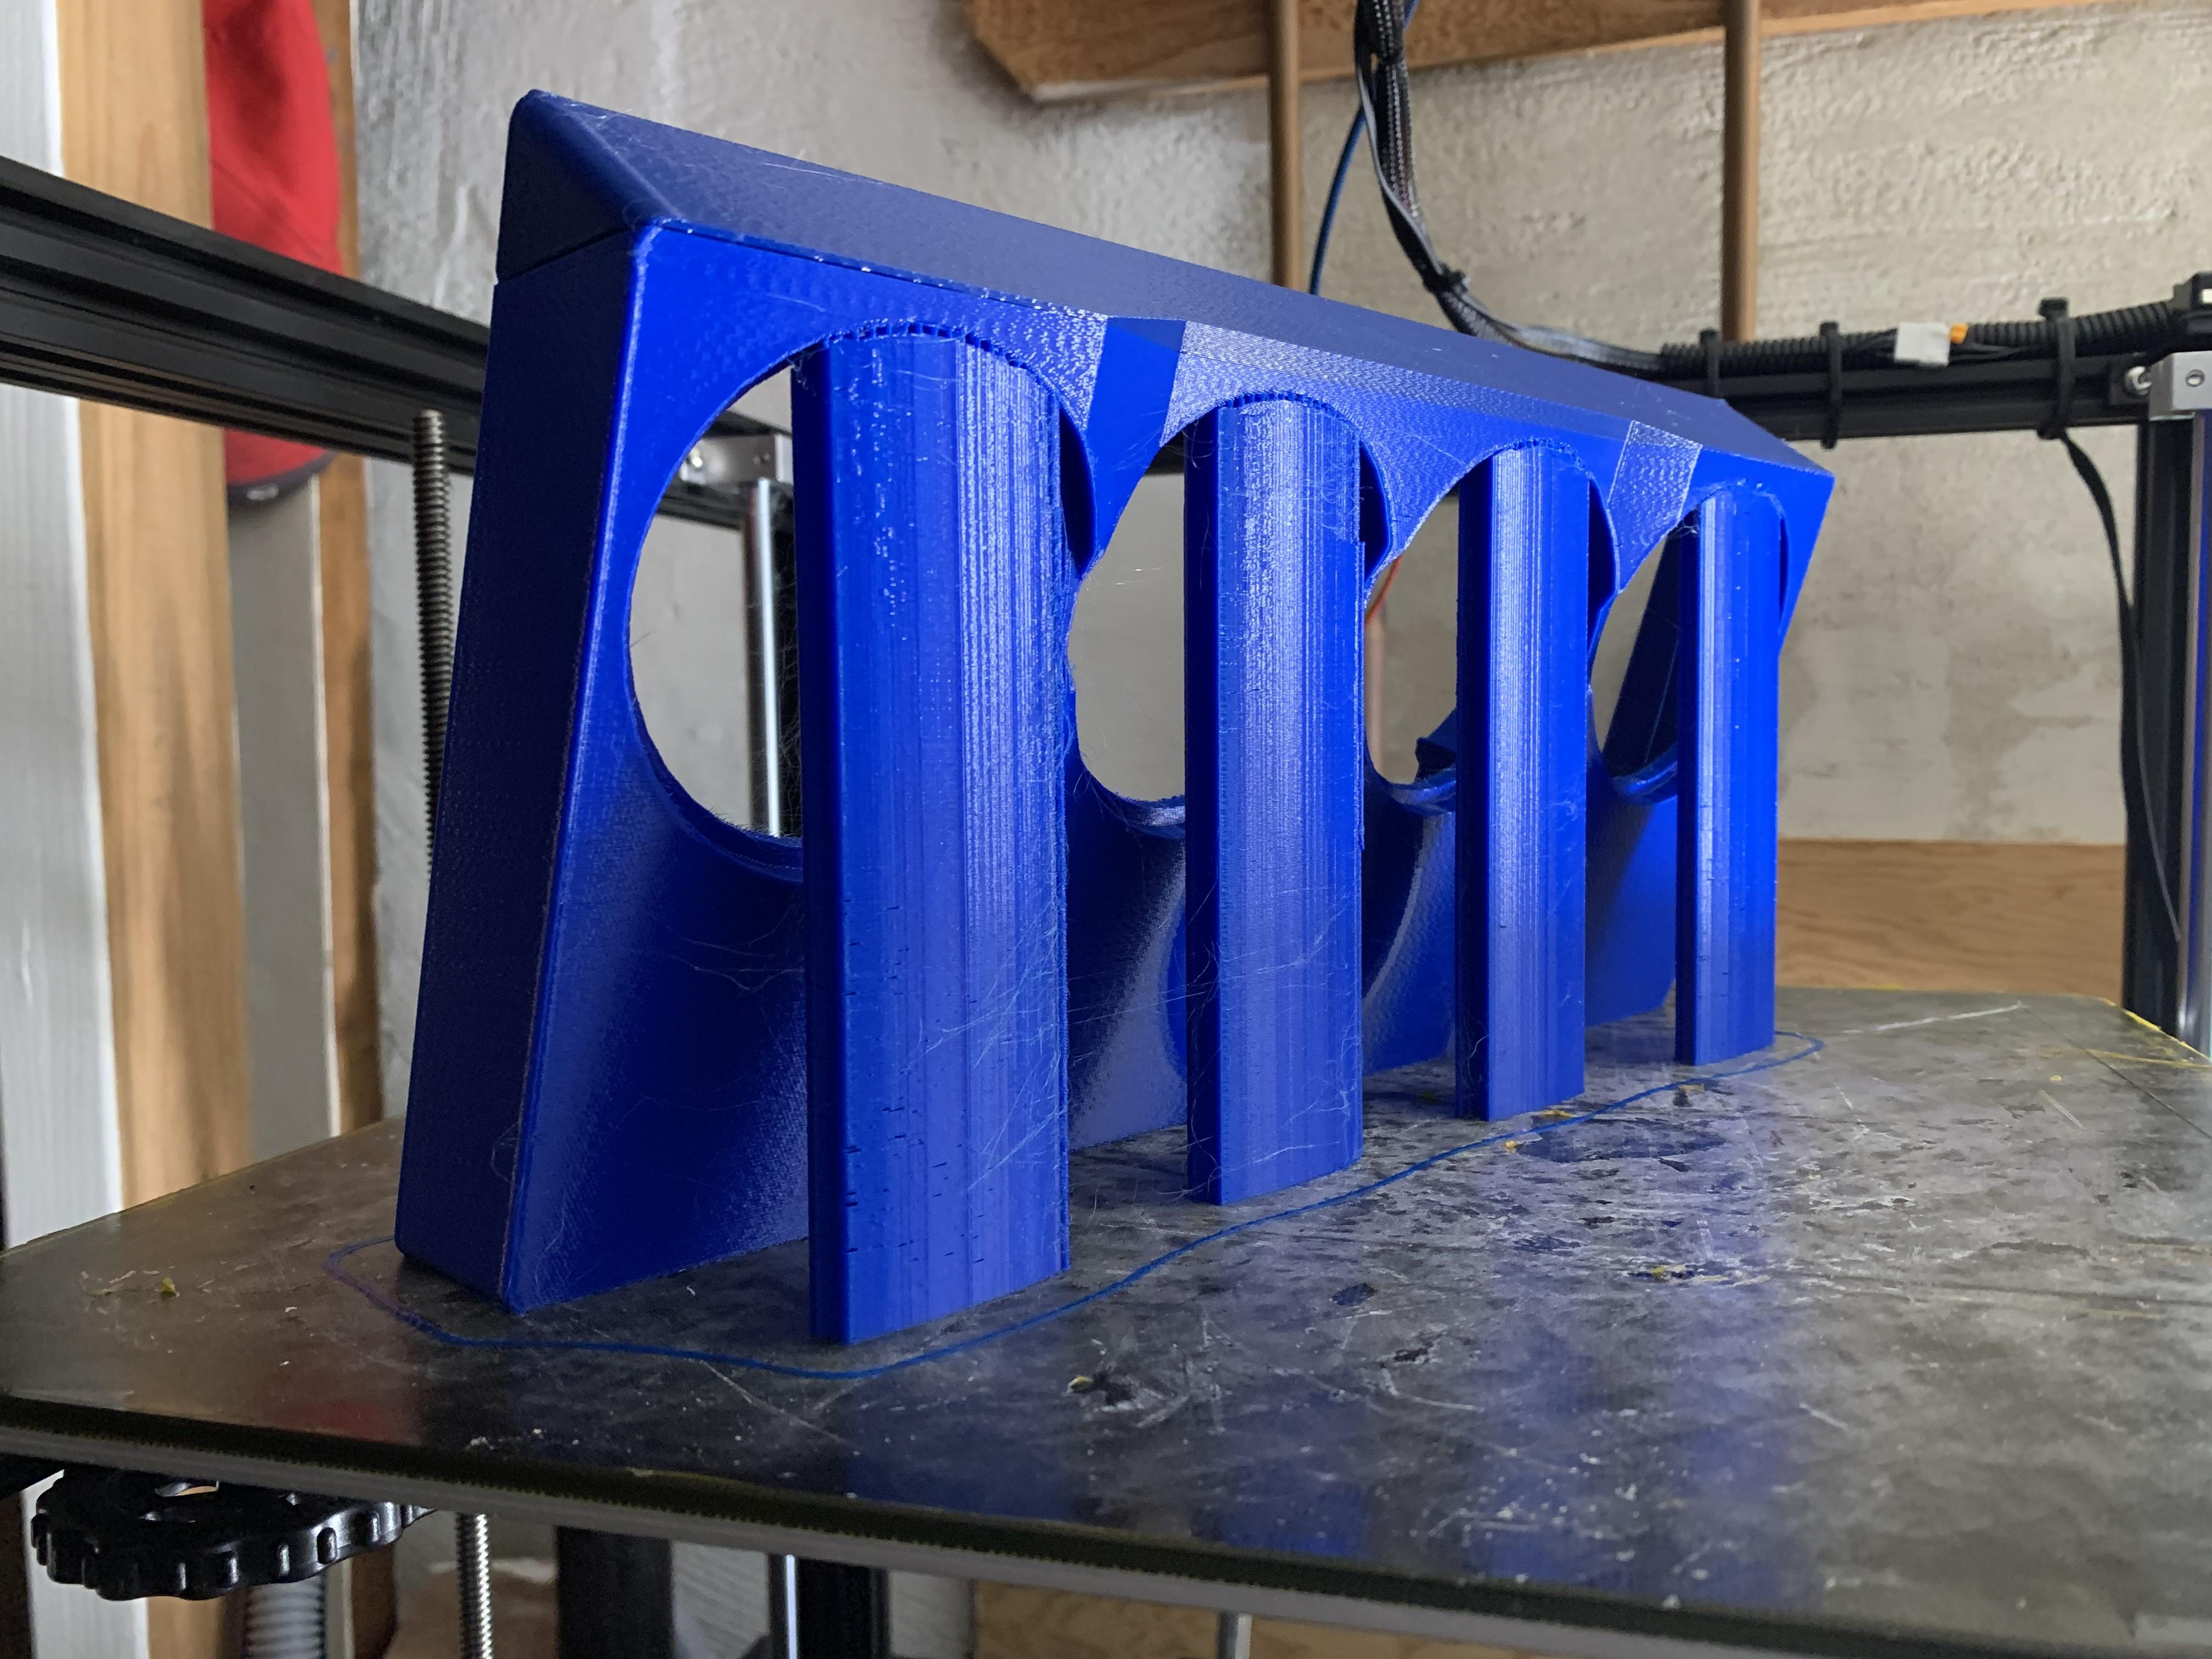
There is a lot left to model and I’m trying to keep the momentum up. Need to add the rest of the fastener features and decide on how I’m going to attach it to the box.
No progress on the refoam yet, that is still ahead of me. I want to get back to the Klippeling as I have some other things I want to measure as well.
Tentatively planning to leave the speaker sealed. My personal listening preference seems to always point to sealed units. I think I have the volume in this situation to go for a sealed alignment but that will be confirmed with some simulations soon. There is plenty of space on the woofer baffles to add ports, though.
I did have another design in mind that would be less boxy in shape, yes. The idea there was still sort of a 3 pillars style design but has not made it off the sketch pad yet. It would be a fully printed / plastic design that will just need way more time for me to make real. I’ll get some sketches up here eventually though. The acoustic arrangement would be very similar though.
For this version, I’ve attempted to capture as much Penta essence in the baffle design as possible by mimicking the angles of the Penta body.
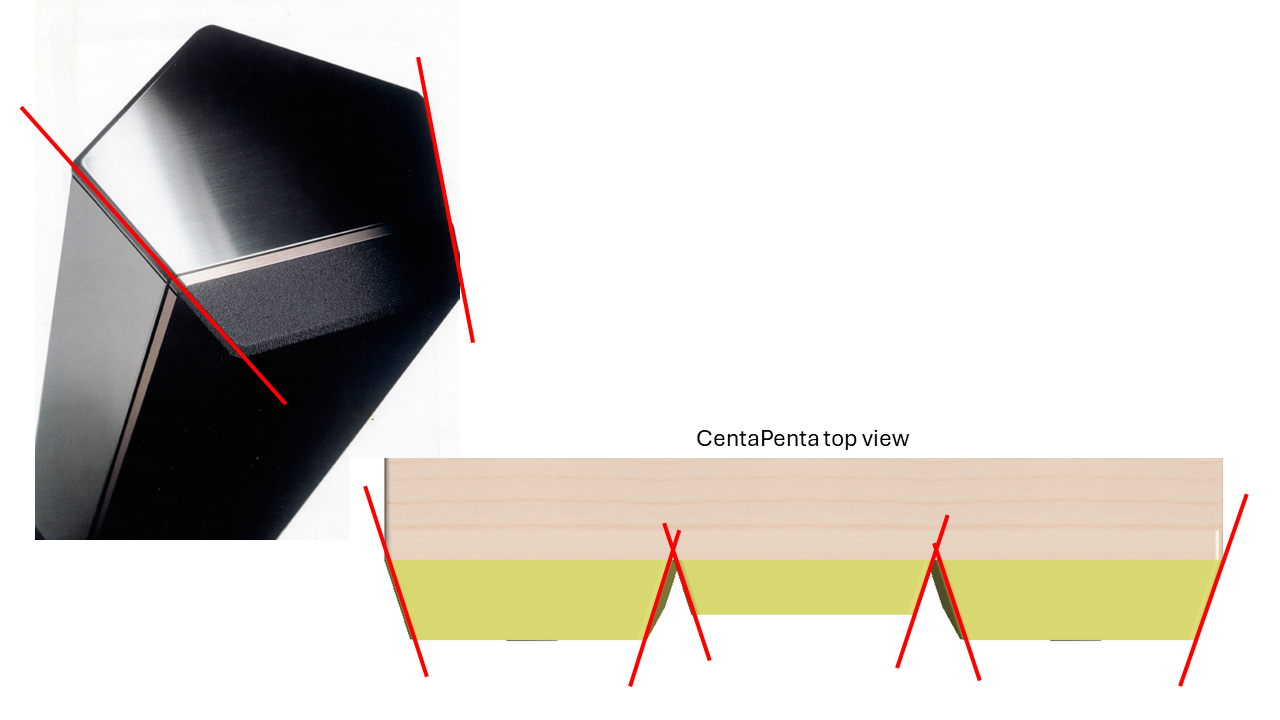
Almost like imagining the Penta fret as a “volume” on its own \/
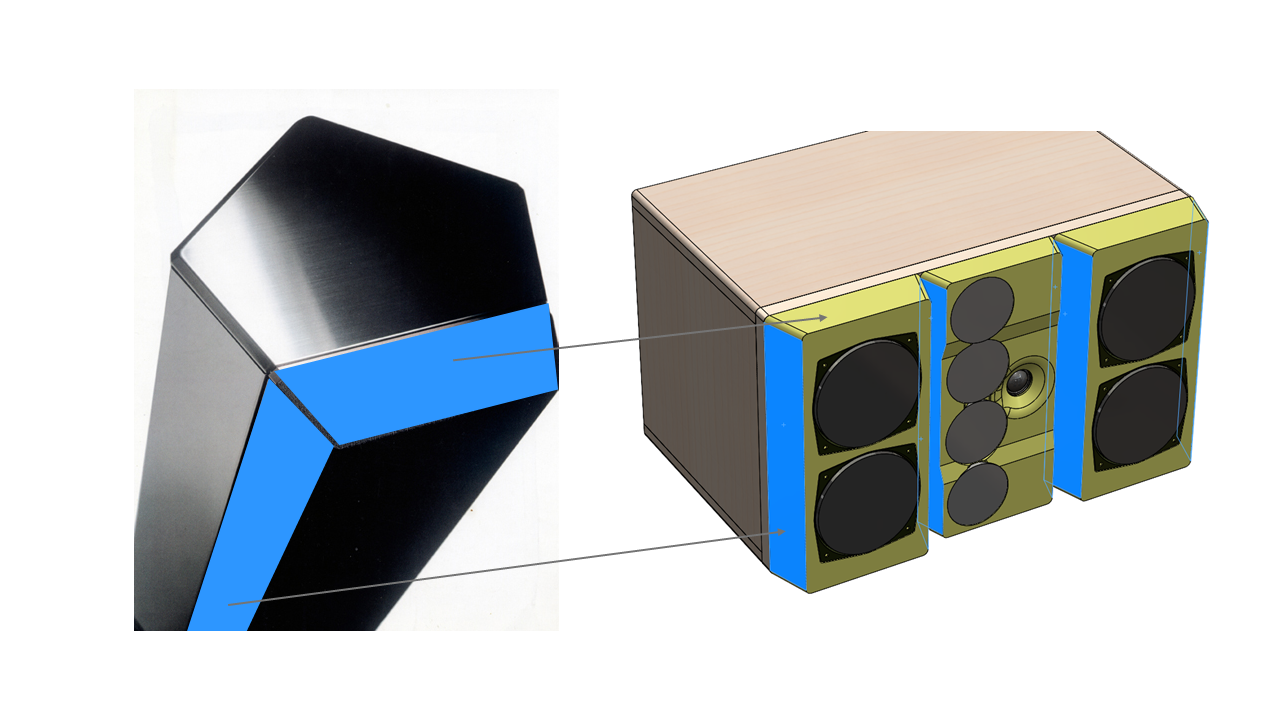
However I will be departing from the Penta design massively in the CMF domain. WAF has driven the project to a more fun result. I want to admit I really do like the wood+yellow baffles. Trying to find an appropriately soft-yellow 3Dp filament now. Most yellows are incredibly intense or even dark (such as most PETG filaments).
Cheers, Johan! Trying to push hard to the finish and get this speaker making noise.
Current artistic direction is to go single color for all three baffle pieces. The decor of the room where this speaker will ultimately live is predominantly yellow so that is plan of record right now. I think it looks fantastic so far. The only stylistic change I might add is a trim ring to convert the woofer frames to a round profile visually.
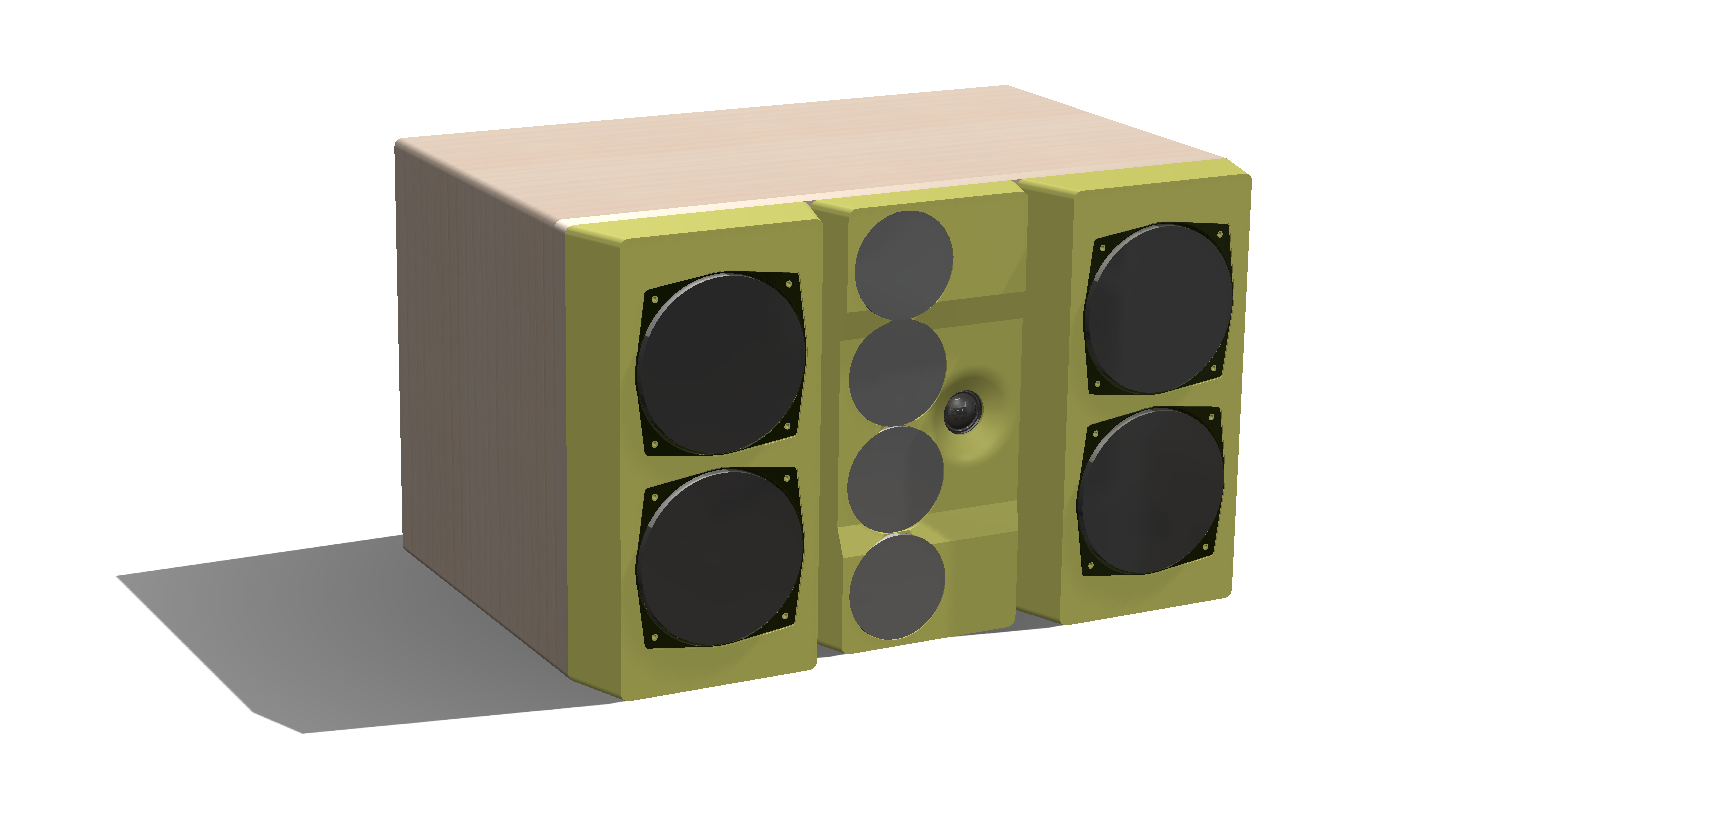
After socializing the design around the office a bit more with some even more acoustically-minded colleagues, it was time to give up on the asymmetric design. Too many concerns over diffraction and not enough of a concern (apparently) about comb filtering from the woofers, it seemed best to revert to a conventional-ish layout.
So re-thrashing yesterdays CAD leads us to the final architecture. Sadly the new layout doesn’t look so good in the same colors. I think all three baffles may have to go to one color.
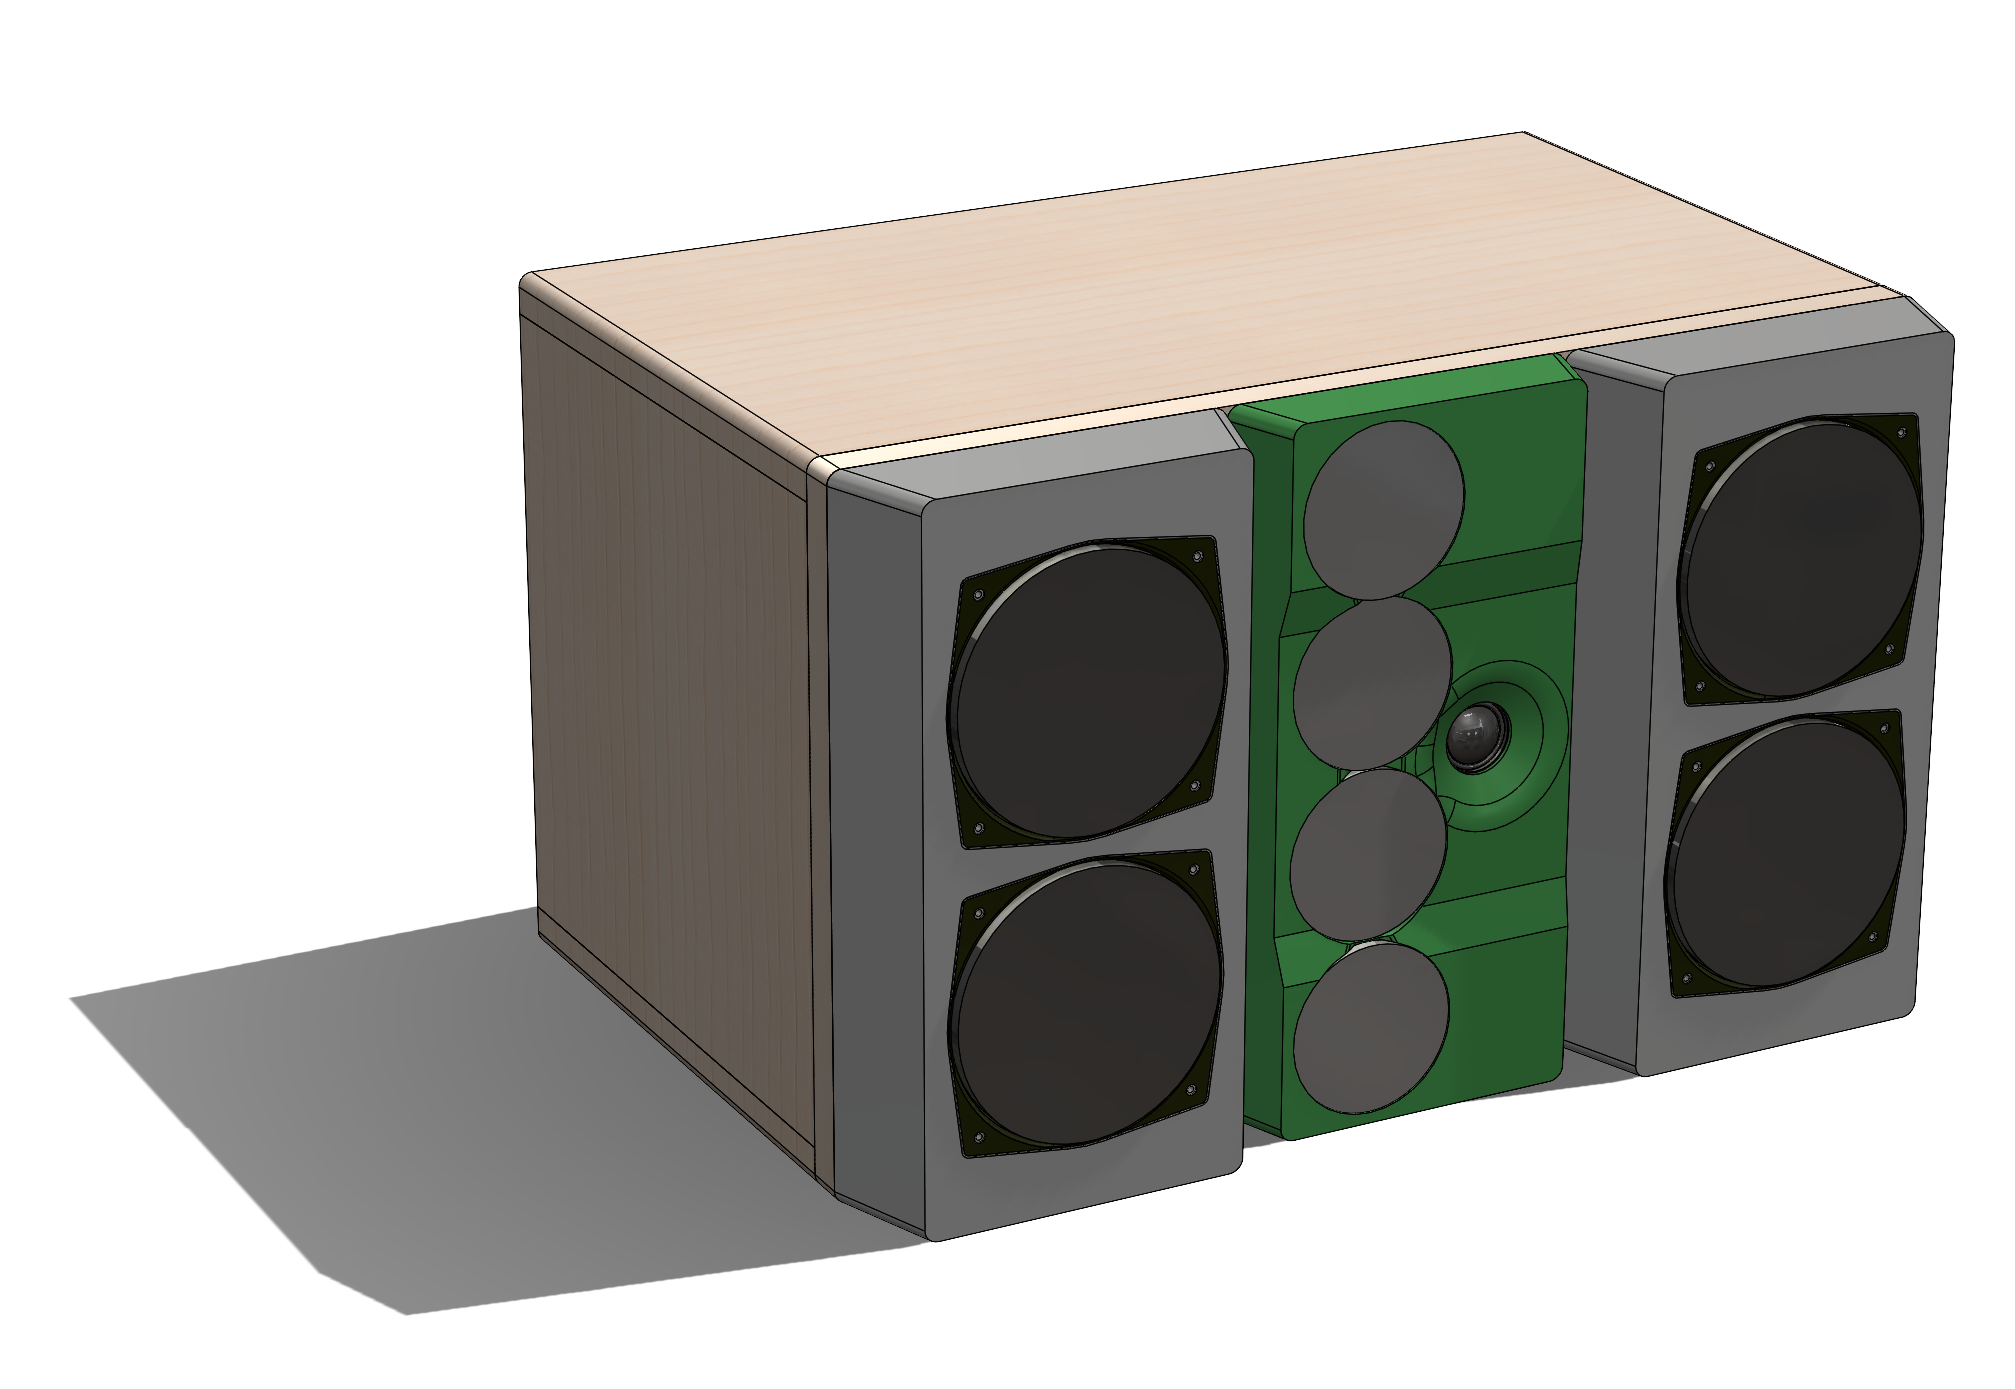
Design update for y’all. I have been wrestling with the design of the baffle but it has been challenging to get it right considering the ID translation from pentagonal pole to wooden cube. I think this is going to be the direction I take. Having multiple pieces allows me to step the baffle correctly (even if it is acoustically not a concern) and I want to retain the soul of the Penta look and feel with the tapered sides.
I don’t really want to build a fret for this but was originally planning to. Now the plan of record is to 3D print the baffle modules and attach them to the wooden baffle underneath. Currently the first test print of the tweemid baffle is underway. And yes, these elements will be printed in color (another reason for the baffle to not be hidden under a fret).
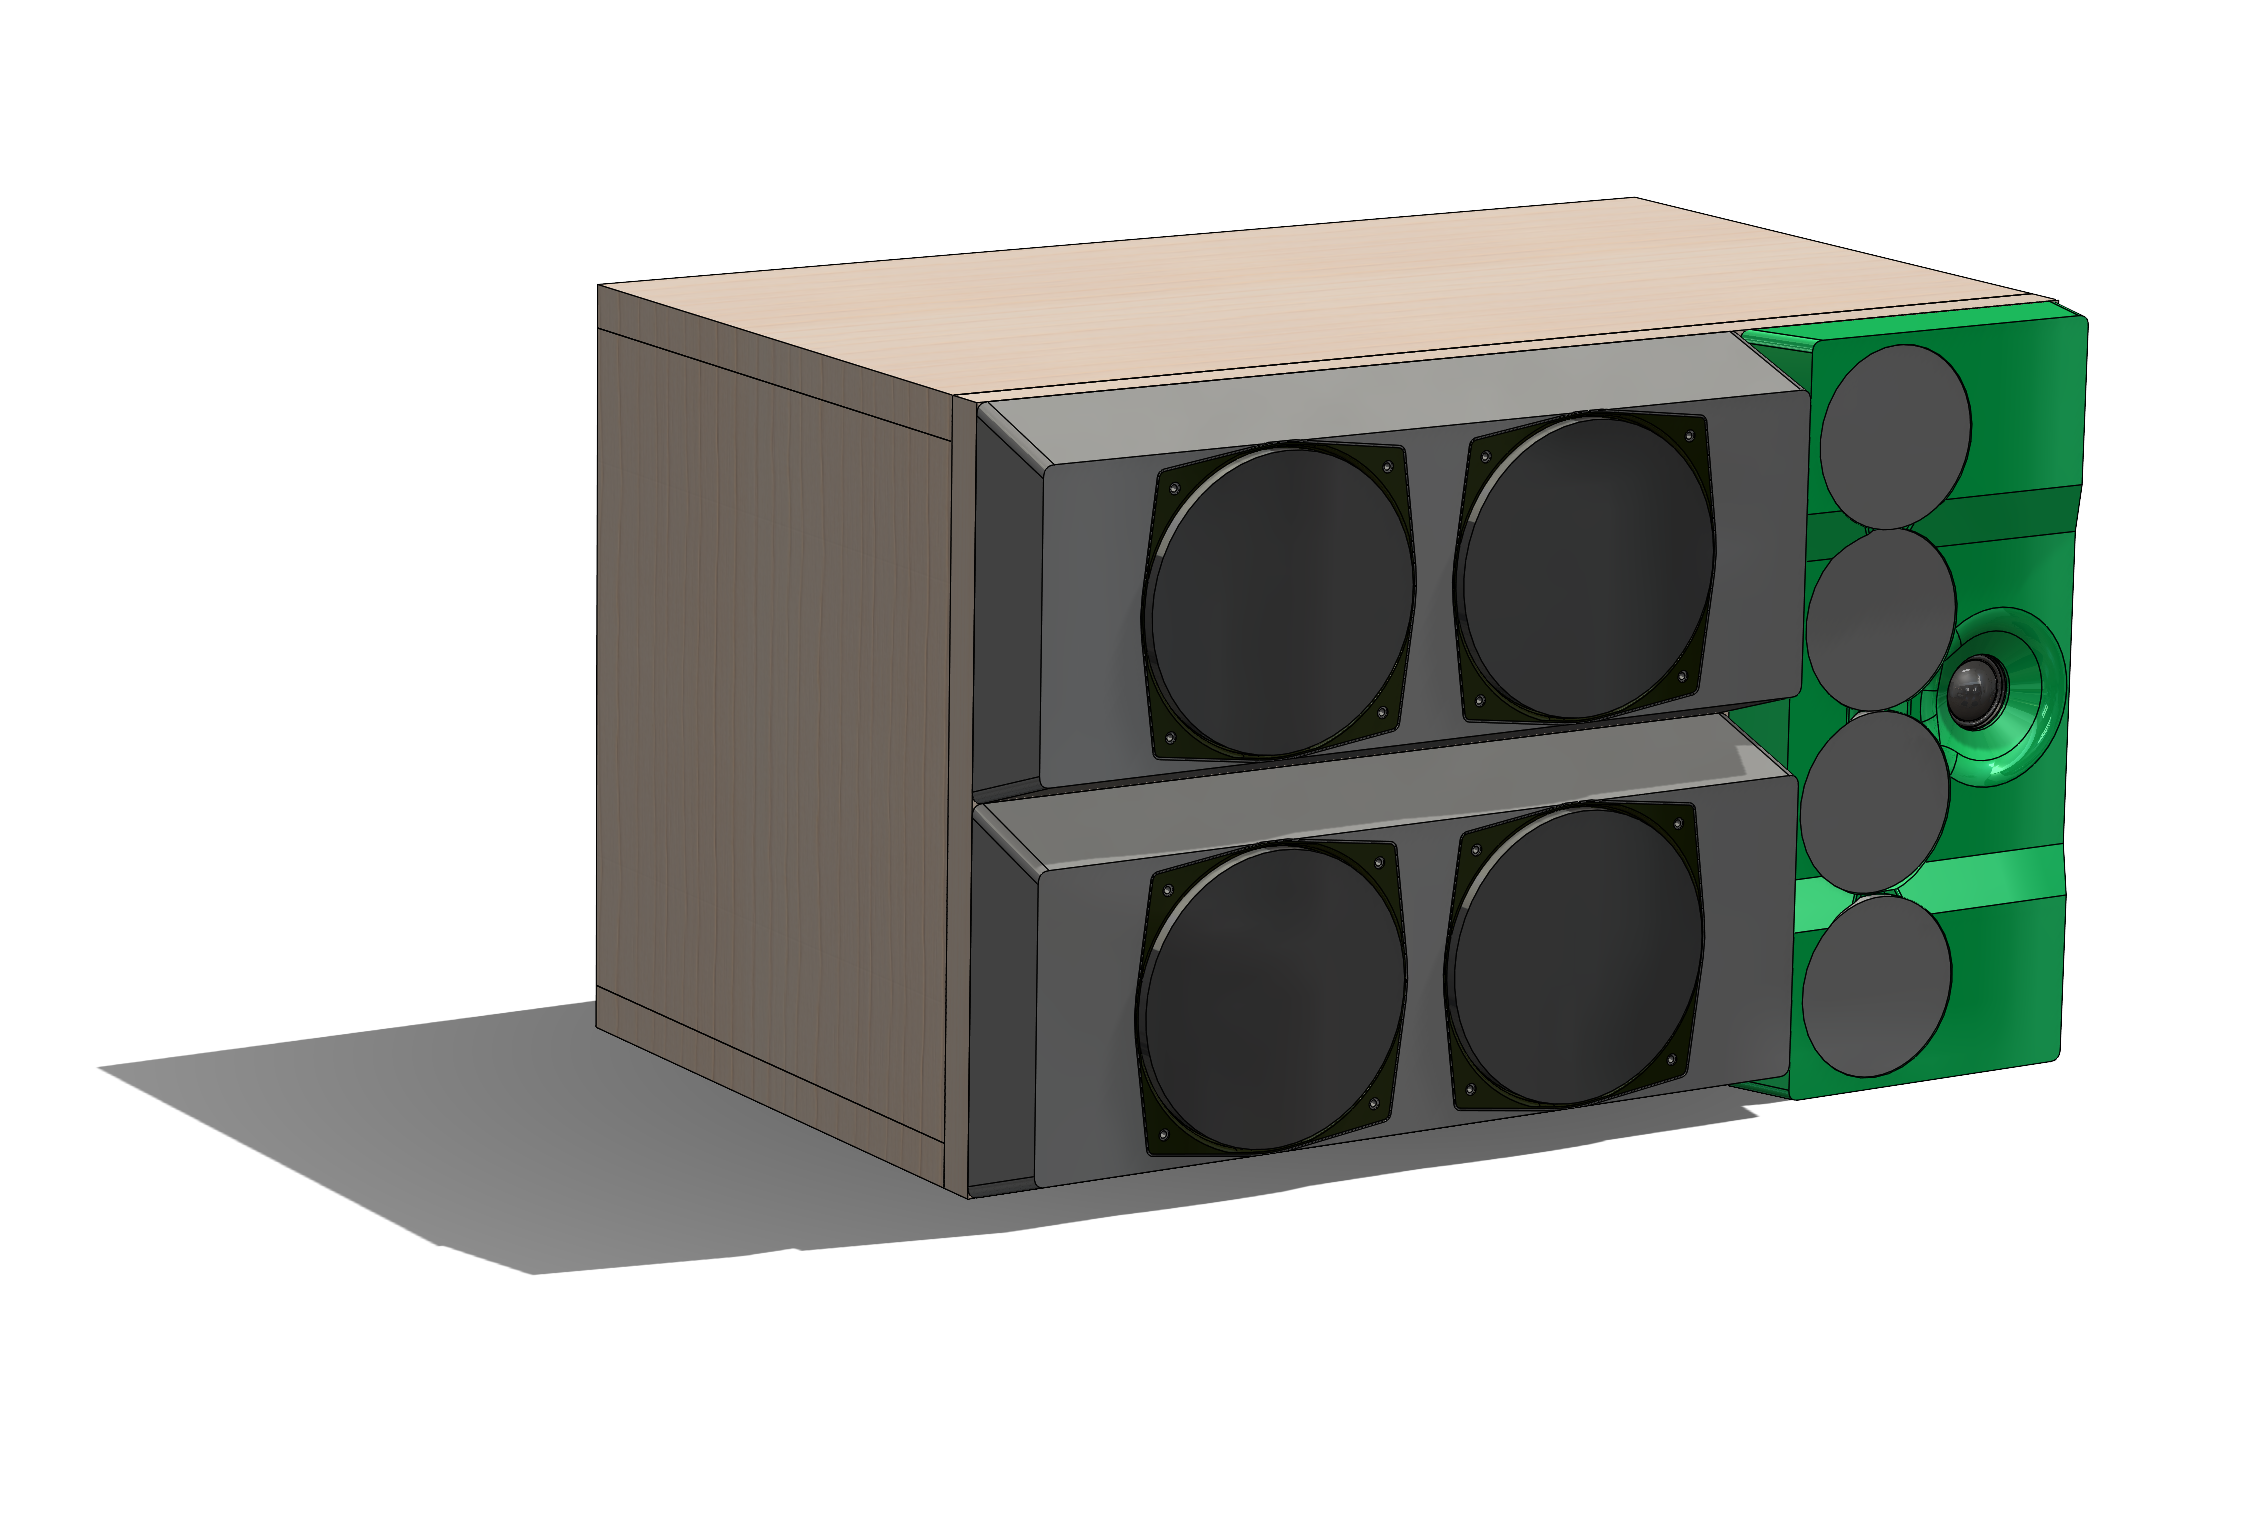
Special shoutout to a little 3D print I made up a couple years ago. I designed this transport block to carry Pentas safely on their backs during a house move. They’ve been super useful for this project and enabling these past two experiments by pointing the speaker directly upwards.
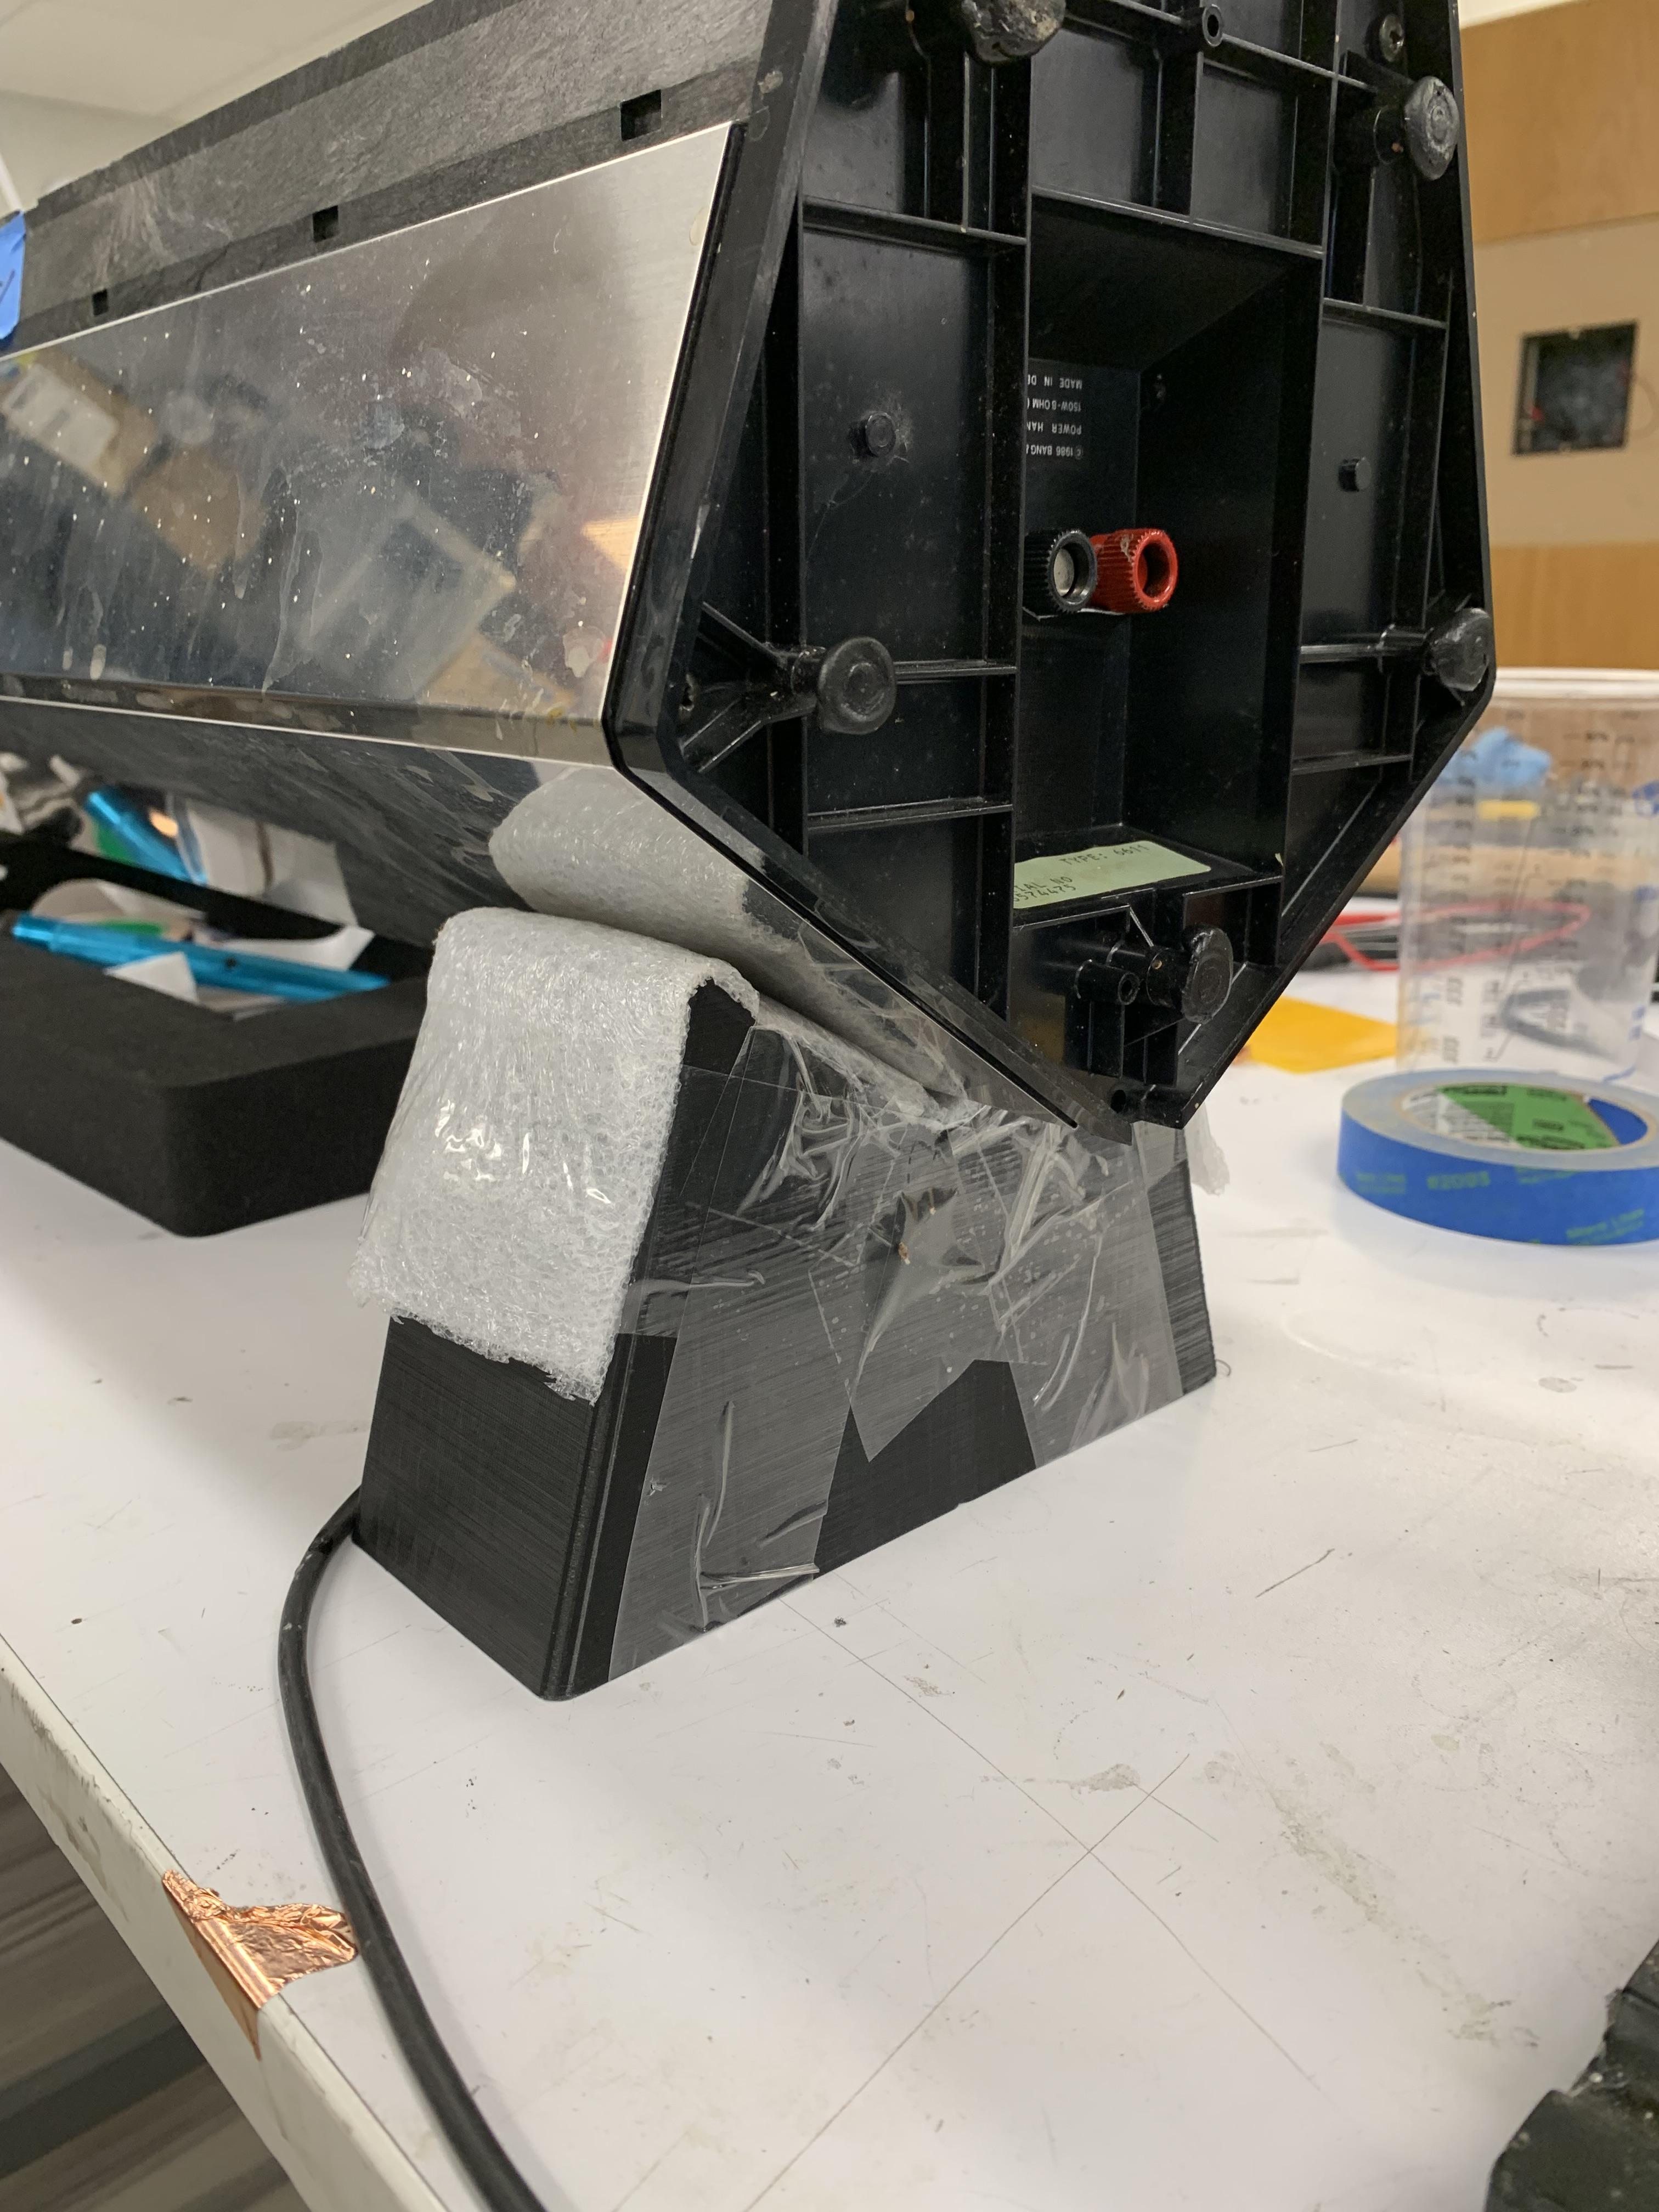
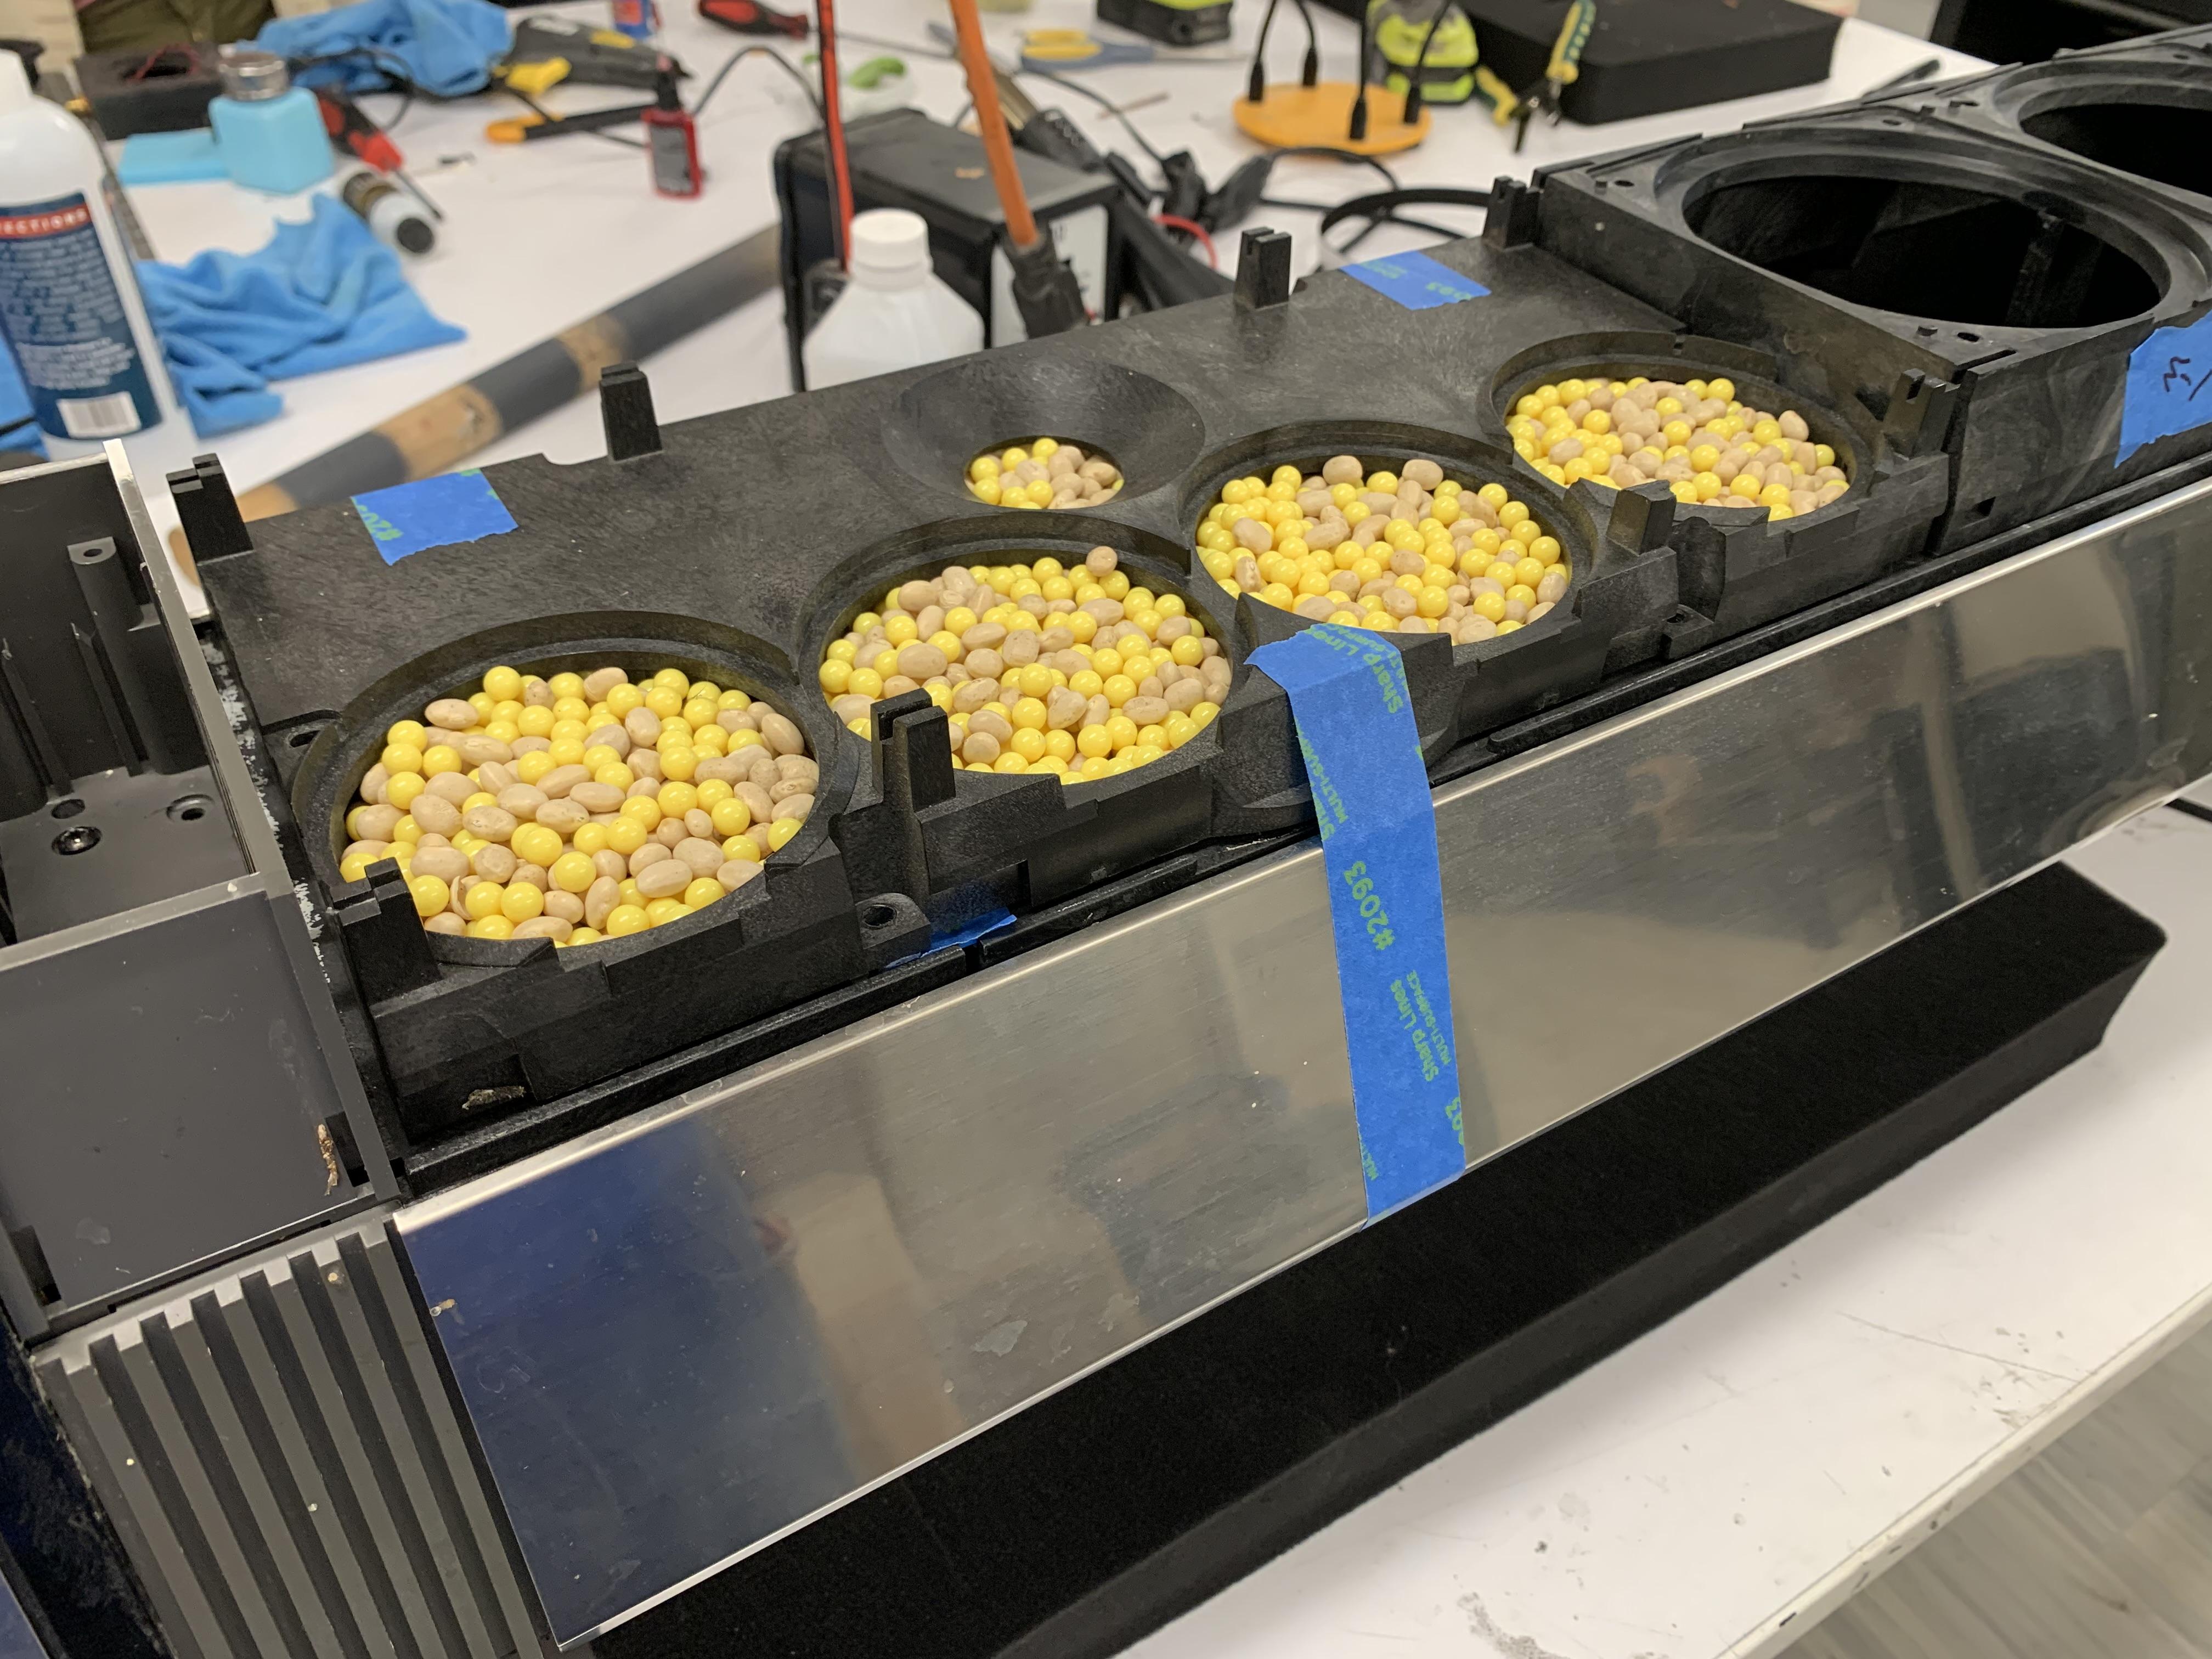
The result: approximately 1950ml of bb-bean volume matrix compound.
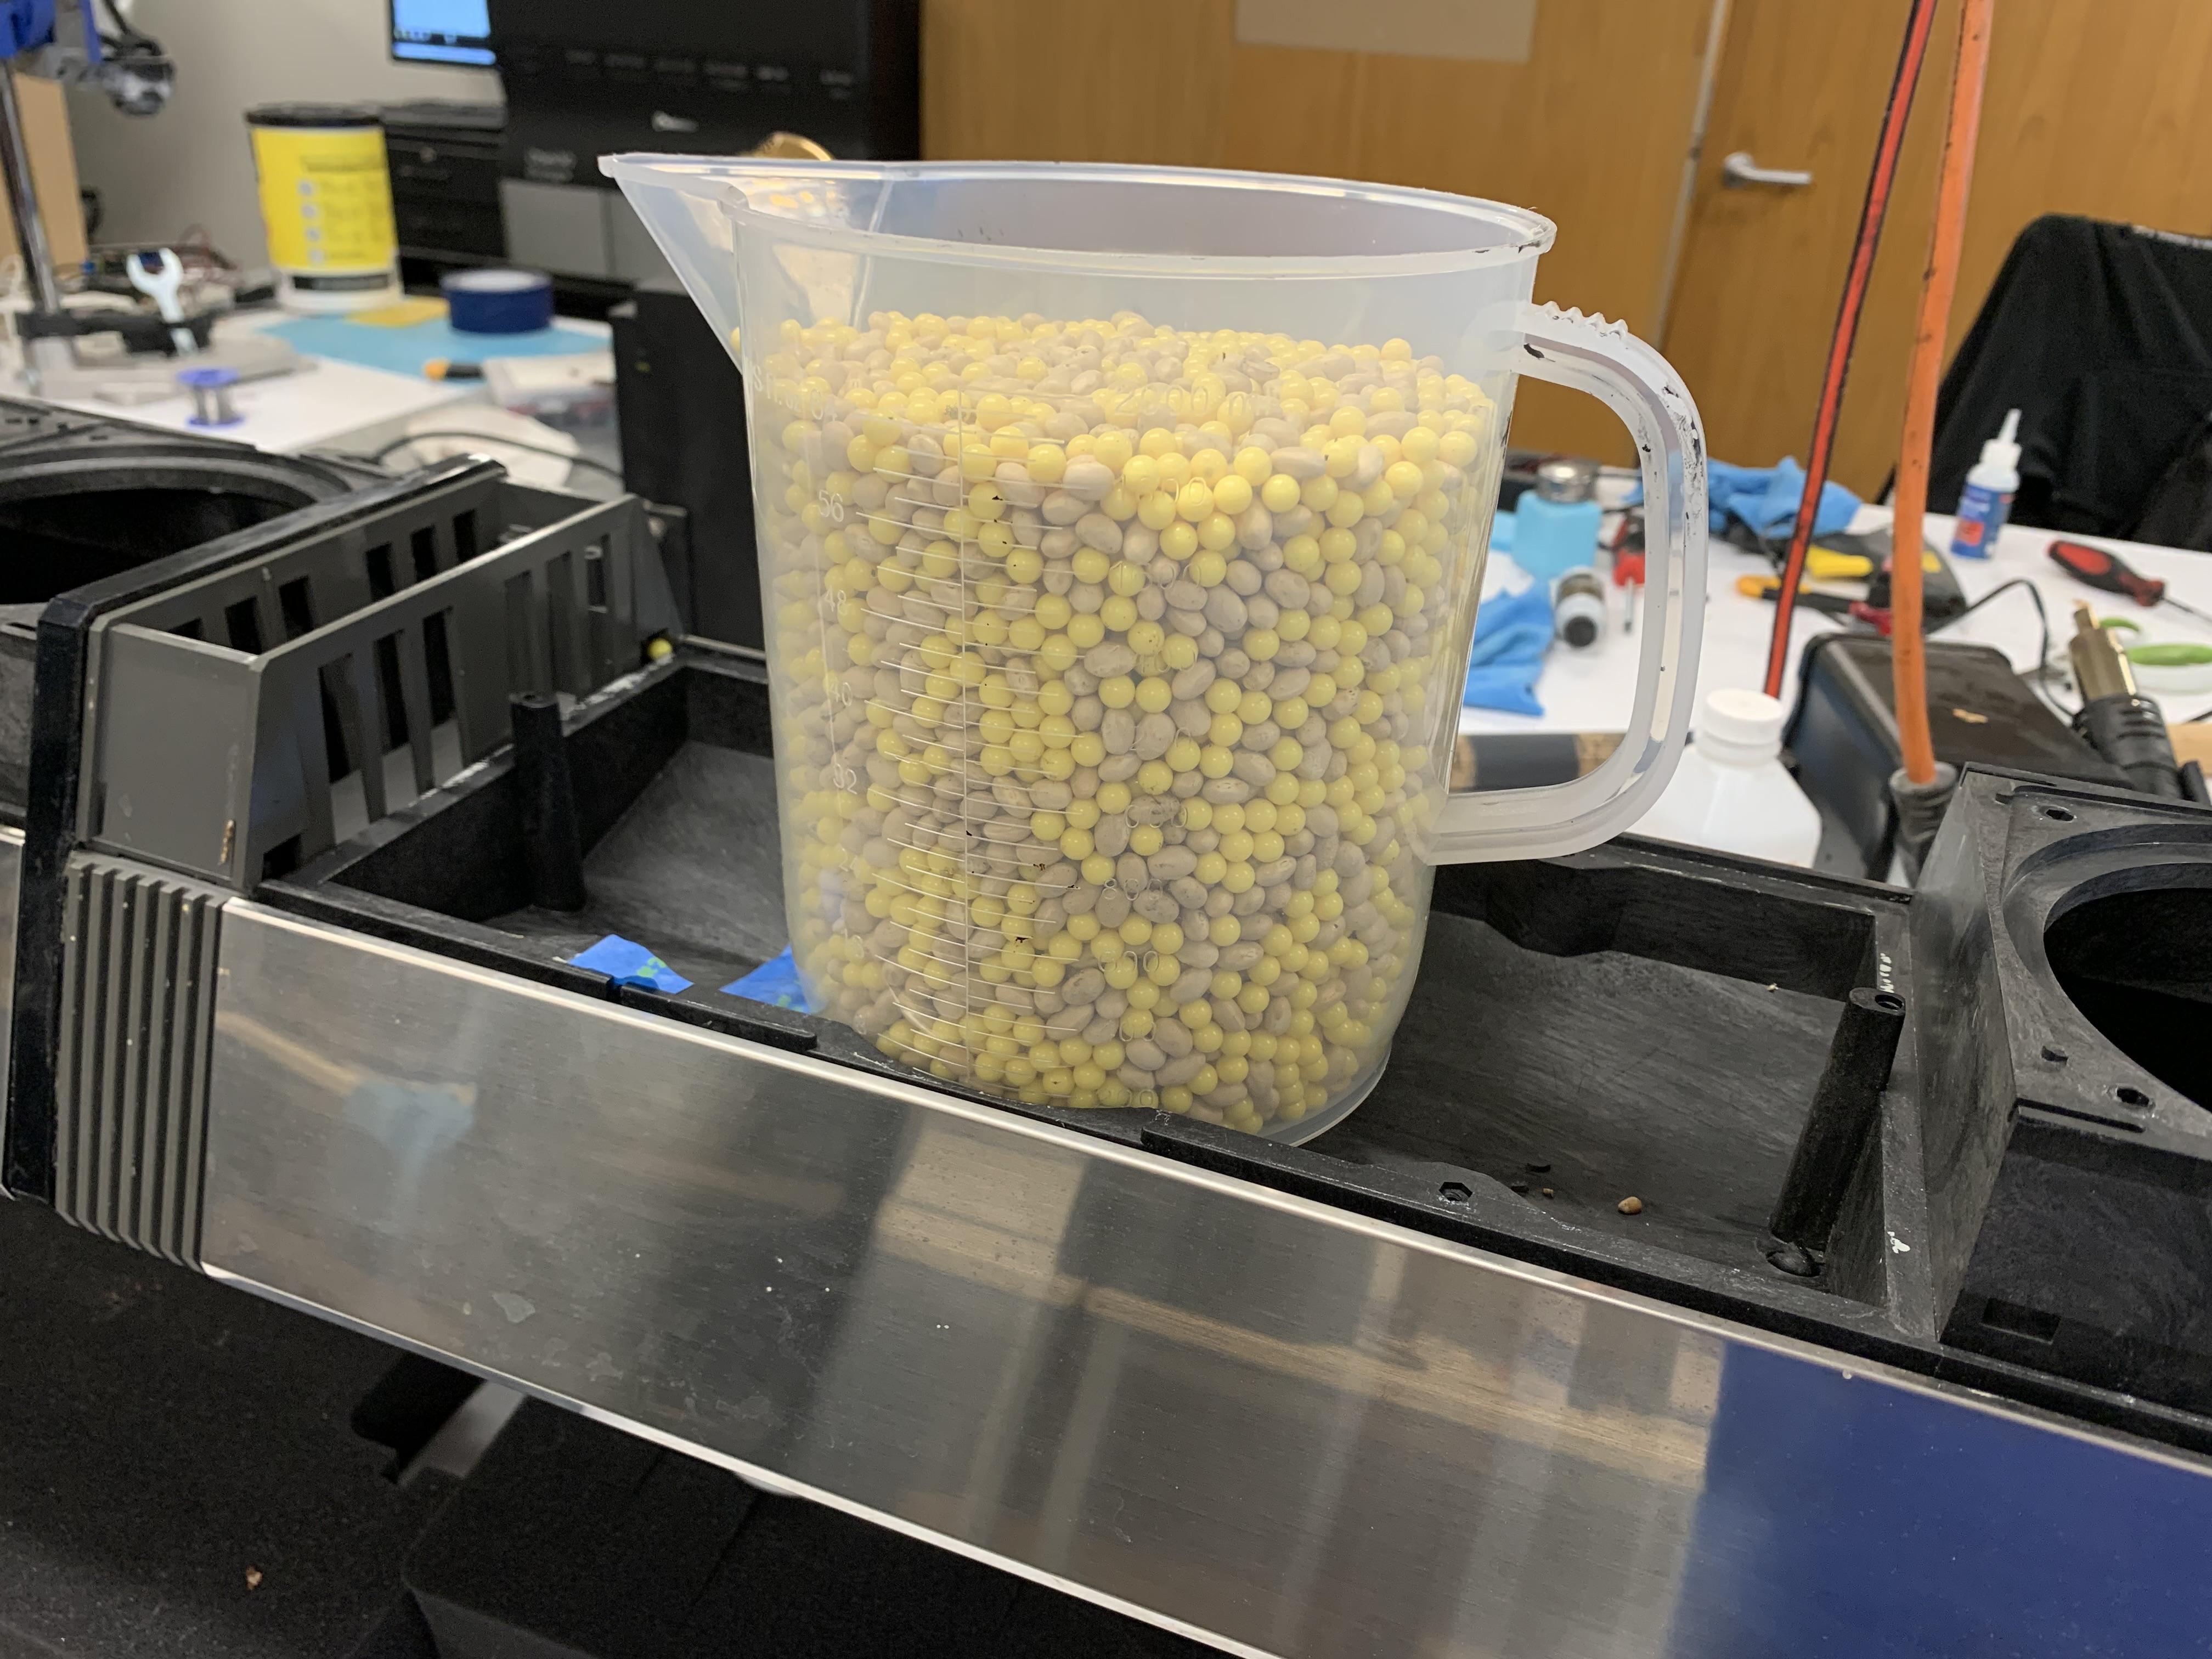
Now that the module is full, its time to carefully remove the beans and collect them for measurement. Luckily the office has retained some very handy buffet spoons from past client meetings. Seems like the perfect tool for the job honestly but I’ll admit, this is hard to do while cackling endlessly.
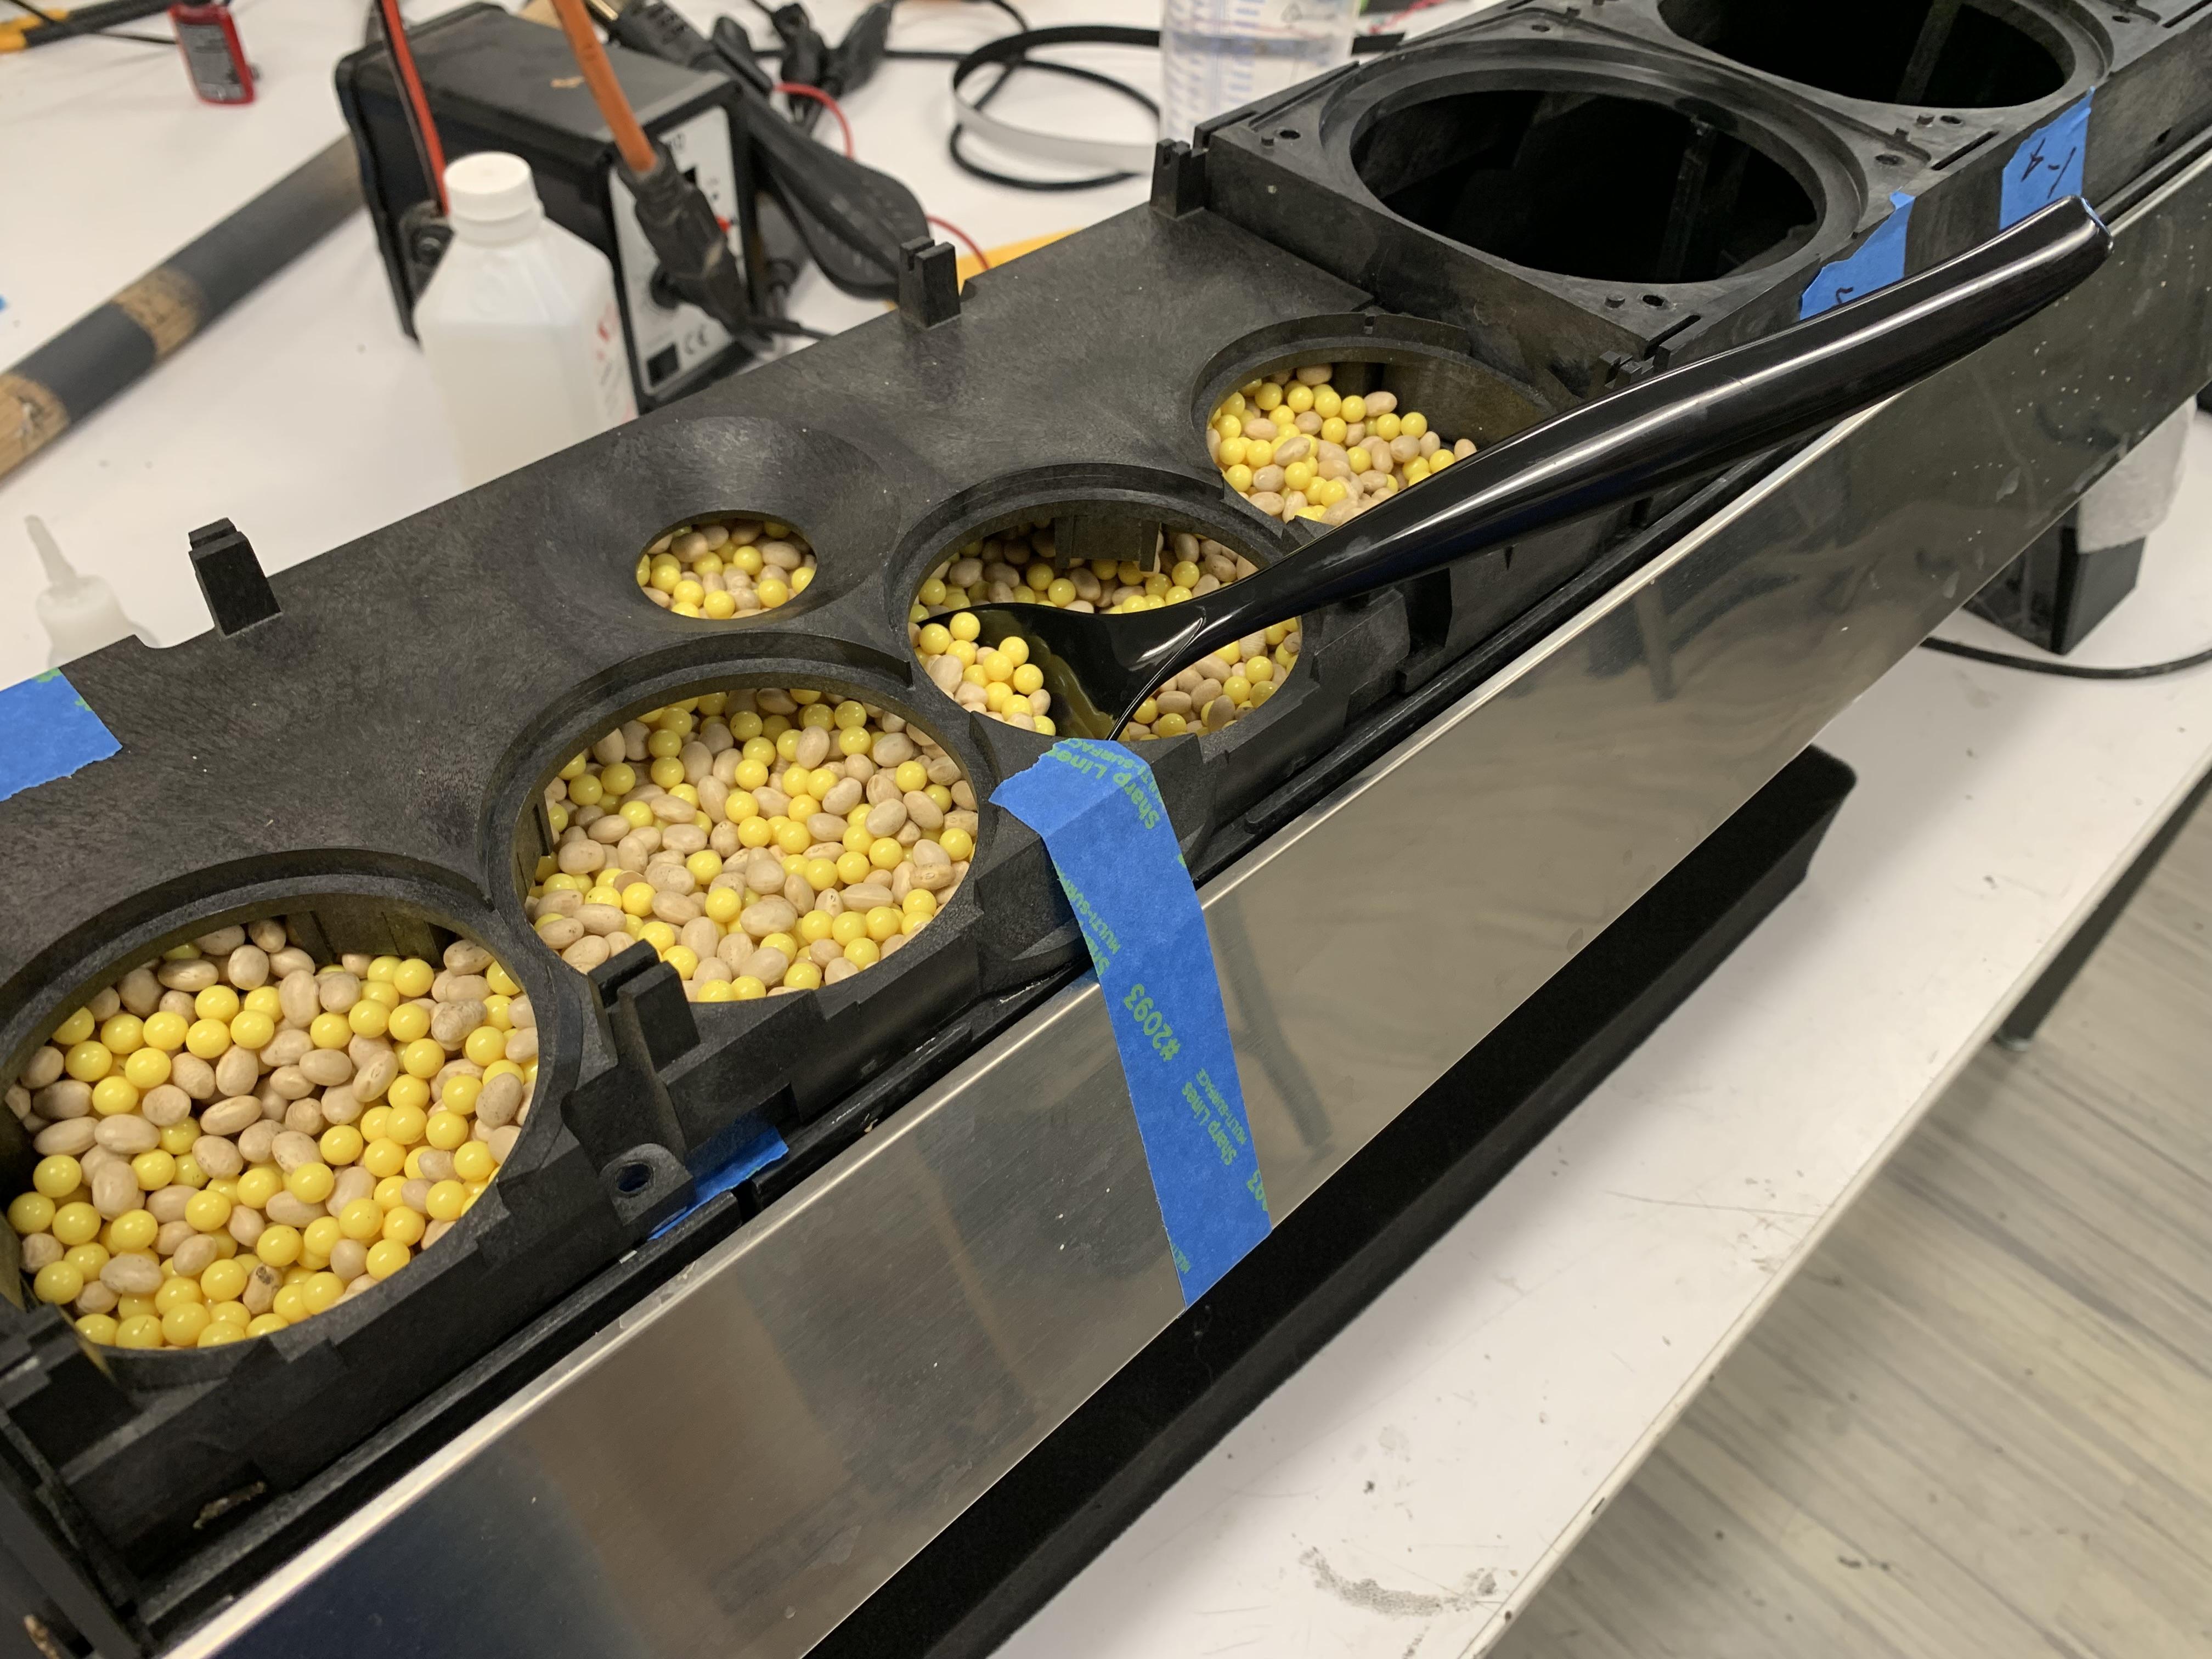
Again, a very strange day for me – filling the mid module with a proprietary bean-airsoft BB hybrid mixture so we can determine the acoustic volume.
- AuthorPosts
