- This topic has 6 replies, 3 voices, and was last updated 1 year, 7 months ago by
matador.
- AuthorPosts
- 11 July 2023 at 11:24 #47610
The Beoplay A3 was sold for original iPad, iPad 2, and iPad 3. This means that the range of operating systems was:
- iPad: iPhone OS 3.2 (original) to iOS 5.1.1, released May 2012
- iPad 2: iOS 4.3 (original) to iOS 9.3.6, released July 2019
- iPad 3: iOS 5.1 (original) to iOS 9.3.6.
These systems are no longer supported and Apple provides no further security updates.
With very little work (but some trial and error) I have now adapted an iPad 6 to the Beoplay A3. On this thread I will provide instructions. With the right materials at hand, this is a 1/2 hr project that requires minimal skills.
This project requires that the iPad be left more or less permanently on the Beoplay A3. It can be removed, sure (I’ve done it a couple of times already), but it’s best to just let it be. My iPad 6 cost me all of $160 last week, so it is an extra to my main iPad: for patio use, or as a B&O multiroom interface, which are my two purposes with this initiative. Of course, it is great for YouTube watching, if that’s your thing.
The iPad 6 offers the same 9.7 inch (24.6 cm) diagonal screen size as iPad, iPad 2, and iPad 3, but much higher resolution. iPad had a 0.79 megapixel screen; iPad 6 has 3.1 megapixels, so the resolution, or image quality is more than four-fold. It is a reasonably speedy machine and still a joy to use, unlike, say, my iPad 4. The 6 now runs iPadOS 16, and Apple has already stated it will run iPadOS 17, to be released next month.
Apple is unlikely to provide iPadOS 18 for iPad 6: this means security patches will stop after September 2025, so this project prolongs the life of BeoPlay A3 at least two full years, but probably not much more.
The good news is that in late 2025 you could remove the iPad 6 and install a now current iPad mini 6th generation, thereby prolonging the life of the Beoplay A3 until the end of the decade, or beyond.
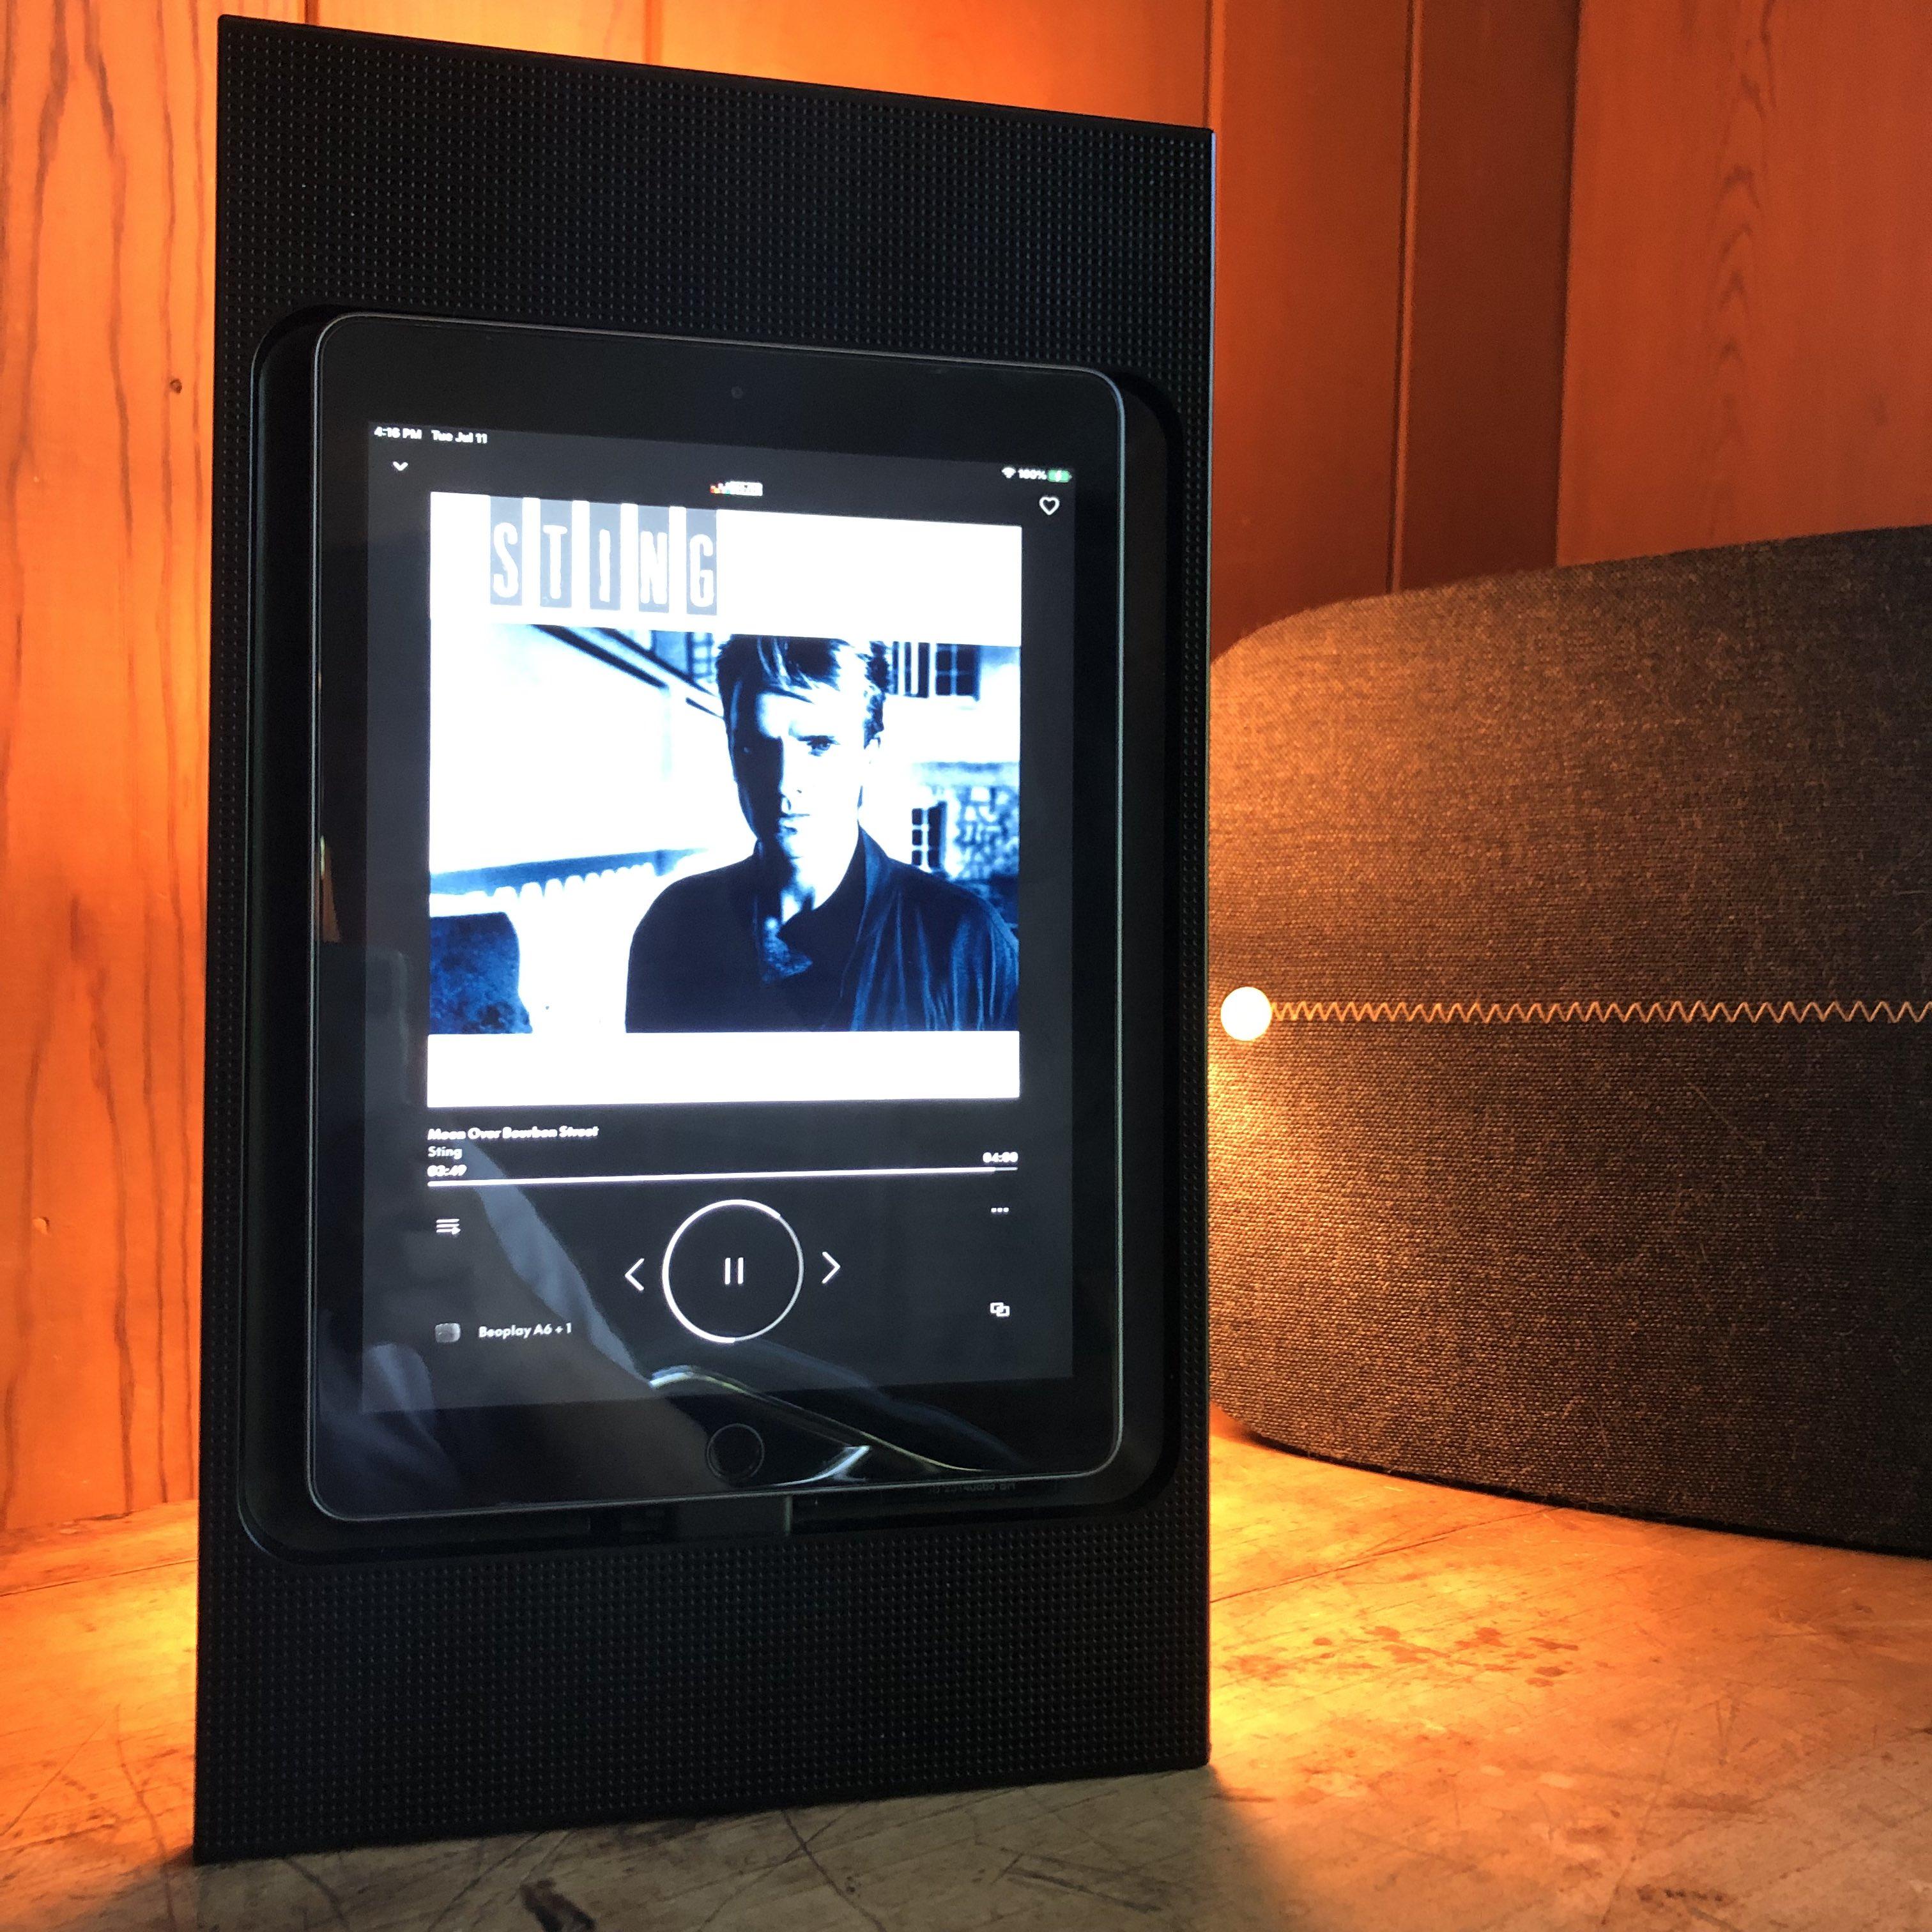
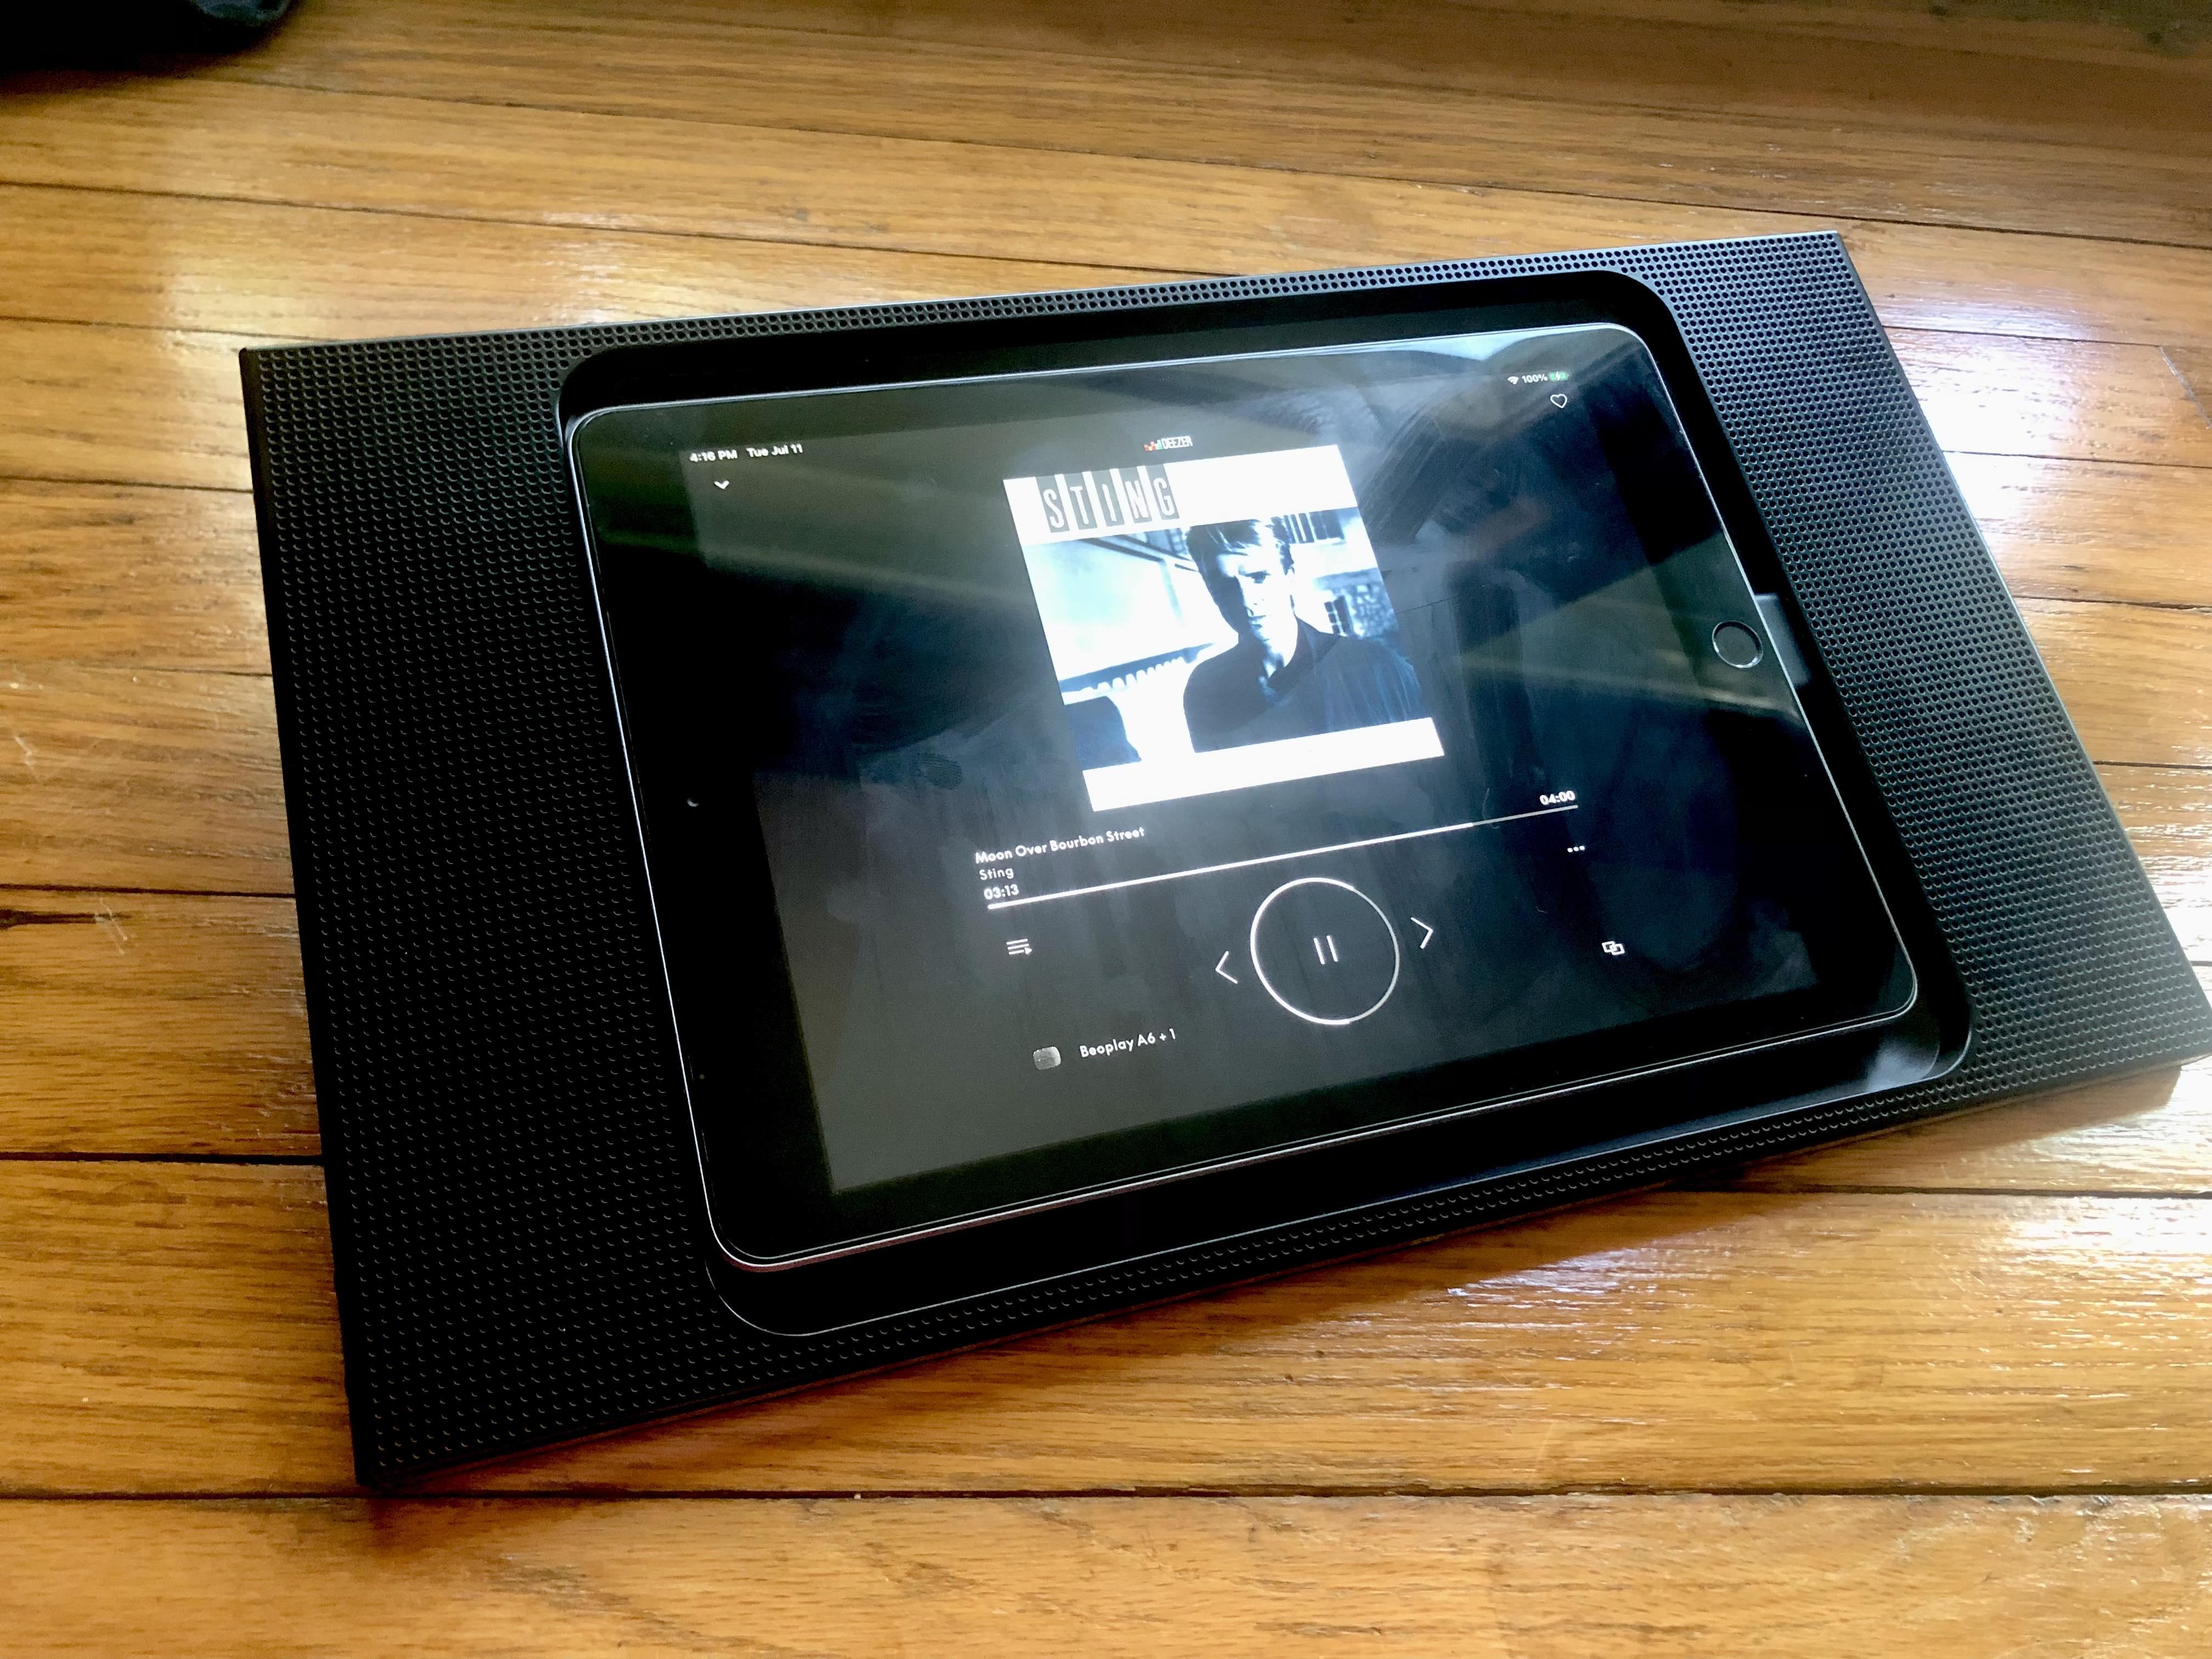
Here’s what the adaptation looks like. Materials and instructions to follow.
 12 July 2023 at 03:07 #47611
What you need is:
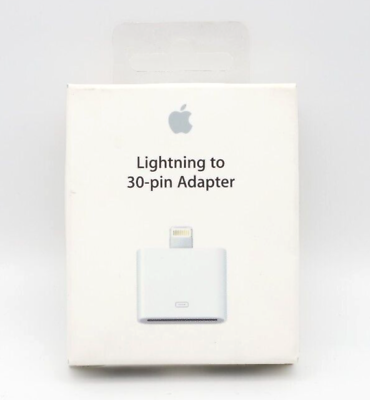
- Apple 30 pin to Lightning adapter A1468; $15 to $30 on eBay. Make sure you get an Apple genuine one. The fake ones will not transmit sound to the A3; merely recharge the iPad.
- Dremel tool.
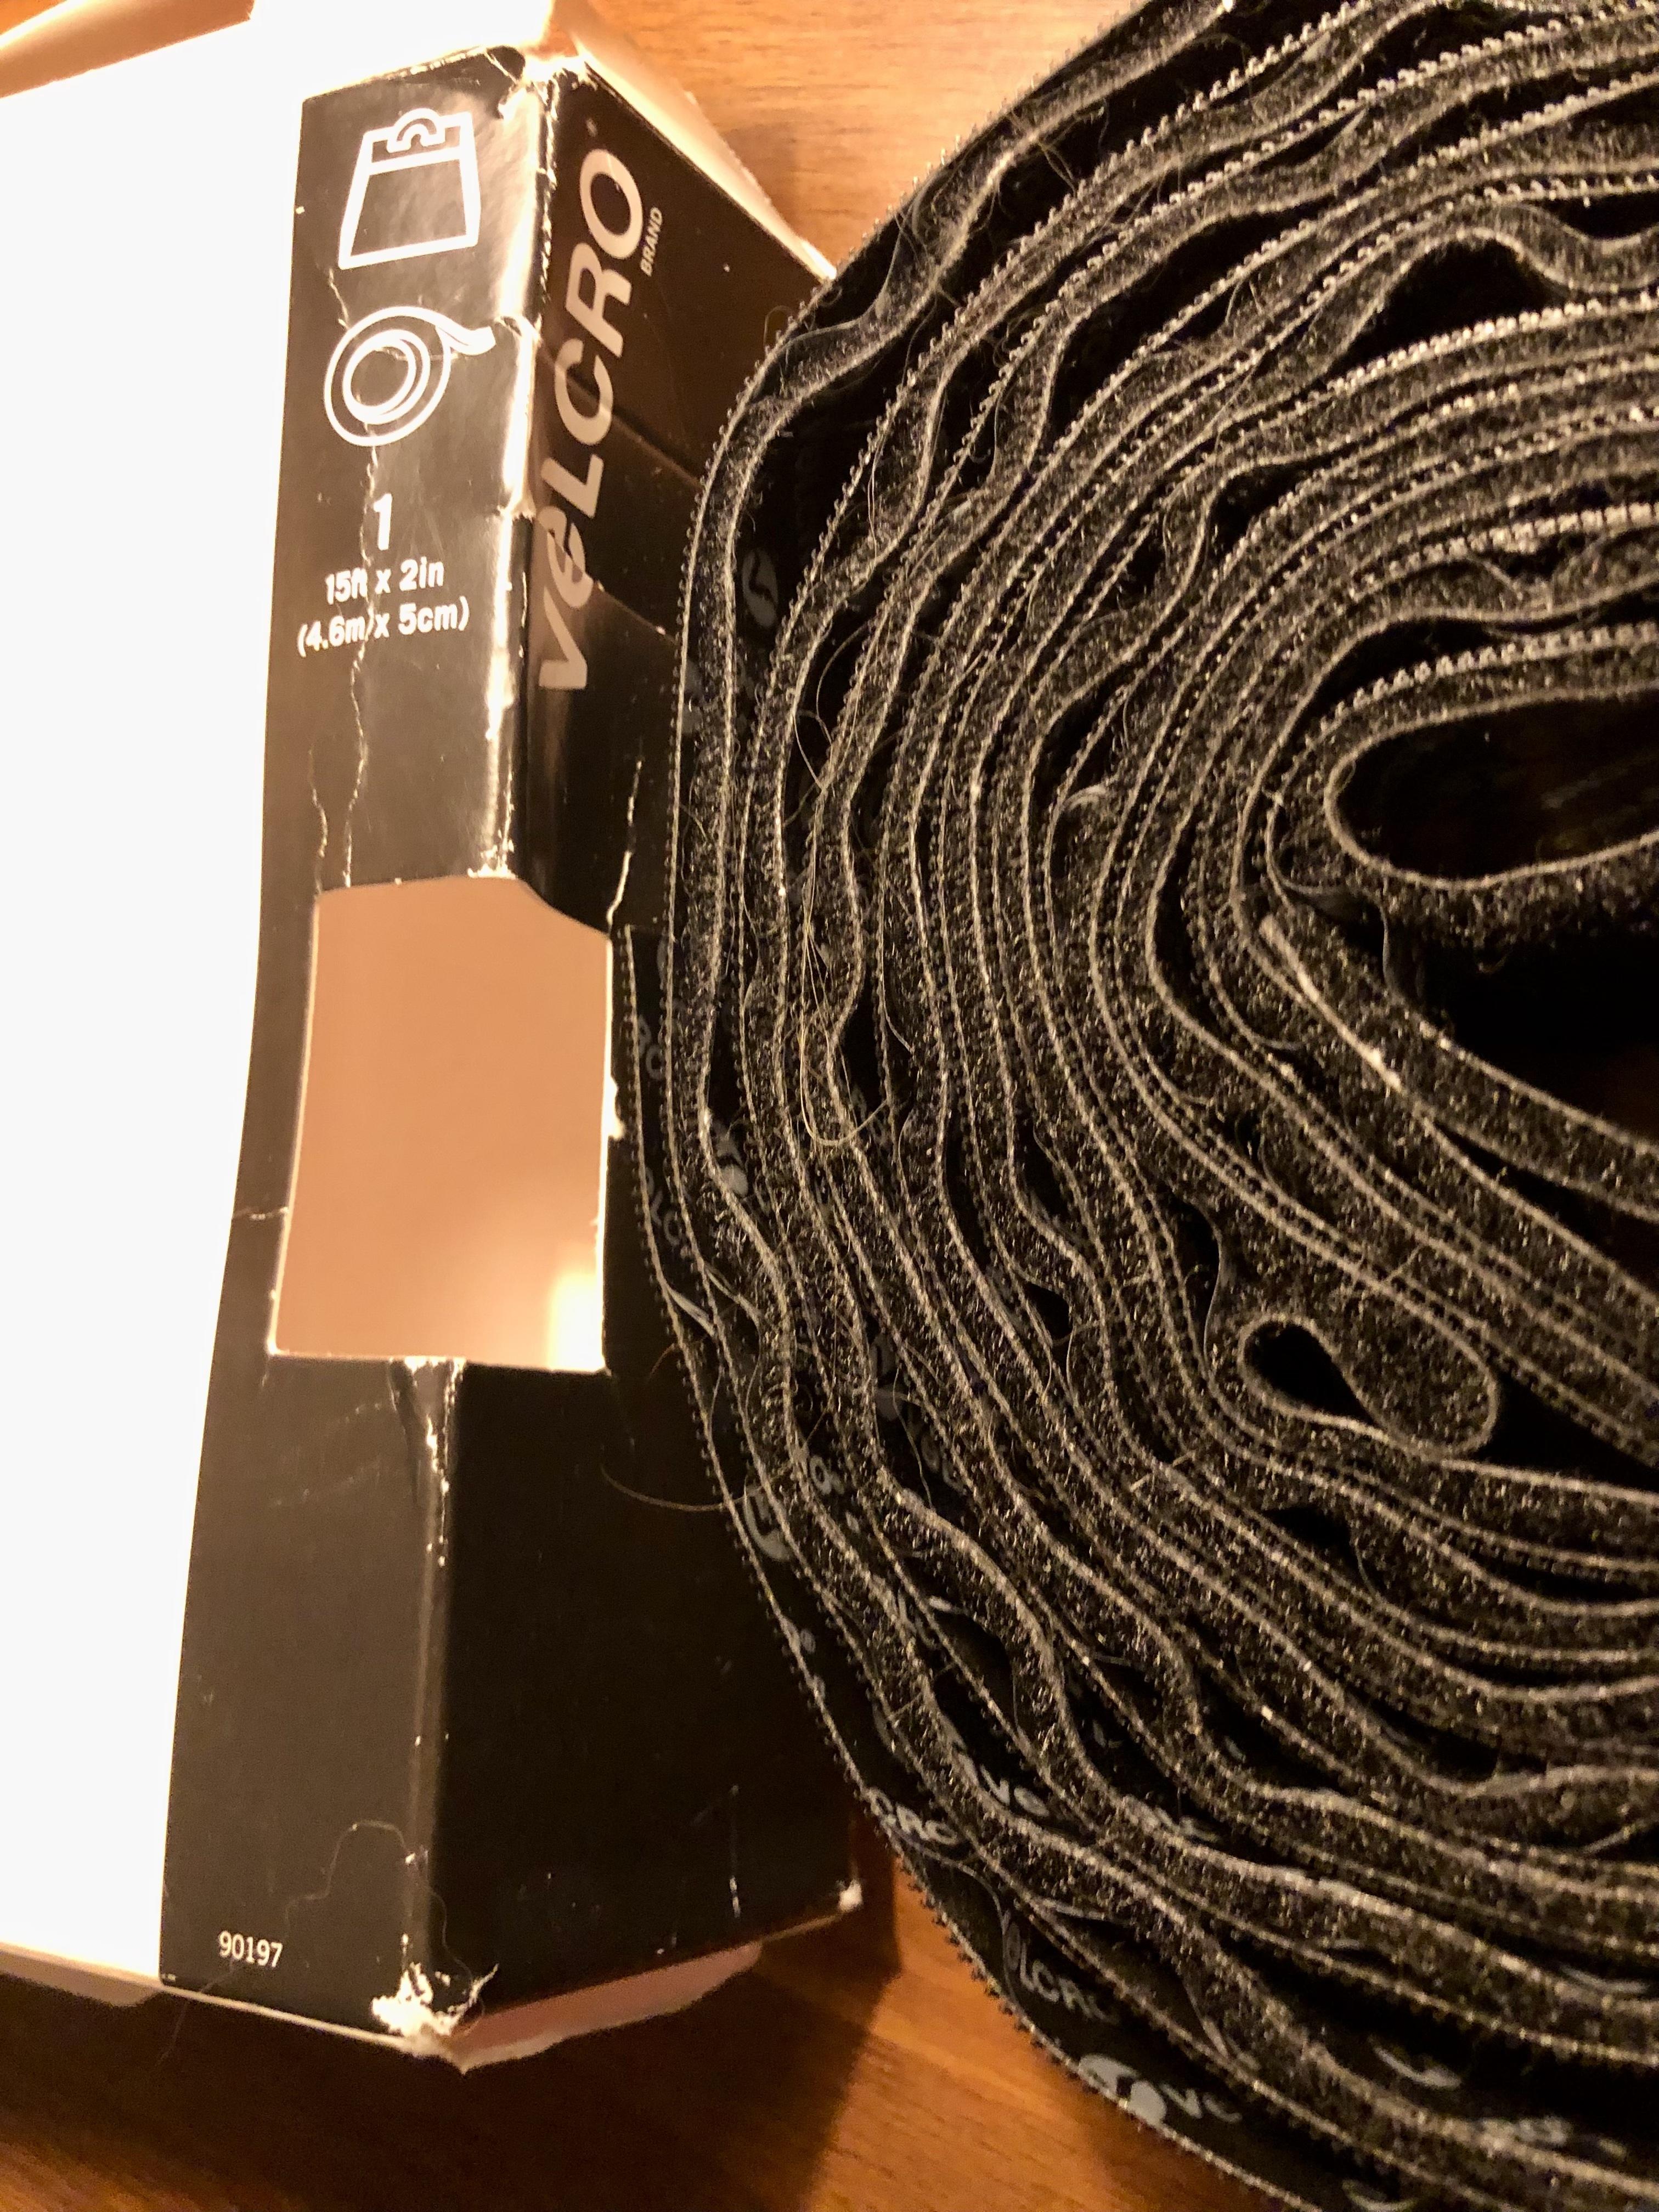
- Velcro strips. I used the two-inch (5cm) wide ones.
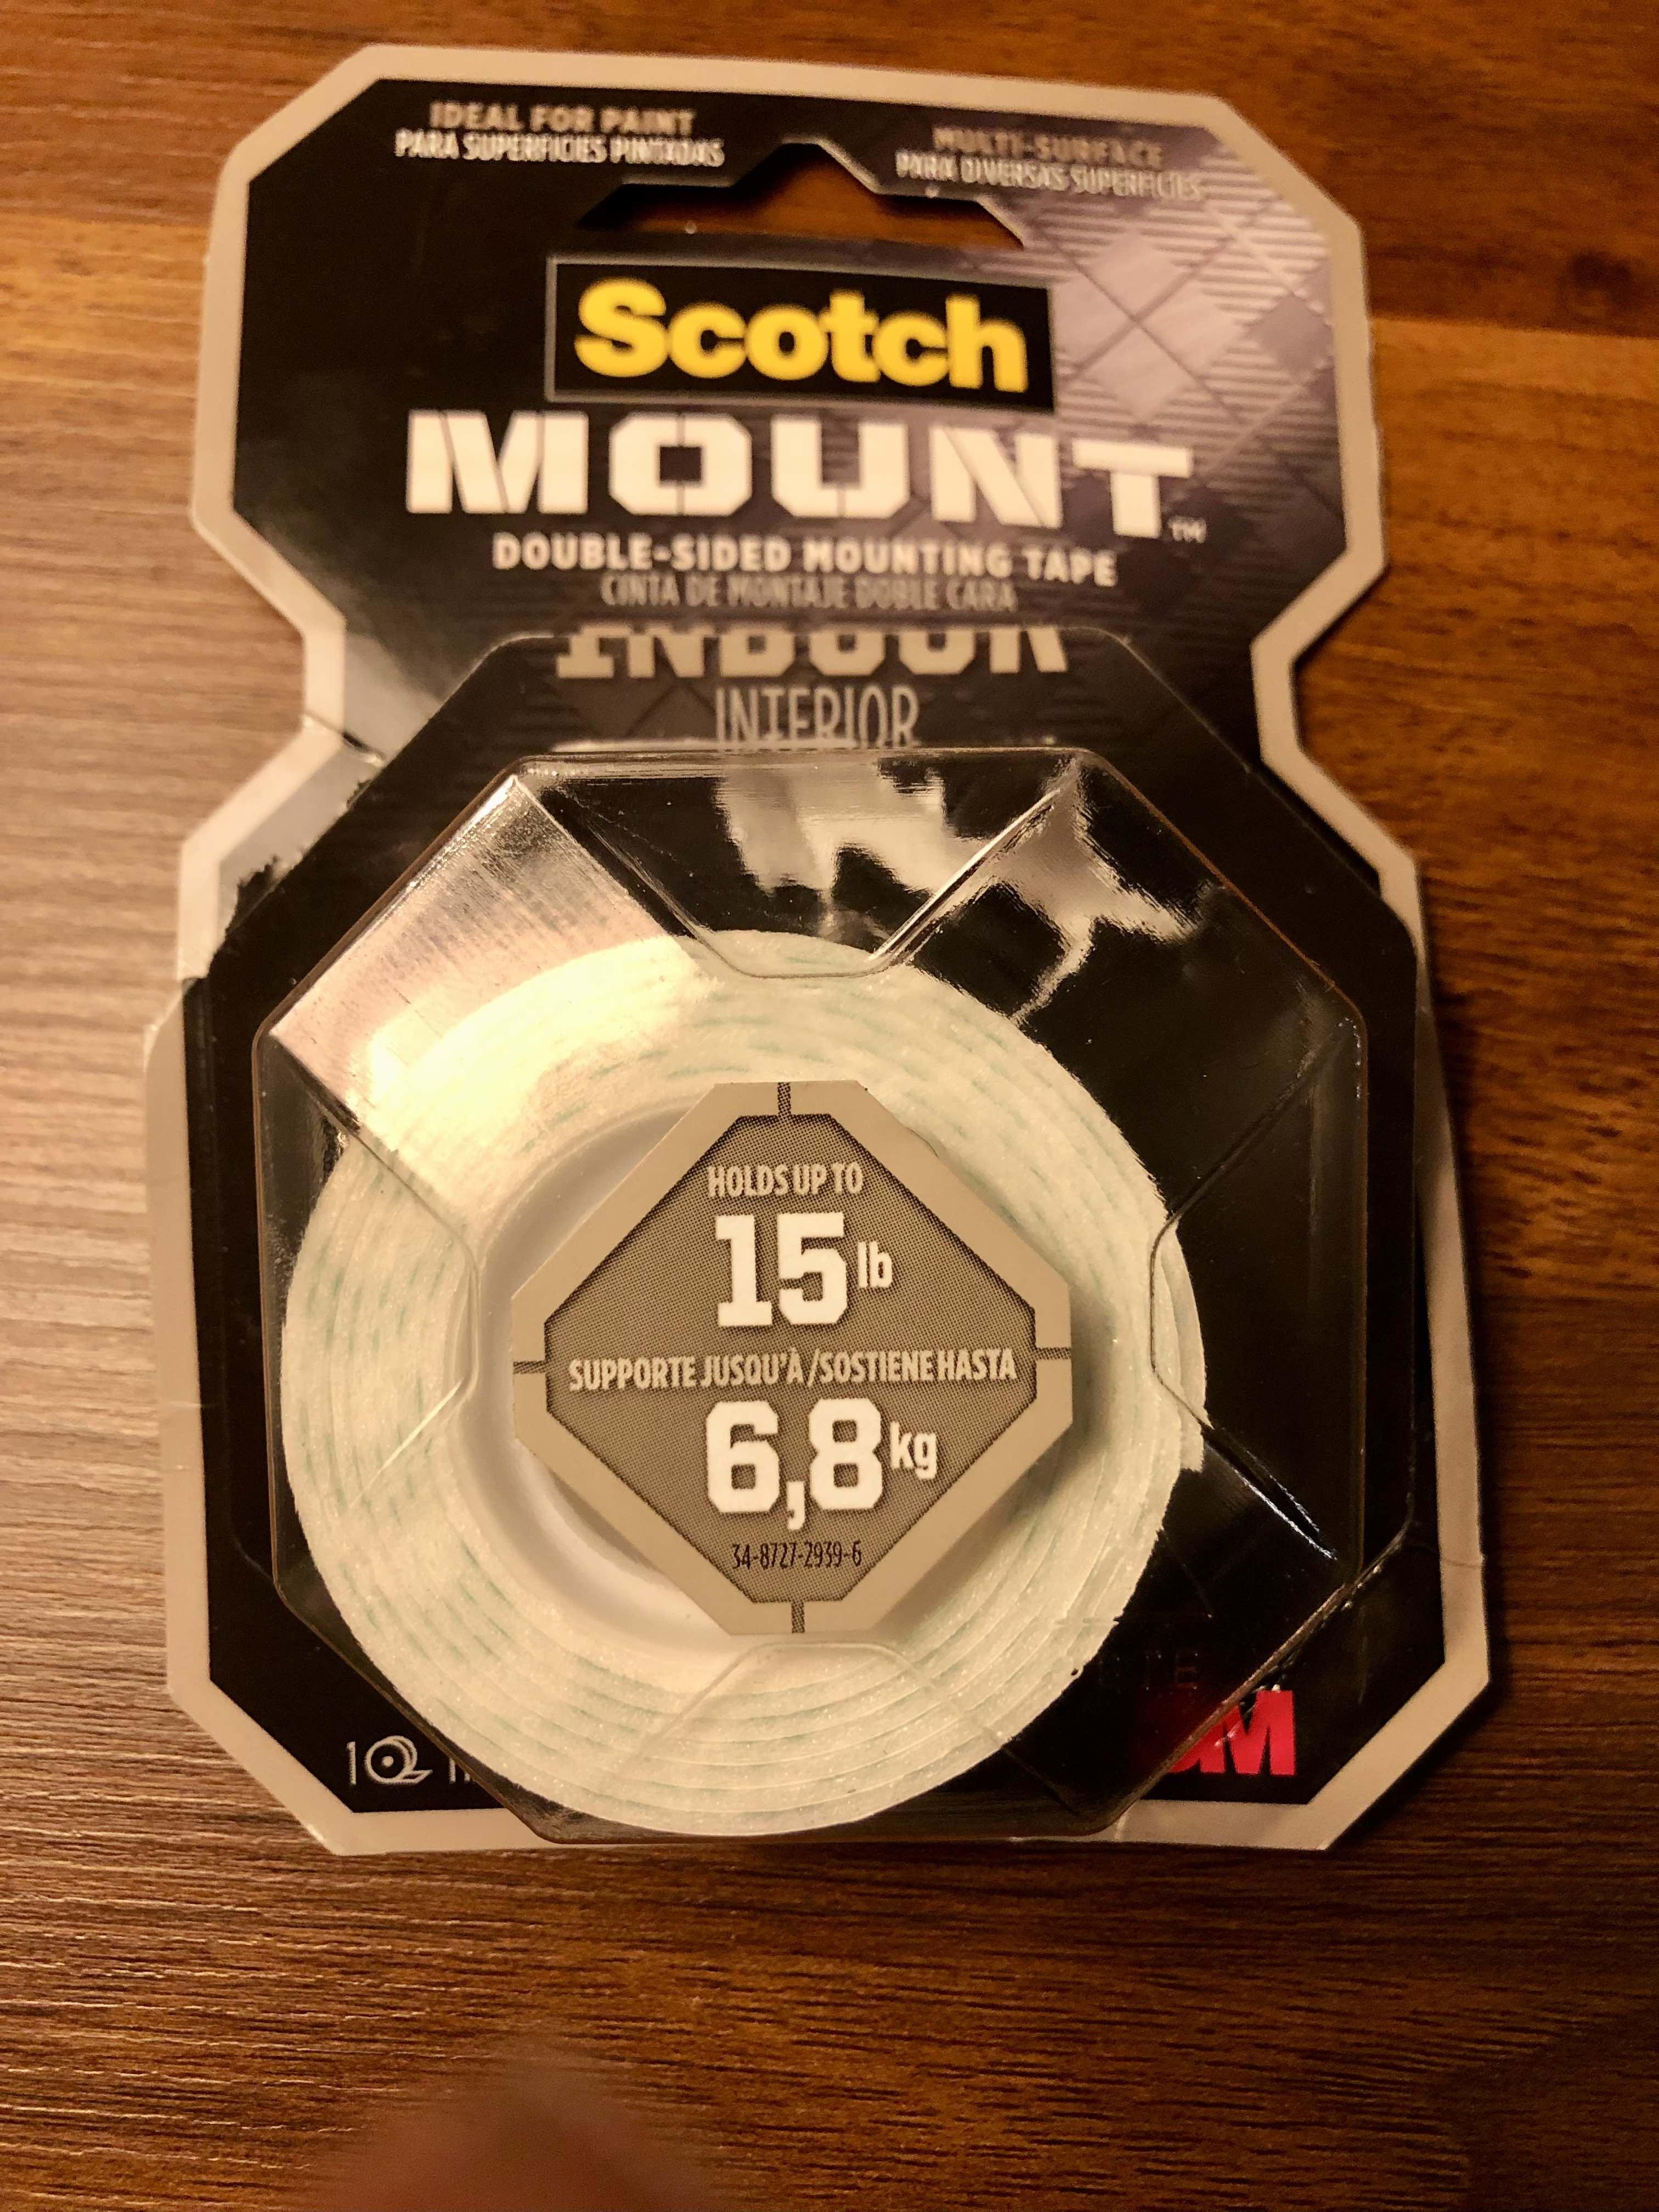
- Double-sided tape. This is what I used, 2.54cm wide:
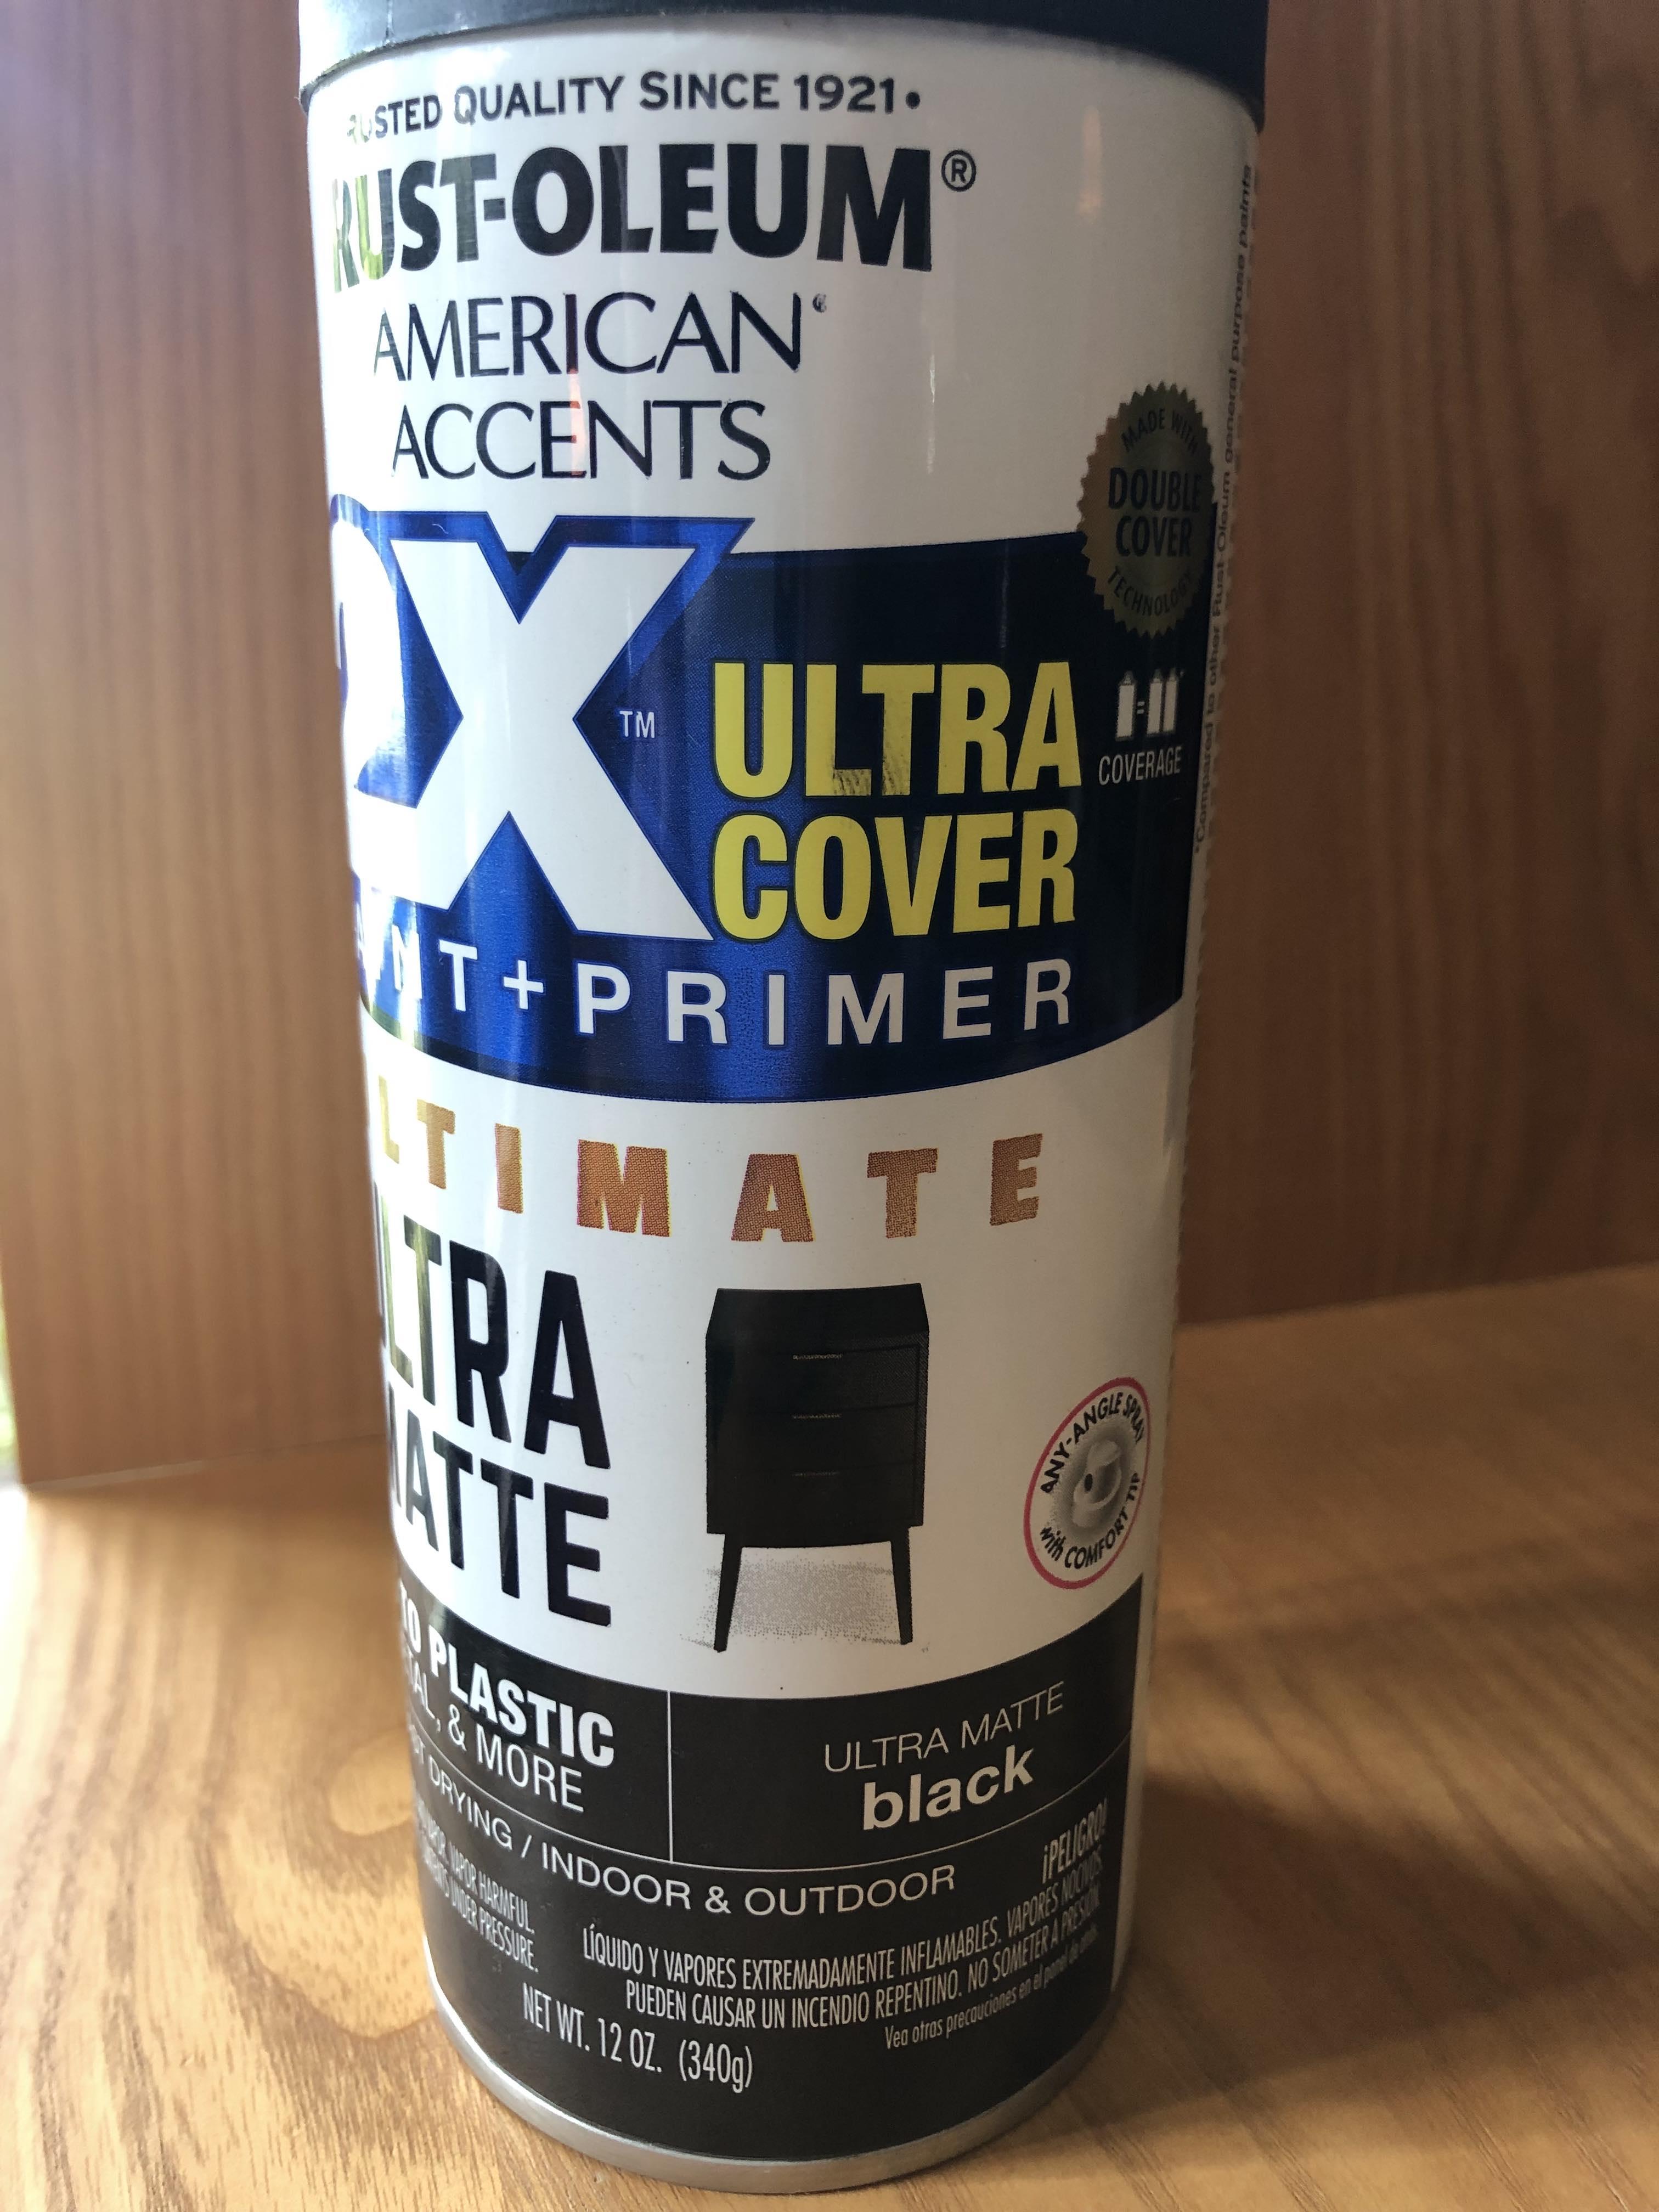
- A can of spray paint to paint the Apple A1468 adapter. I recommend this product and color: ultra matte black.
- An iPad 6.
- Painter’s tape (paper-based adhesive tape).
Steps:
A. First, you will see that by pushing the dock connector on the A3 to the “device locked” position, you can plug the A1468 into the A3 connector; however, you cannot push the adapter into the cavity into the “device unlocked” position; it doesn’t fit. Also, familiarize yourself with using several fingers as you “unlock” the A3 to push down all three ejection pins (the plastic movable surfaces that are on the sides of the dock connector) so that these can lie flat as you (in the future) insert the iPad into it.
B. Use the Dremel tool to slightly (very, very slightly) enlarge the aperture. The A3’s plastic erodes very easily and very quickly. Just go lightly right around the aperture once, and you will see that the A1468 now wants to go into the cavity, but perhaps a bit askew. Abrade the aperture just slightly where you see resistance. Do not needlessly enlarge the aperture any more than needed. This part should be done in five minutes or less. Outcome: the A1468 will slide right into the cavity, up to the limit of the A3’s dock connector lever up to the maximum “disconnected” position. About a third of the adapter will still protrude from the cavity.
C. Connect your iPad and test for functionality: the A3 should reproduce sound nicely.
D. On A3’s cavity, on the far side from the dock connector, but still within the B&O logo and regulatory materials sticker (it is a very large sticker, and you can remove it to install a new battery, and stick it back on), stick two parallels strips of 2.54cm double sided-tape. Your tape will end up measuring 5.08cm wide (2″) by about the width of the large B&O sticker.
E. On top of that initial layer of tape, lay a second layer of exactly the same dimensions. This is to thicken the base to which the iPad will adhere.
F. On top of that second layer, add a 2″ wide stripe of velcro, to match the length of the stripes of double-sided tape.. I recommend you make it the hard side of the velcro. On the iPad’s back, adhere a matching “fuzzy” or “hairy” strip of velcro.
G. Finally, push the dock connector to its “unlocked” position; i.e., the A1468 slides as much as possible into the dock connector cavity. Insert the iPad into the Lighting connector, a bit askew towards the “up” side when the A3 is laying on its side (like on the 2nd photo on the 1st post). Once the iPad is inserted in the connector, lower the iPad so the velcro catches. The reason you inserted the iPad with a bias towards “up” is that when the A3 is on its side, you don’t want the velcro to let the iPad sag downwards. You want the iPad perfectly horizontal.
H. Once you are satisfied with the disposition of the iPad on the A3’s cavity, the final step: remove iPad and connector, protect the 30-pin side with a very slim strip of painter’s tape, and entirely surround the Lighting contacts with painter’s tape. Clean and then spray-paint the connector. It is best to start the spray a few inches away from the connector, and quickly pass over it, and then pass again. Each pass needs be fast enough that the connector will not immediately blacken in one pass: but several passes will blacken it. Let dry 24 hours.
I. Repeat step G.
You are done. Bear in mind, repeatedly removing and inserting the iPad, which can be done at any time, will result in the black paint scratching off and exposing the original Apple white, which is unsightly. This is why once the iPad is installed, it should live on the A3. But if you scratch it, no problem! Just repaint.
12 July 2023 at 03:32 #47612By the way, you can’t use the original Beoplay A3 gasket anymore: the modern iPad is not wide enough to fill it in.
Here is a photo showing an interesting conundrum: if you can tolerate the following, you can side-step the entire velcro/double-sided tape process! In that case, this becomes a 10 minute project: just Dremel and paint.
Look: per pure coincidence, the height of the A1468 adapter is such that, when fully inserted into the dock connector’s cavity (post-Dremel widening), the iPad just happens to exactly catch on the A3′ original gasket-retaining slots! Like in this picture:
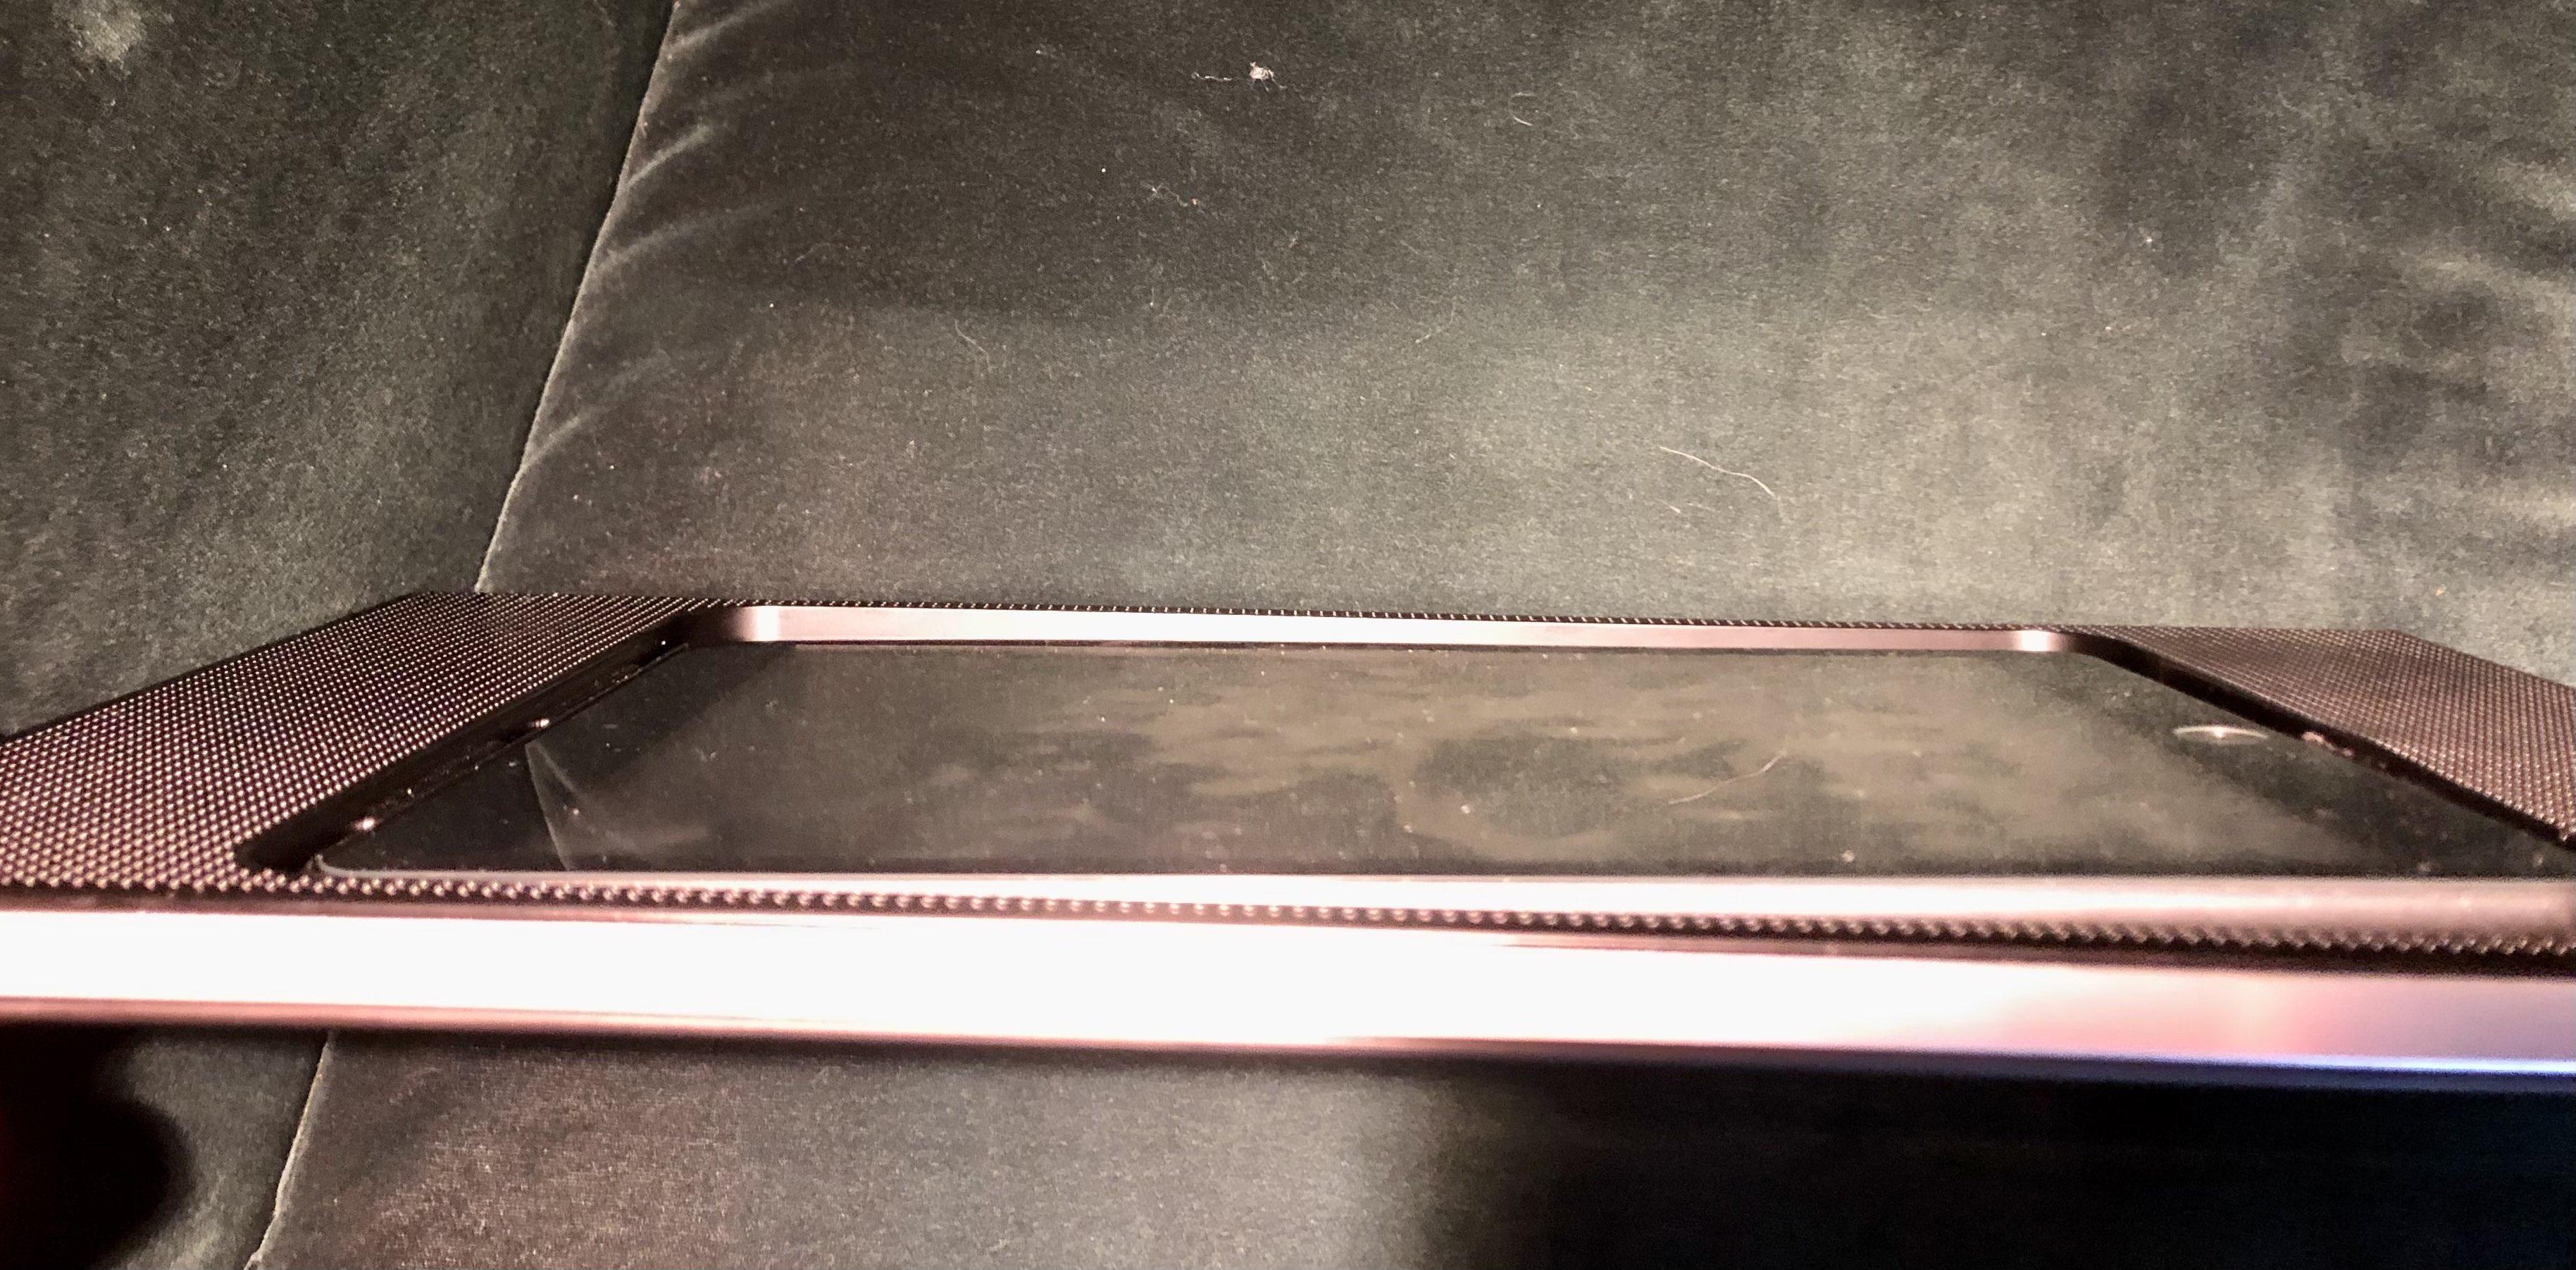
The iPad 6 is inserted, the A3 is fully functional as designed, and the iPad 6 is 100% secure: it absolutely will not fall from the A3 even if inverted. It is being held by the A3 factory slots designed to retain the old gasket, except the slots are now retaining the glass/aluminum directly. The iPad also sits perfectly symmetrical and even in the other dimensions.
You could use your A3/iPad like this forever. The “bottom” part of the iPad is held, as per the A3 original design, by the dock connector itself. The “top”, by the slots.
I couldn’t. The lack of depth symmetry would drive me up the wall. I just can’t.
Since I can’t use the slots for holding, my alternative is velcro. Originally I used two full layers: a fuzzy side on the A3, then a hard side velcroed into it, then a hard side adhered to its back, and then a fuzzy side on the iPad. Too much! The iPad, quite secure, stood proud. The exact opposite problem of the photo above.
The solution was the two layers of double sided tape plus the one full velcro layer (hard side adhered to the top tape and fuzzy adhered to the iPad). The iPad sits slightly proud, but almost unnoticeable. I can live with it.
12 July 2023 at 09:31 #47613Excellent – thank you!
MM
13 July 2023 at 08:01 #47614Hi Xavier,
Very nice work, the kind I like! Thank you for sharing the detailed process.
because you seems to know a lot about, would it be possible you make for us a little pensum explaining what iPad wit what OS would work with pros and cons ( even theoretically). I know it could be a lot of work but I’m sure it could help people make the right decision when buying second hand iPads.
thank you.14 July 2023 at 06:00 #47615Bon jour Matador,
Not sure if this is what you want, let me know. “Mod required” means the exact mod described on this thread.
- Original iPad, iPad 2, iPad 3: no mod required, systems are now obsolete, very, very slow, and many apps no longer work.
- iPad 4: mod required, final iOS 10.3.4 obsoleted July 2019, very slow, many apps no longer work, including YouTube. Bang and Olufsen app works, but it is v. 3.16.1, which has less functionality than current version 5.0.2
- iPad 5: mod required, runs iPadOS 16, will not run 17, will be obsoleted by Apple in September 2024. Newer versions of apps will progressively not be installable anymore.
- iPad 6: mod required, will run iPadOS 17, will most likely be obsoleted by Apple in September 2025.
- iPad 7, 8, 9, 10: this mod will not work because these iPads are 10mm taller. Will not fit.
iPad Air series
- original iPad Air: mod required, final iOS 12.5.7 obsoleted by Apple in January 2023. It is a very old OS and I assume some apps already are not installable.
- iPad Air 2: mod required, final iOS 15.7 will be obsoleted by Apple in September 2023 (six weeks from now). Runs all current apps. Newer versions of apps will progressively not be installable anymore.
- iPad Air 3, 4, 5: this mod will not work because these iPads are 7 to 10mm taller. Will not fit.
iPad Pro series
- iPad Pro 12.9 original, 2, 3, 4, 5, 6: do not fit under any current nor potential scenario.
- Original iPad Pro 9.7: this mod might work because this iPad has the same height as iPad 6. Untested. Runs iPadOS 16, will not run 17, will be obsoleted by Apple in September 2024. Newer versions of apps will progressively not be installable anymore.
- iPad Pro 9.7 2, 3, 4, 5, 6: this mod will not work because these iPads are 7 to 10mm taller. Will not fit.
iPad Mini series. I haven’t tested them but it is almost certain that all versions will work with this mod, slightly modified because these iPads are smaller. An obvious problem is that part of the giant B&O logo on the sticker in the cavity will be visible! Perhaps it can be painted to address this problem.
- original iPad Mini: mod required. iOS 9.3.6 obsoleted in 2019. Very, very slow, and many apps no longer work.
- iPad Mini 2: mod required. iOS 12.5.7 obsoleted in January 2023. It is a very old OS and I assume some apps already are not installable.
- iPad Mini 3: mod required. iOS 12.5.7 obsoleted in January 2023. It is a very old OS and I assume some apps already are not installable.
- iPad Mini 4: mod required, final iOS 15.7 will be obsoleted by Apple in September 2023 (six weeks from now). Runs all current apps. Newer versions of apps will progressively not be installable anymore.
- iPad Mini 5: mod required, will run iPadOS 17, will most likely be obsoleted by Apple in September 2025.
- iPad Mini 6: mod required, will almost certainly run iPadOS 18 in 2024. Will remain a supported product until at least 2026, and probably later.
The bottom line is that for longest longevity, one should buy an iPad Mini 6 today. But it will not be the best look of Beoplay A3, since the device will not fill the cavity.
14 July 2023 at 10:01 #47616Thank you Xavier, that’s perfect and surely will help a lot in the future.
- AuthorPosts
- You must be logged in to reply to this topic.


