- This topic has 85 replies, 9 voices, and was last updated 8 months, 4 weeks ago by
Evan.
- AuthorPosts
- 7 May 2024 at 23:11 #55359
Awesome! Seeing that made my day!
Glitch
7 May 2024 at 23:19 #55361Glad to hear it!
There’s more where that came from, I just had to pause to take care of some actual work haha!
7 May 2024 at 23:21 #55362Ok now that most of the leaks are stopped up long enough / well enough for this test, we continued…
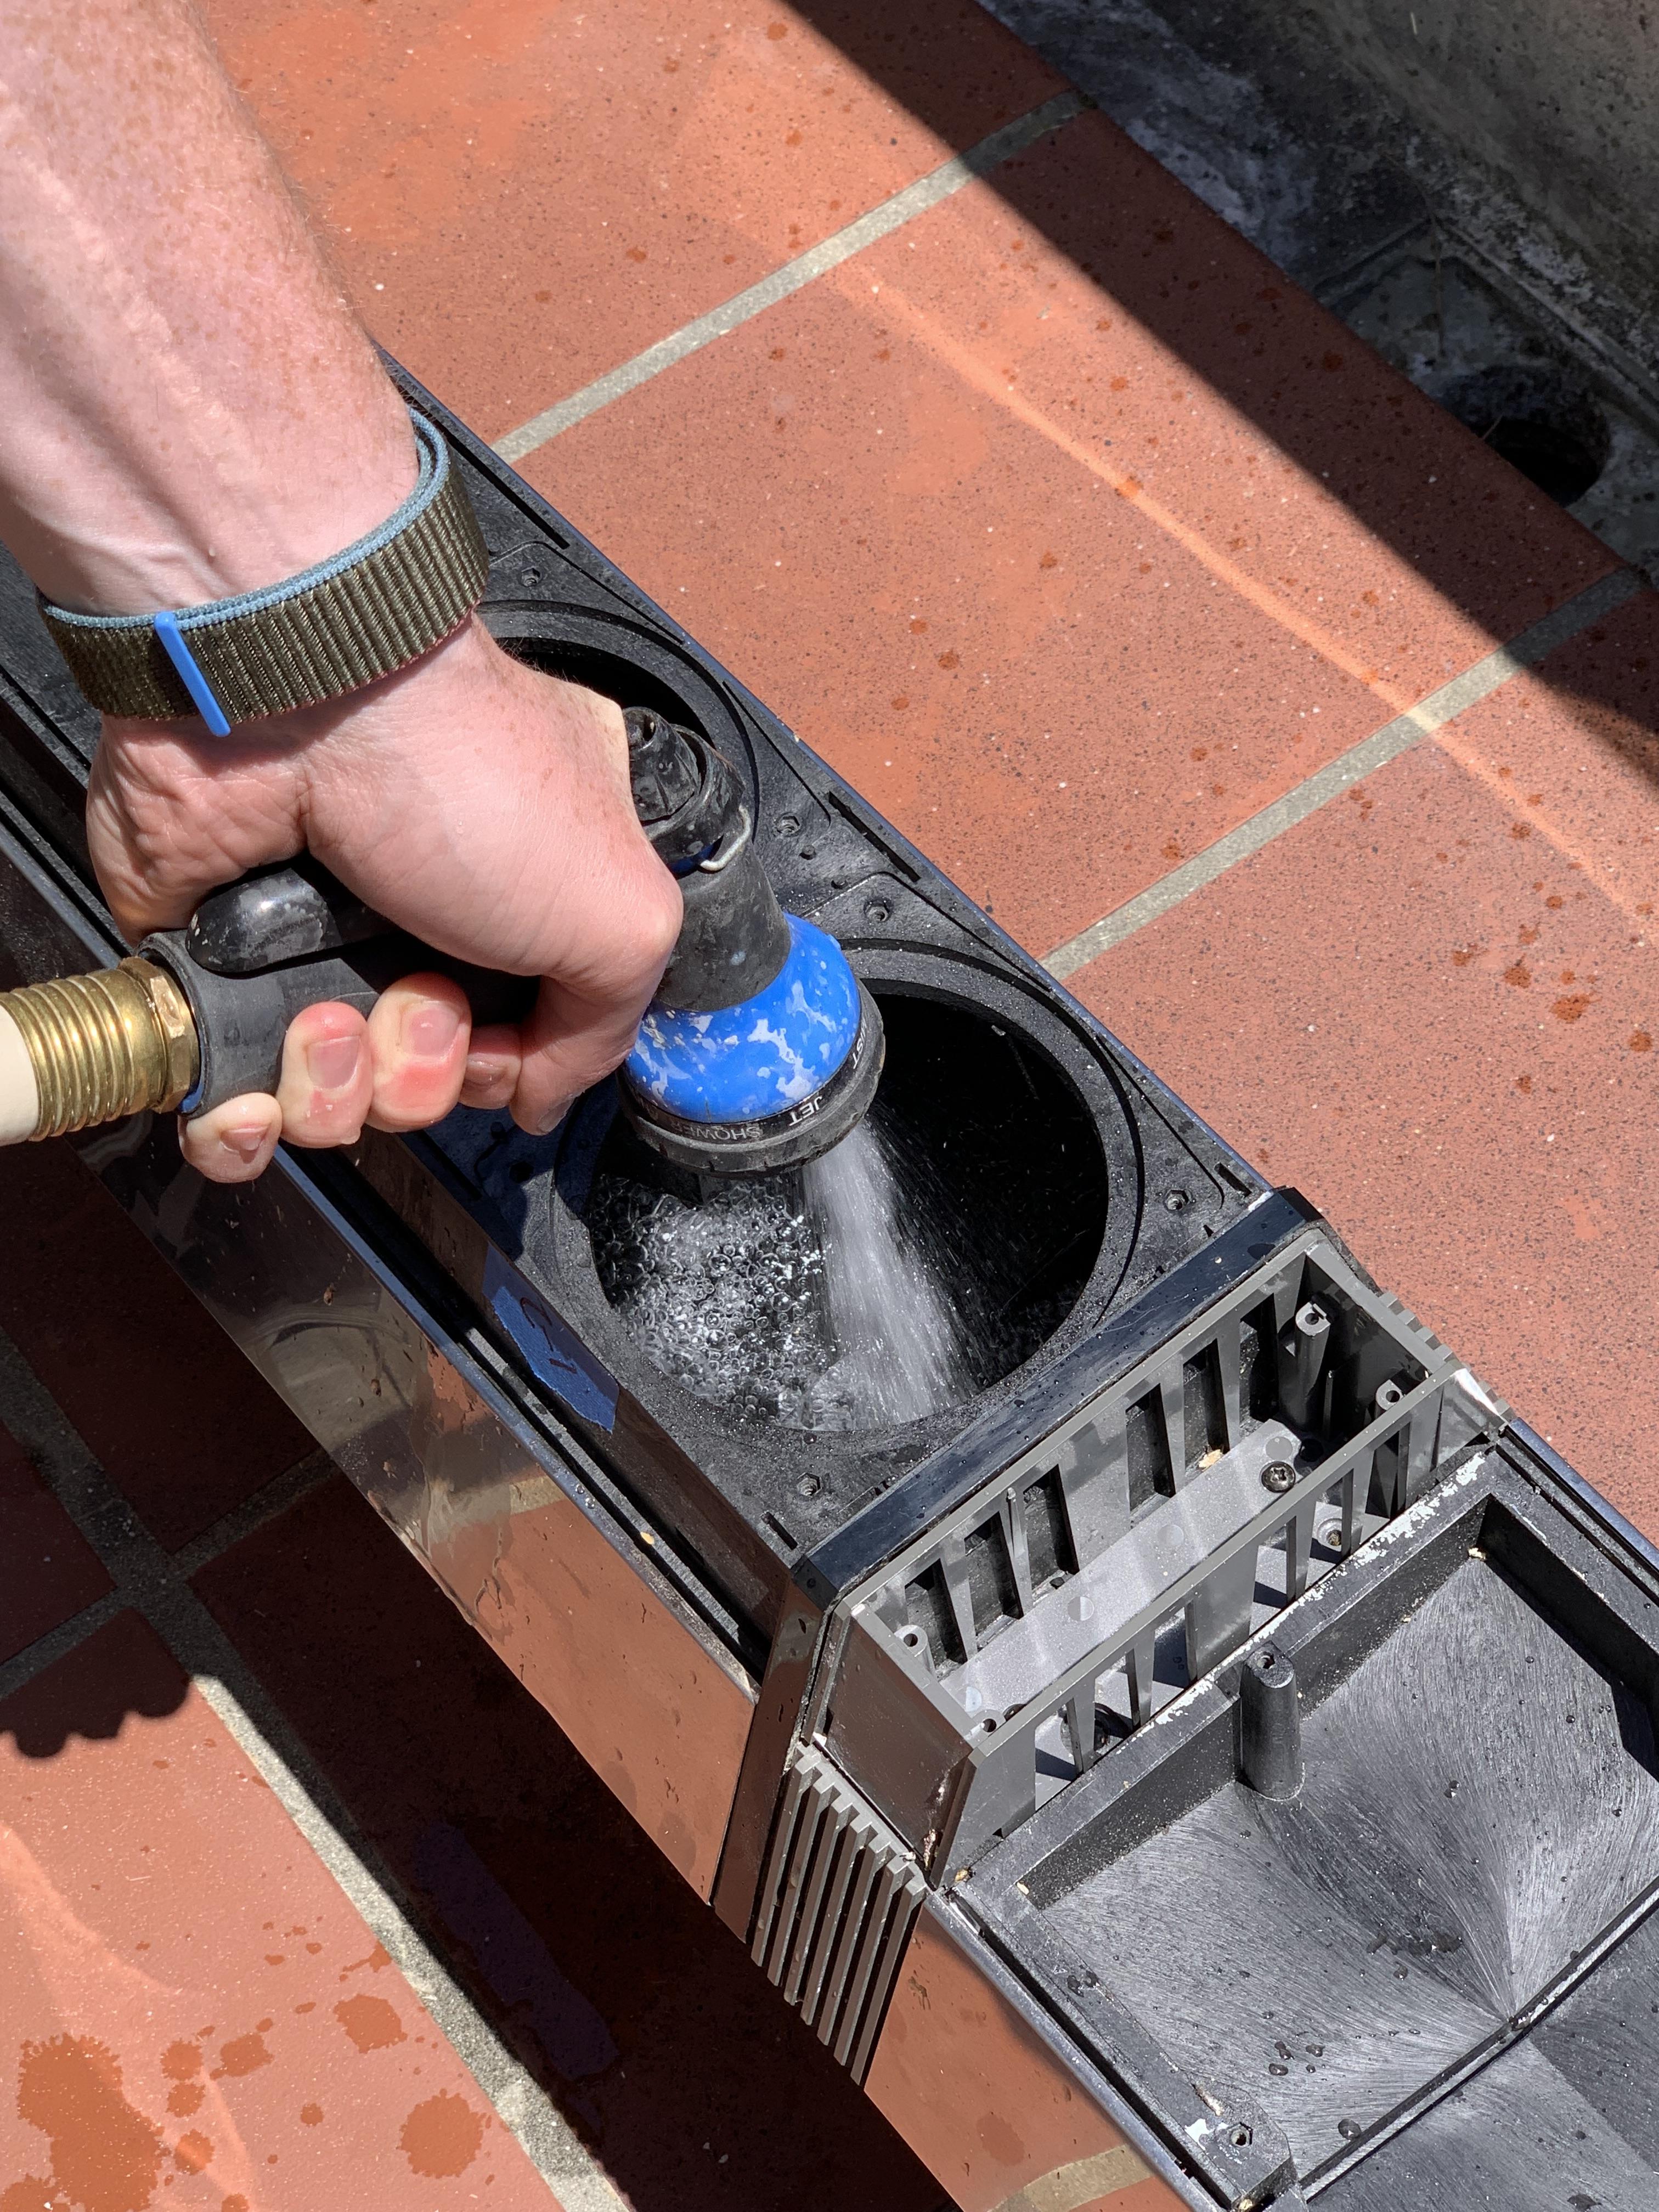 7 May 2024 at 23:23 #55363
Guys, if you haven’t thought to wash out your speakers, I highly recommend it. This particular pair were mega gross. Keen eyes will spot the frequent occurrence of critters here and there throughout the photos.
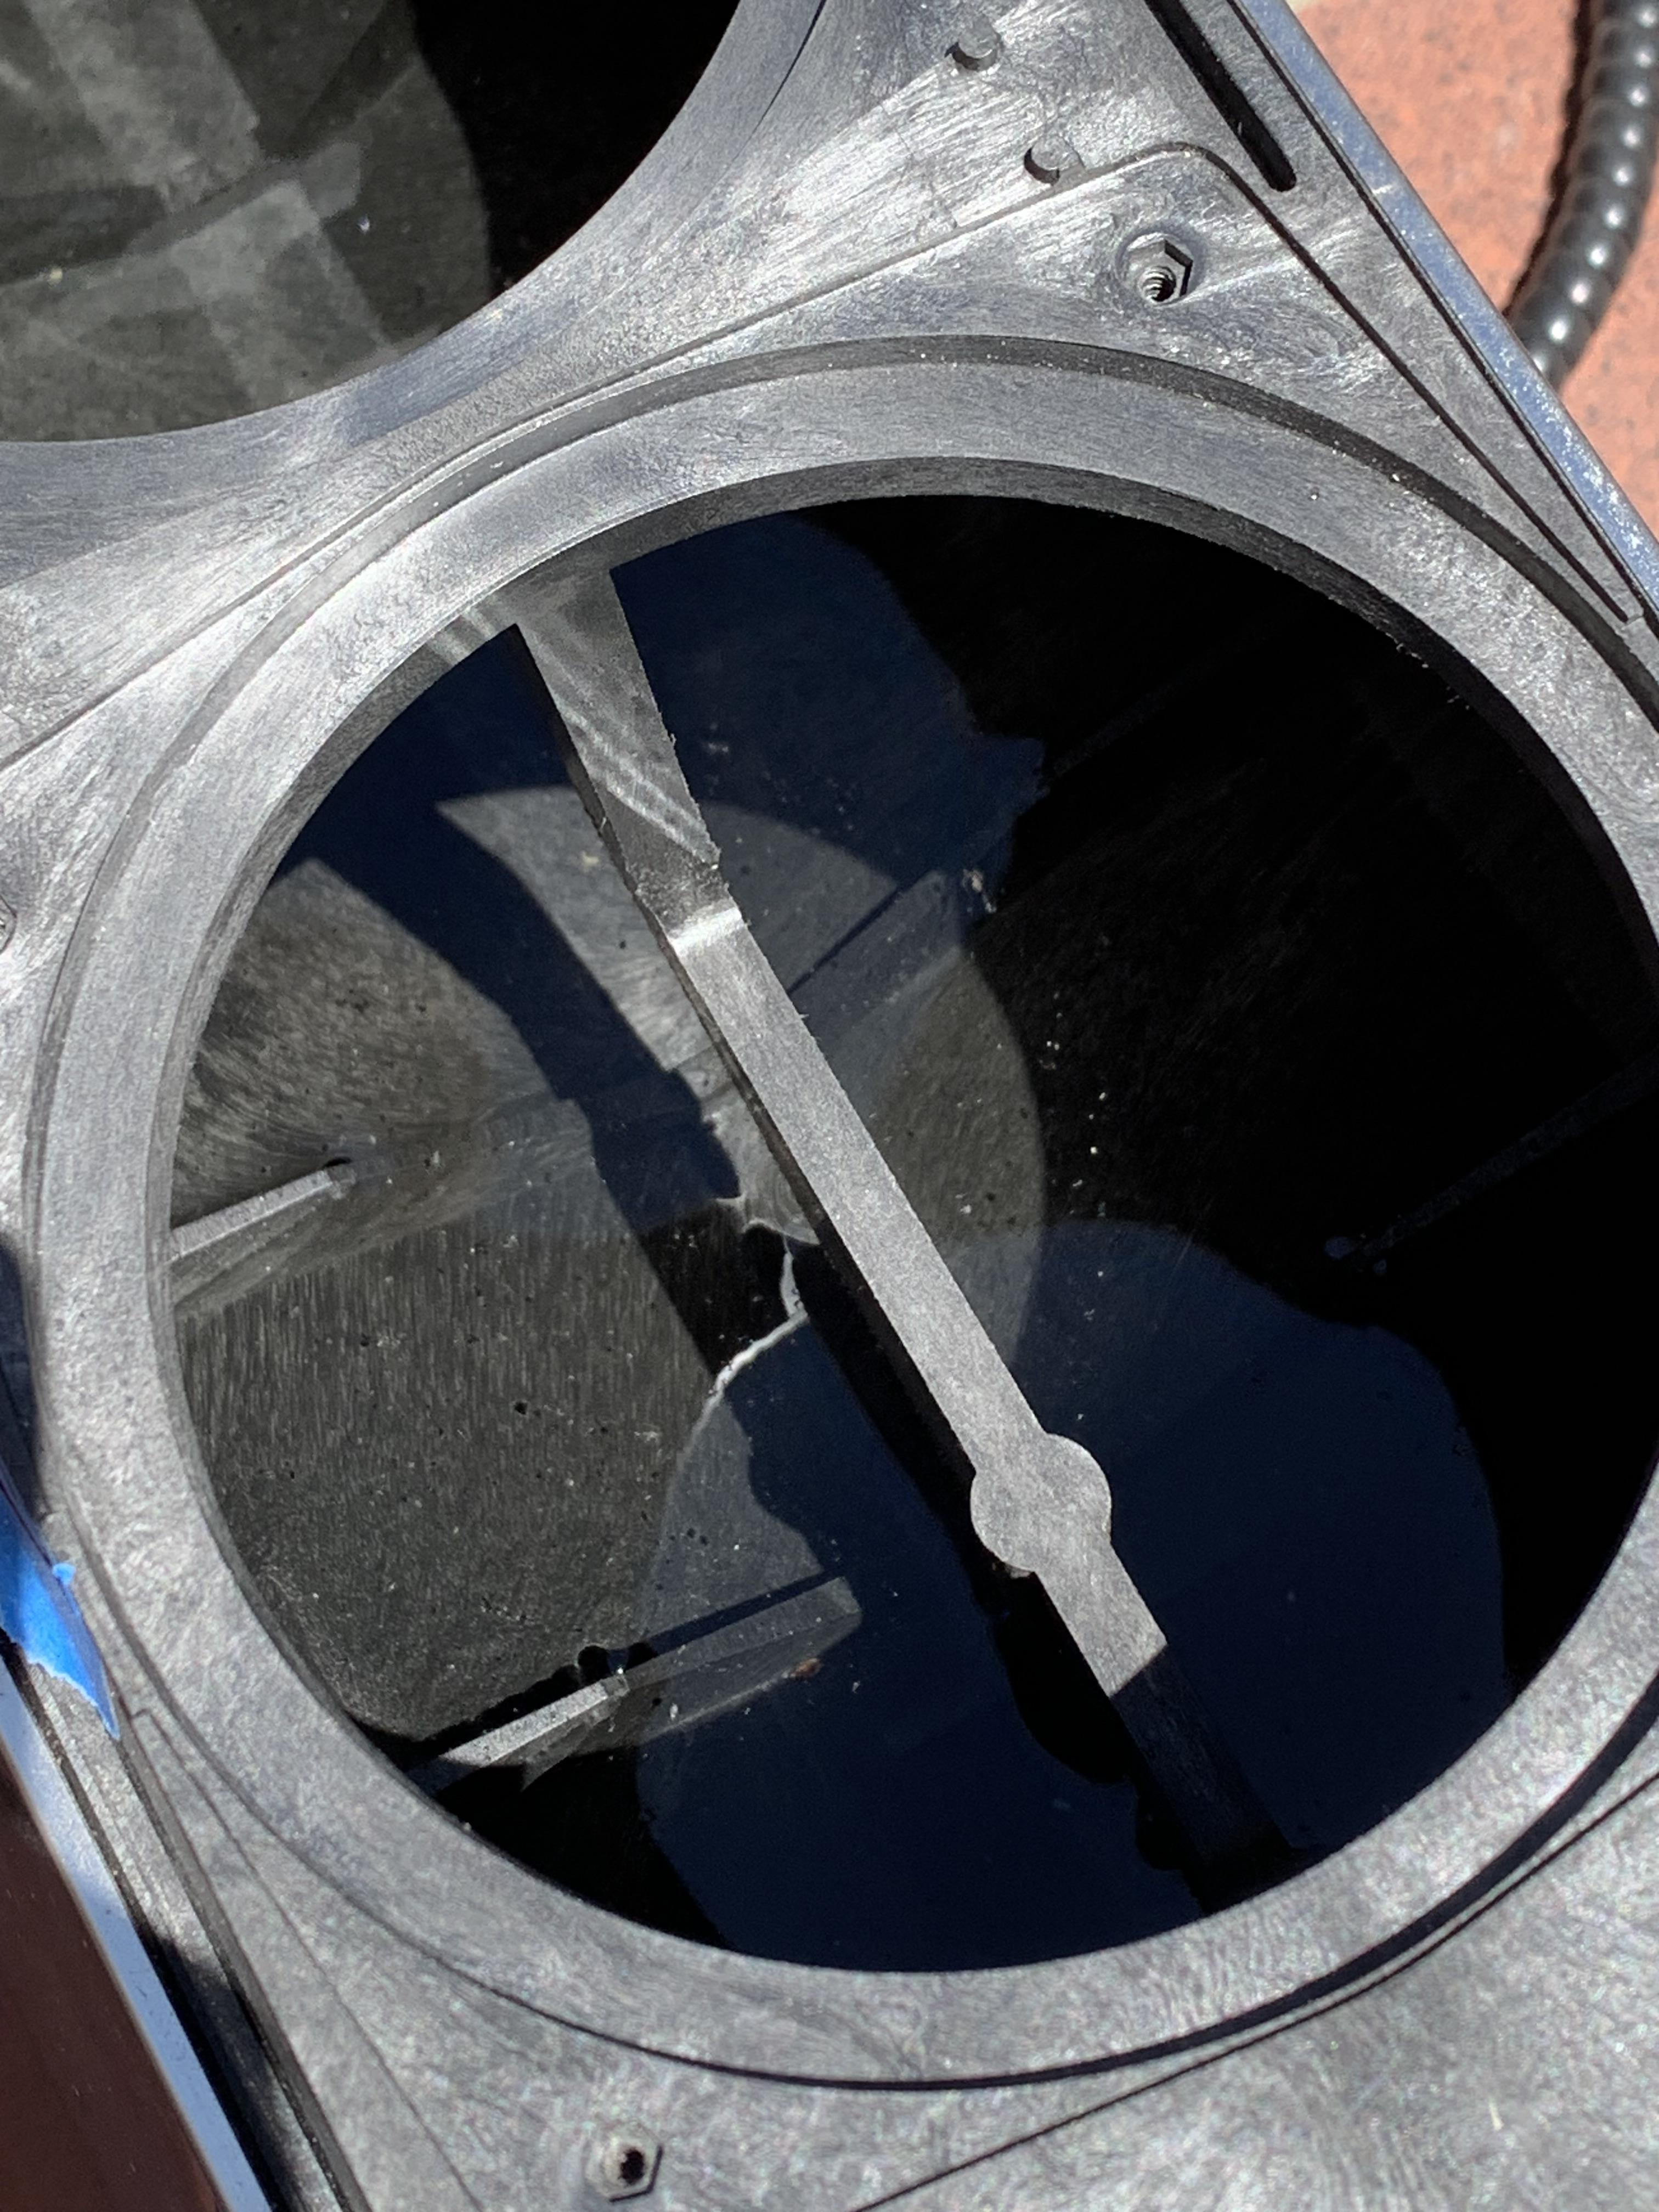 7 May 2024 at 23:26 #55364
The filling took so long because the scale kept turning off causing us to reset. So filling actually took a few attempts!
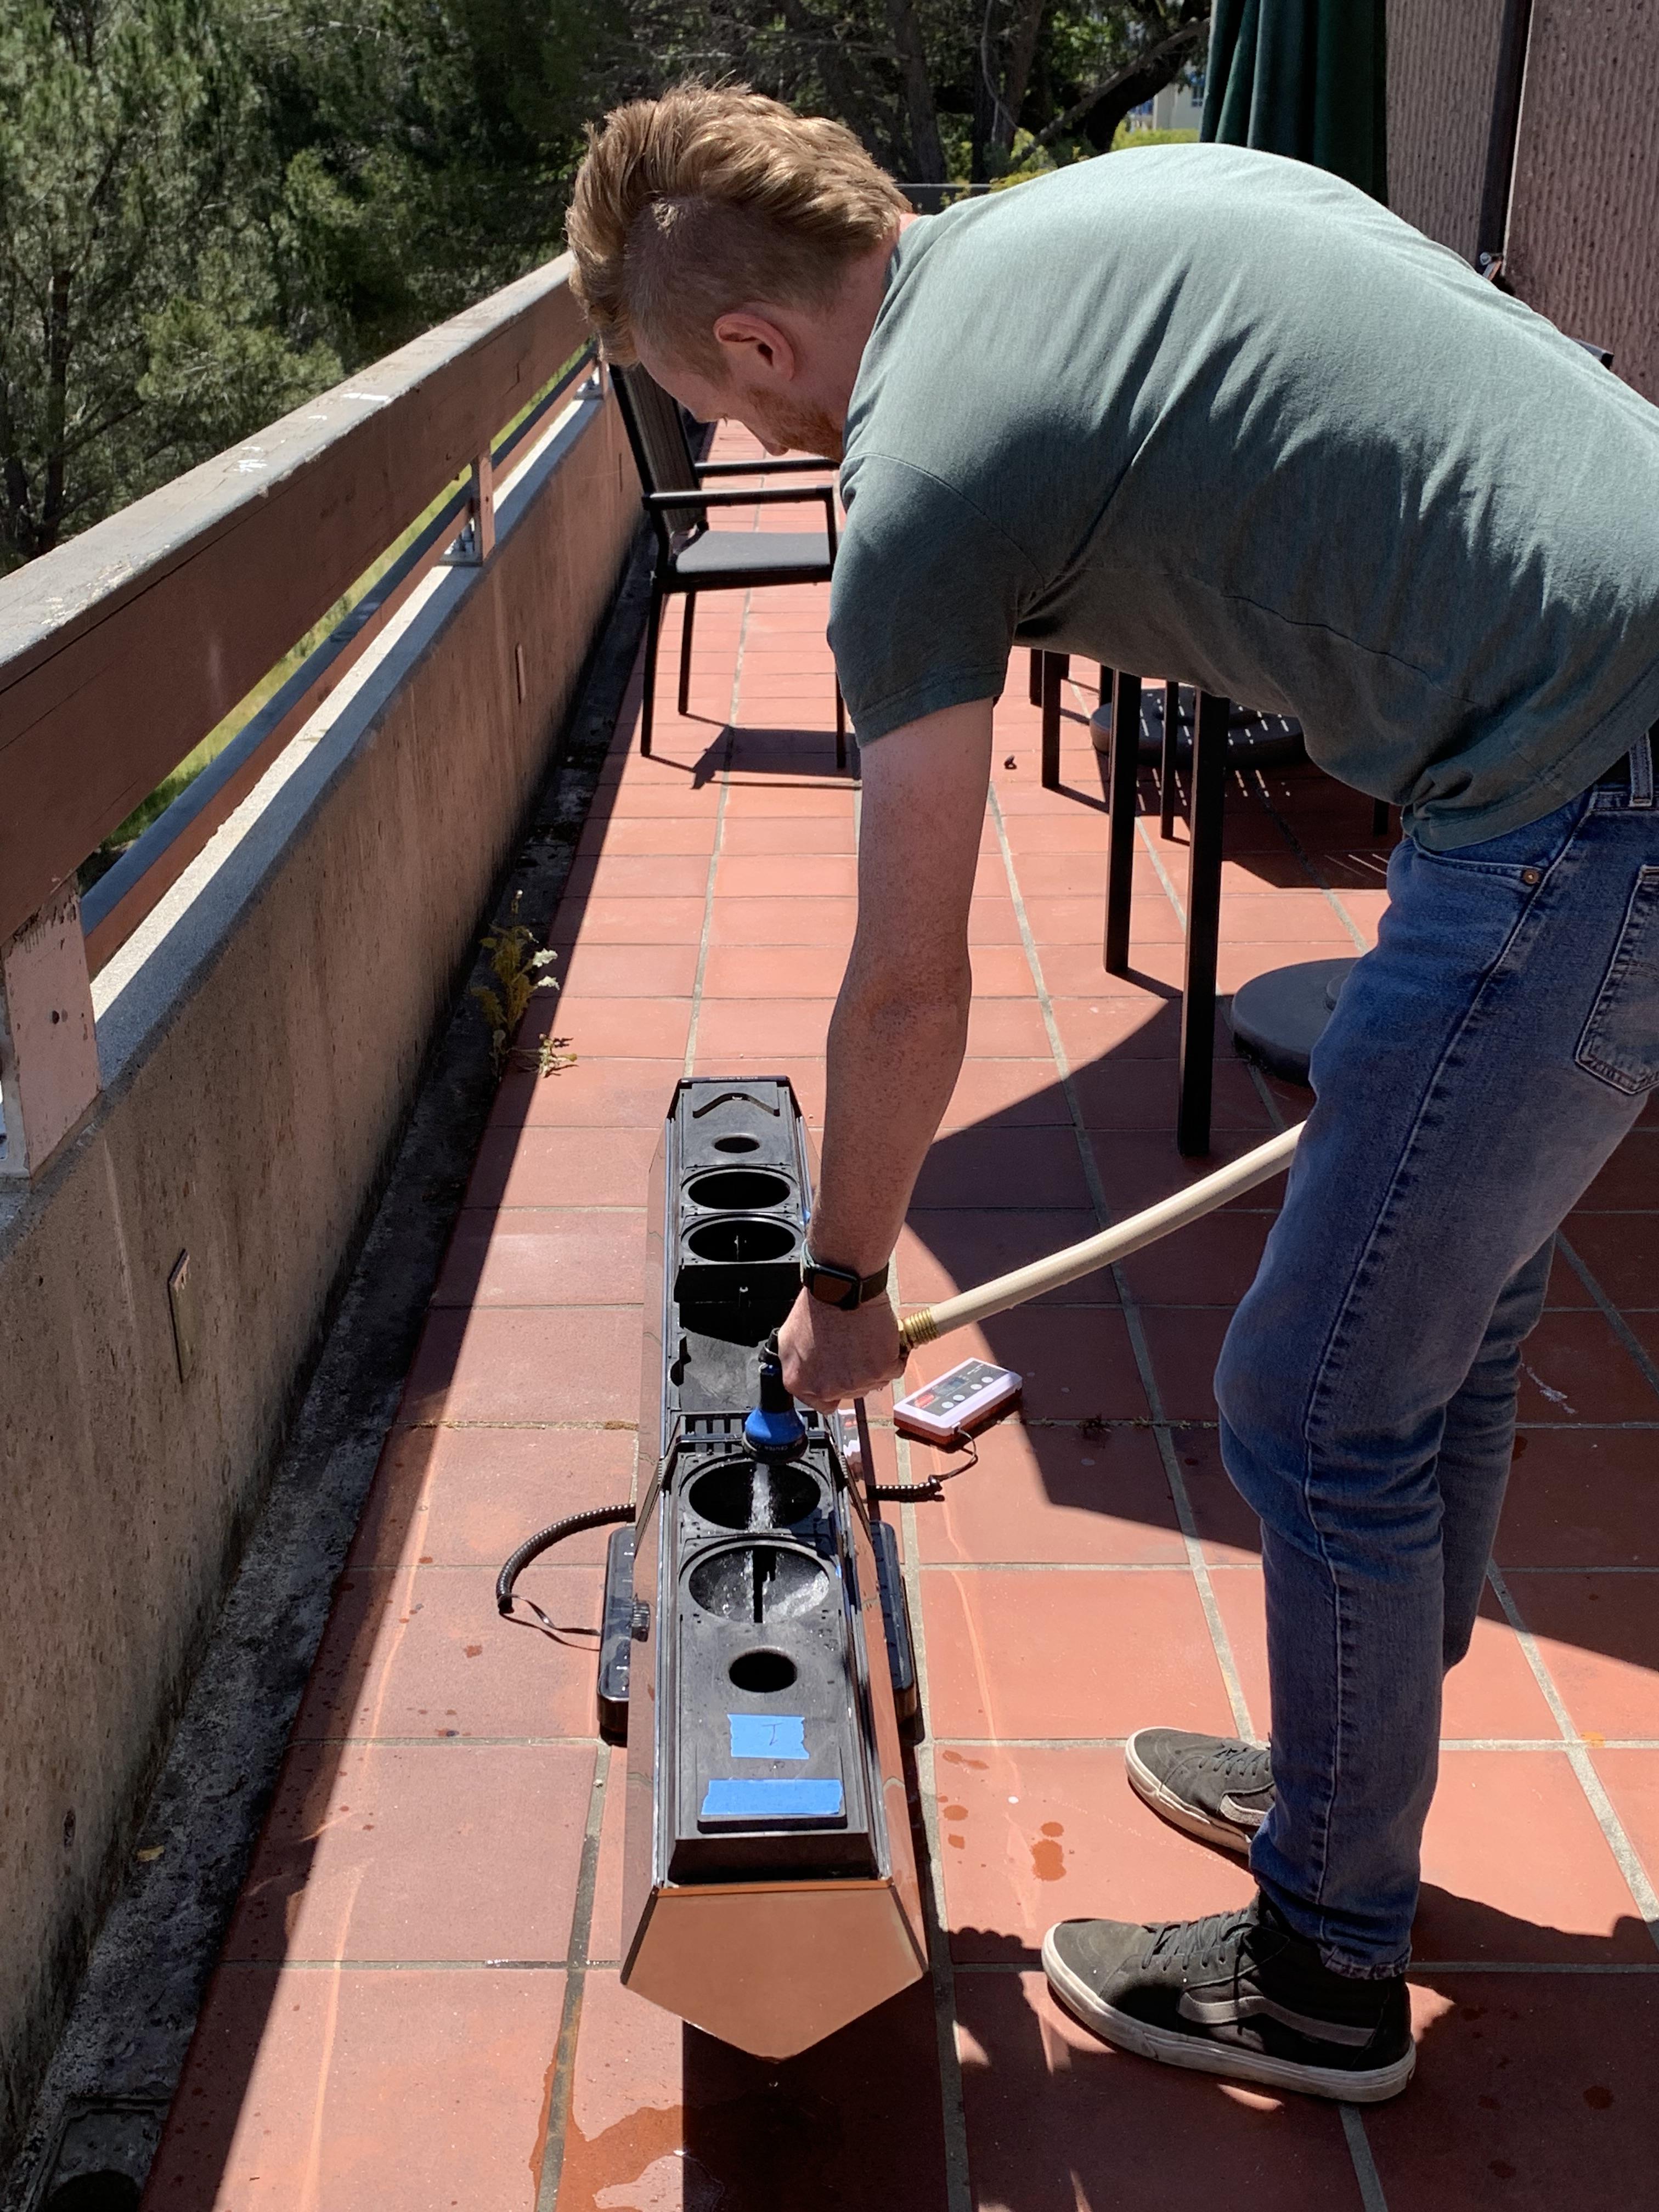
Once full, the entire speaker + water weighed 38.8kg.
7 May 2024 at 23:30 #55365Make sure, after measuring, to put your Penta in the sun so it can dry out.
This turned out to be one of the more fun days I have had with a project recently. Bizarre yet satisfying!
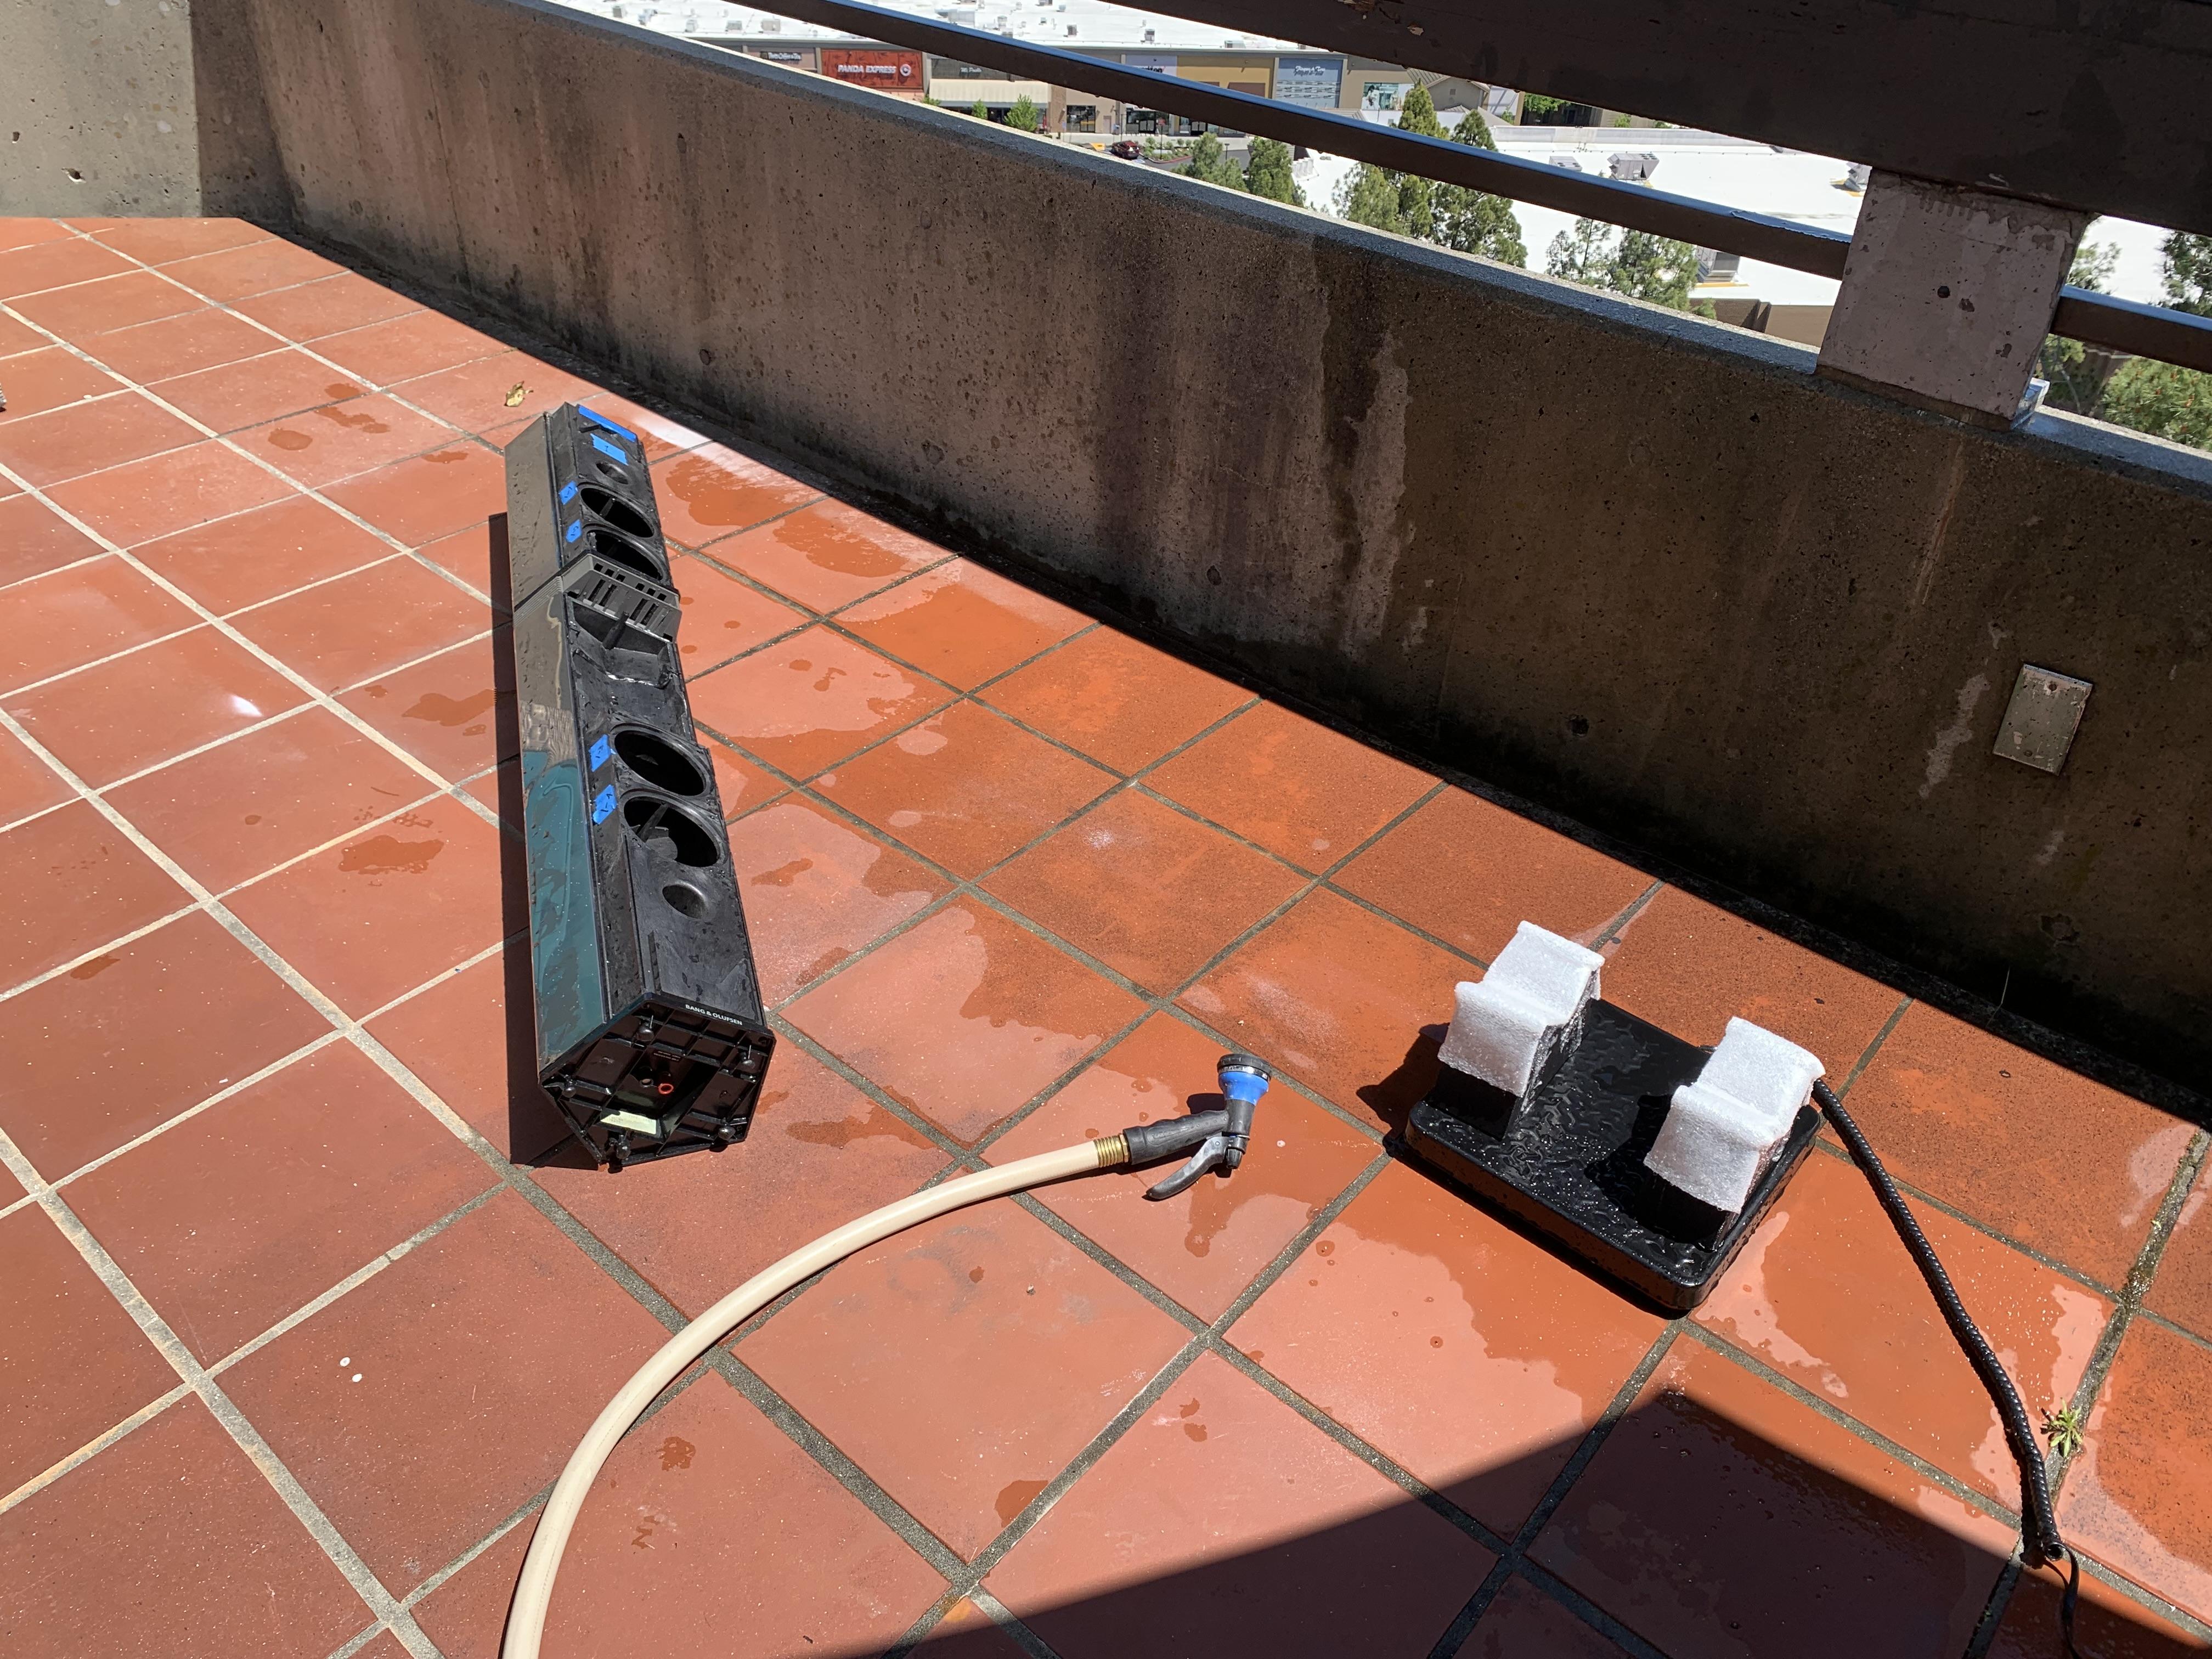
Results are 29.8 net kg of water which translates to 29.8L for the woofer volumes (including ports!).
Next up we will probably get out the beans for measuring the twee-mid volume.
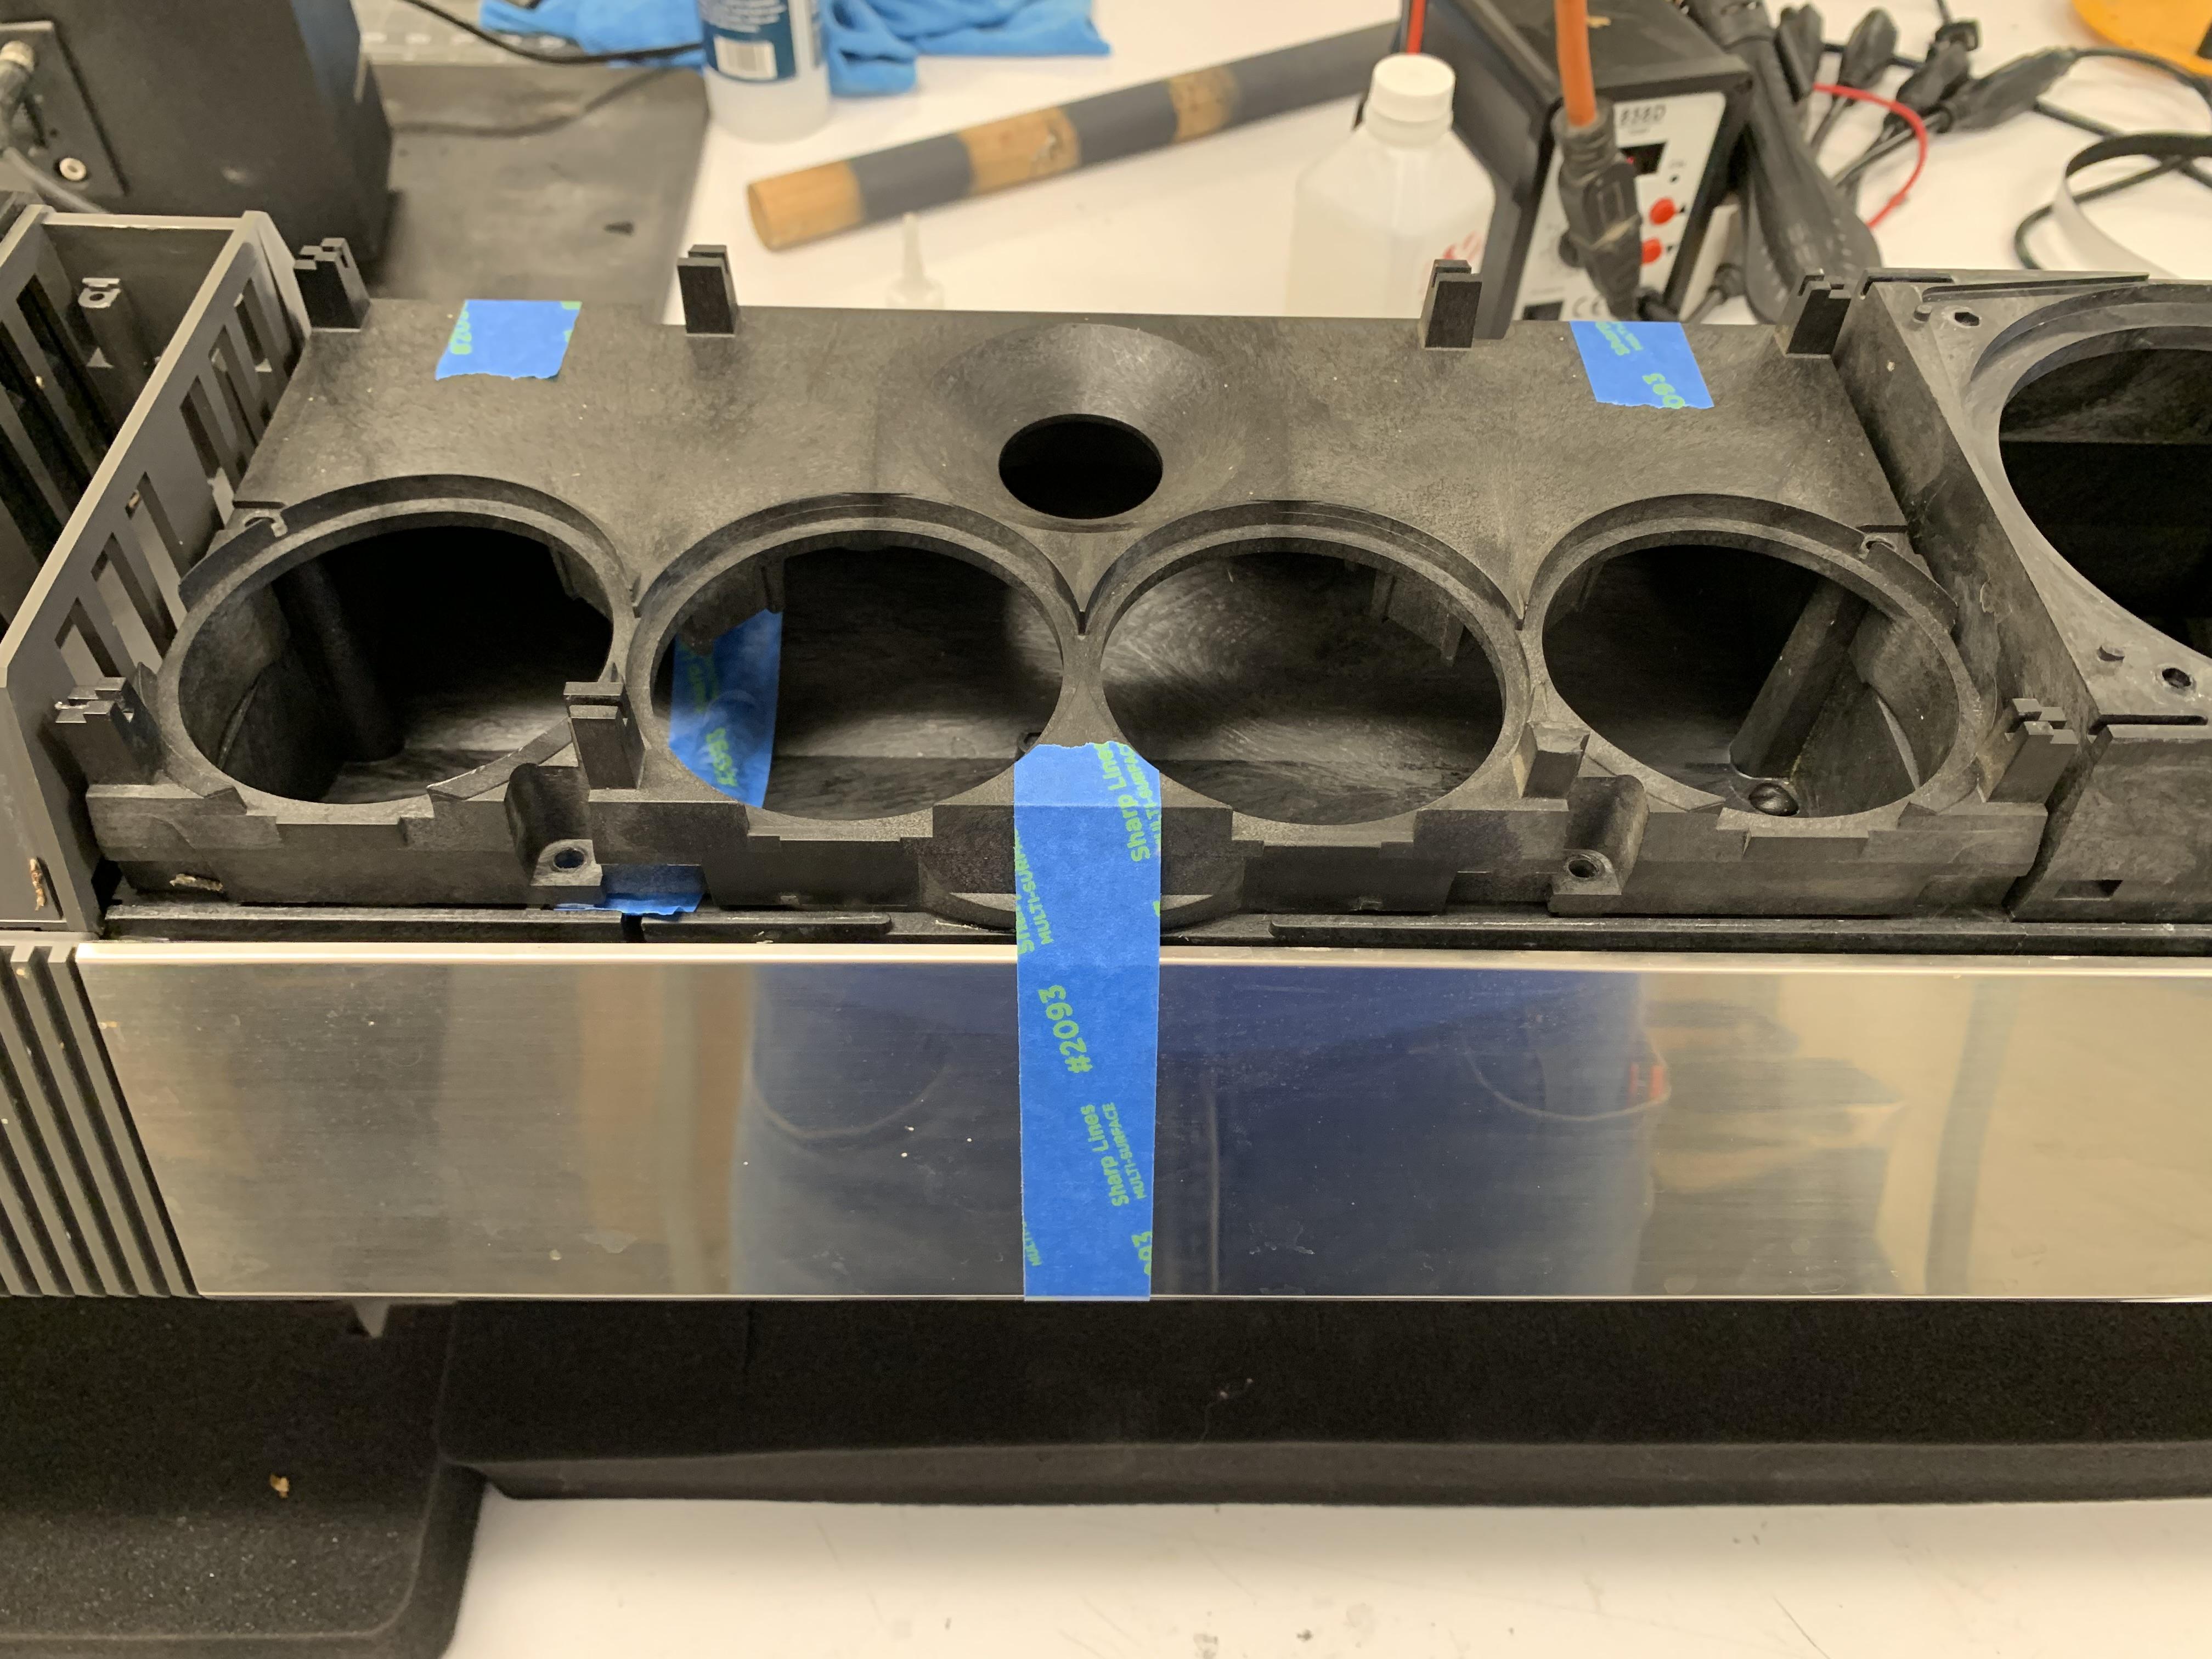
8 May 2024 at 23:11 #55404Ok guys – time for the midrange volume measurement. For this you join me inside on the workbench. No sunburns today!
Tweemid baffle is just taped in place to make sure none of our fancy volumetric beans get away.
 8 May 2024 at 23:13 #55405
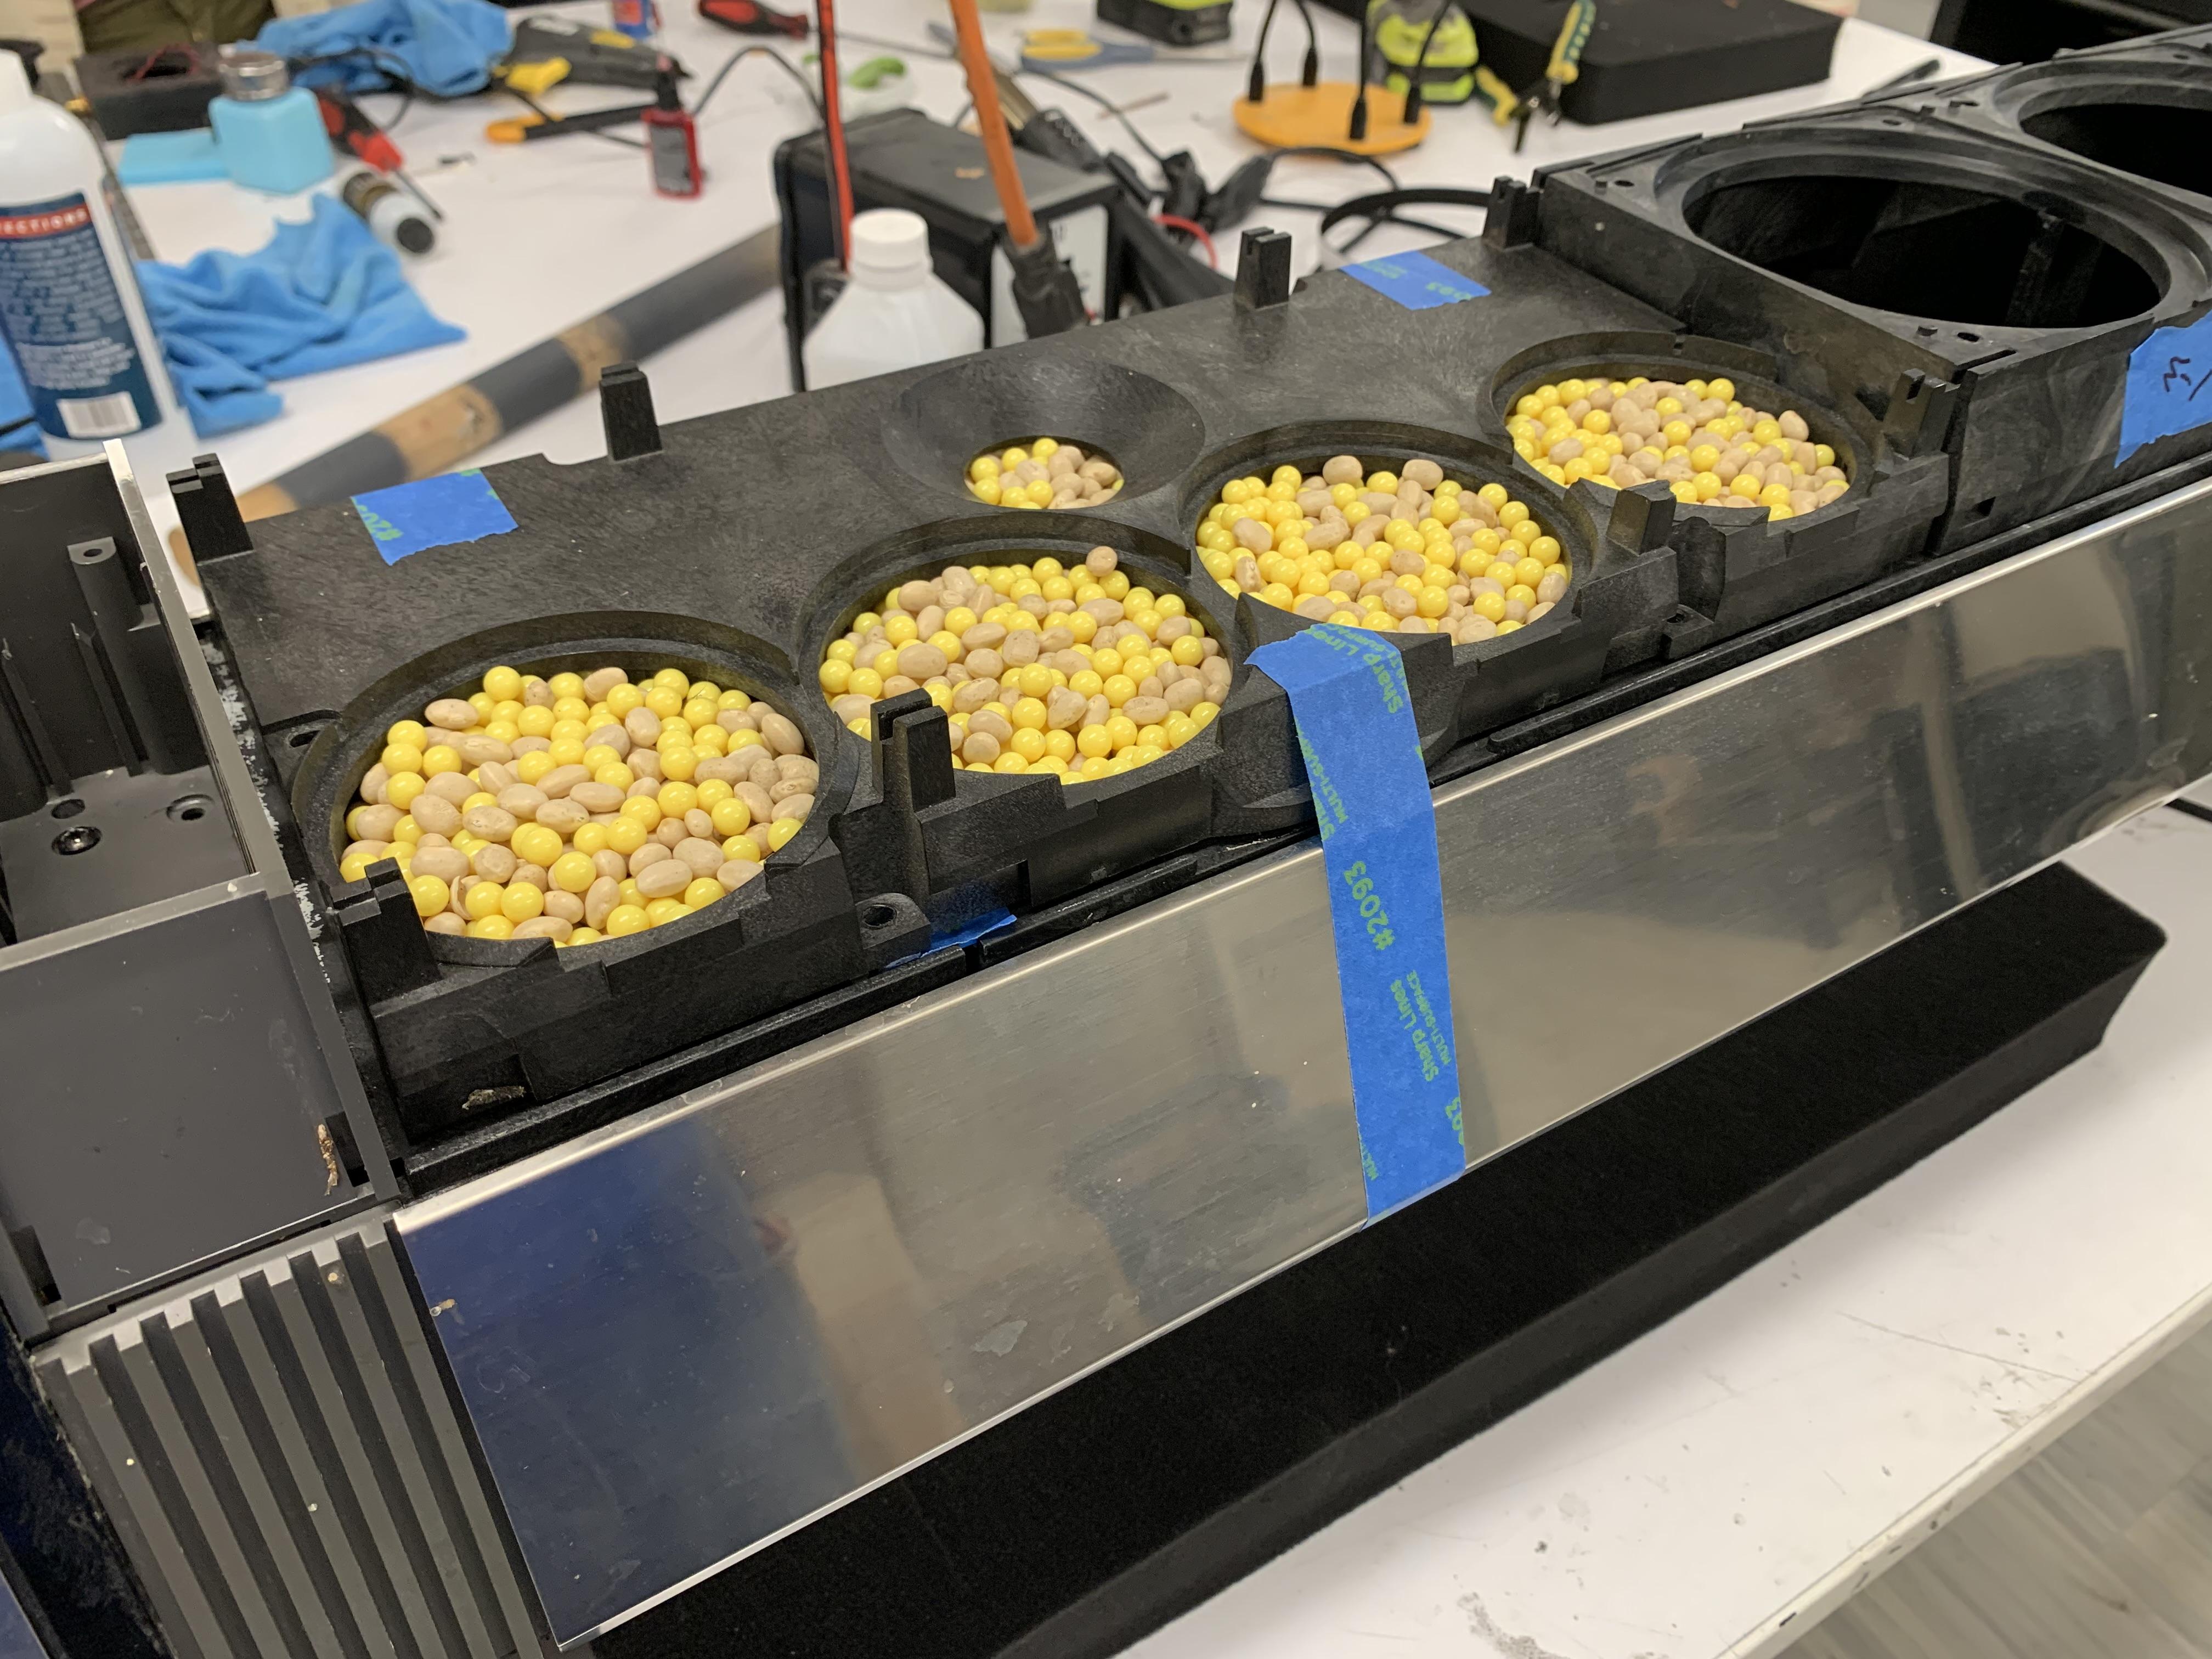
Again, a very strange day for me – filling the mid module with a proprietary bean-airsoft BB hybrid mixture so we can determine the acoustic volume.
 8 May 2024 at 23:17 #55406
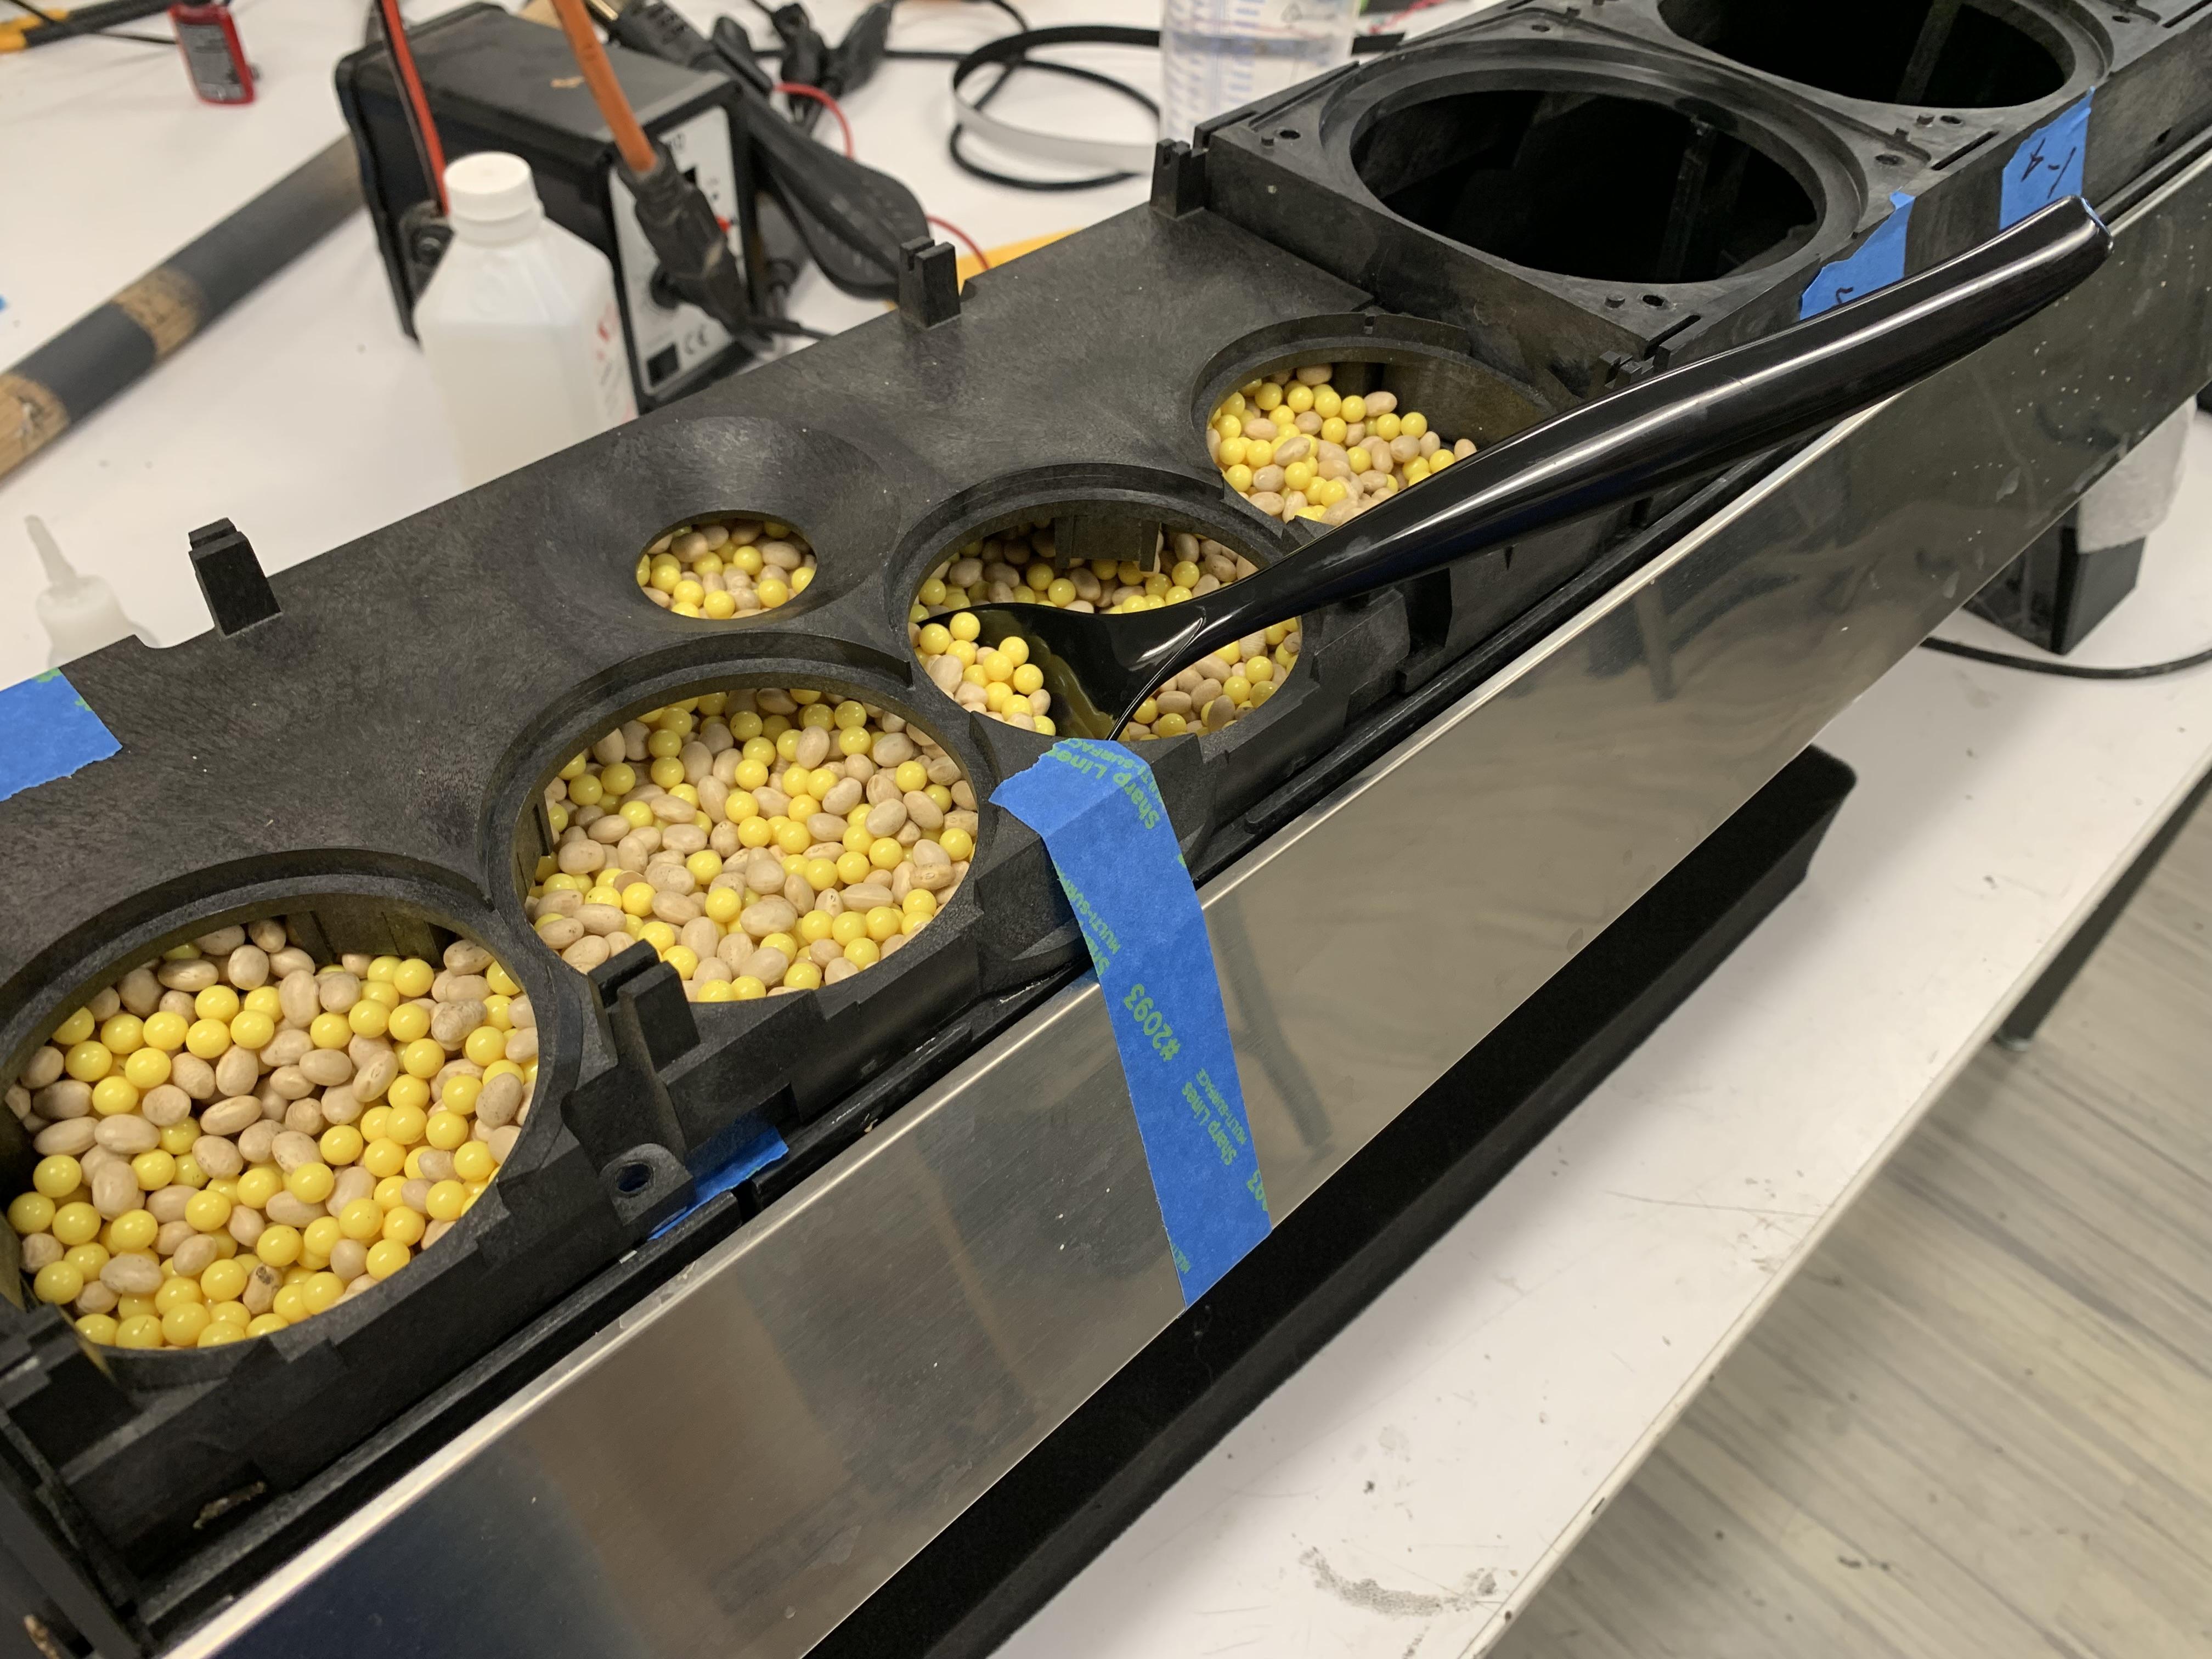
Now that the module is full, its time to carefully remove the beans and collect them for measurement. Luckily the office has retained some very handy buffet spoons from past client meetings. Seems like the perfect tool for the job honestly but I’ll admit, this is hard to do while cackling endlessly.
 8 May 2024 at 23:19 #55407
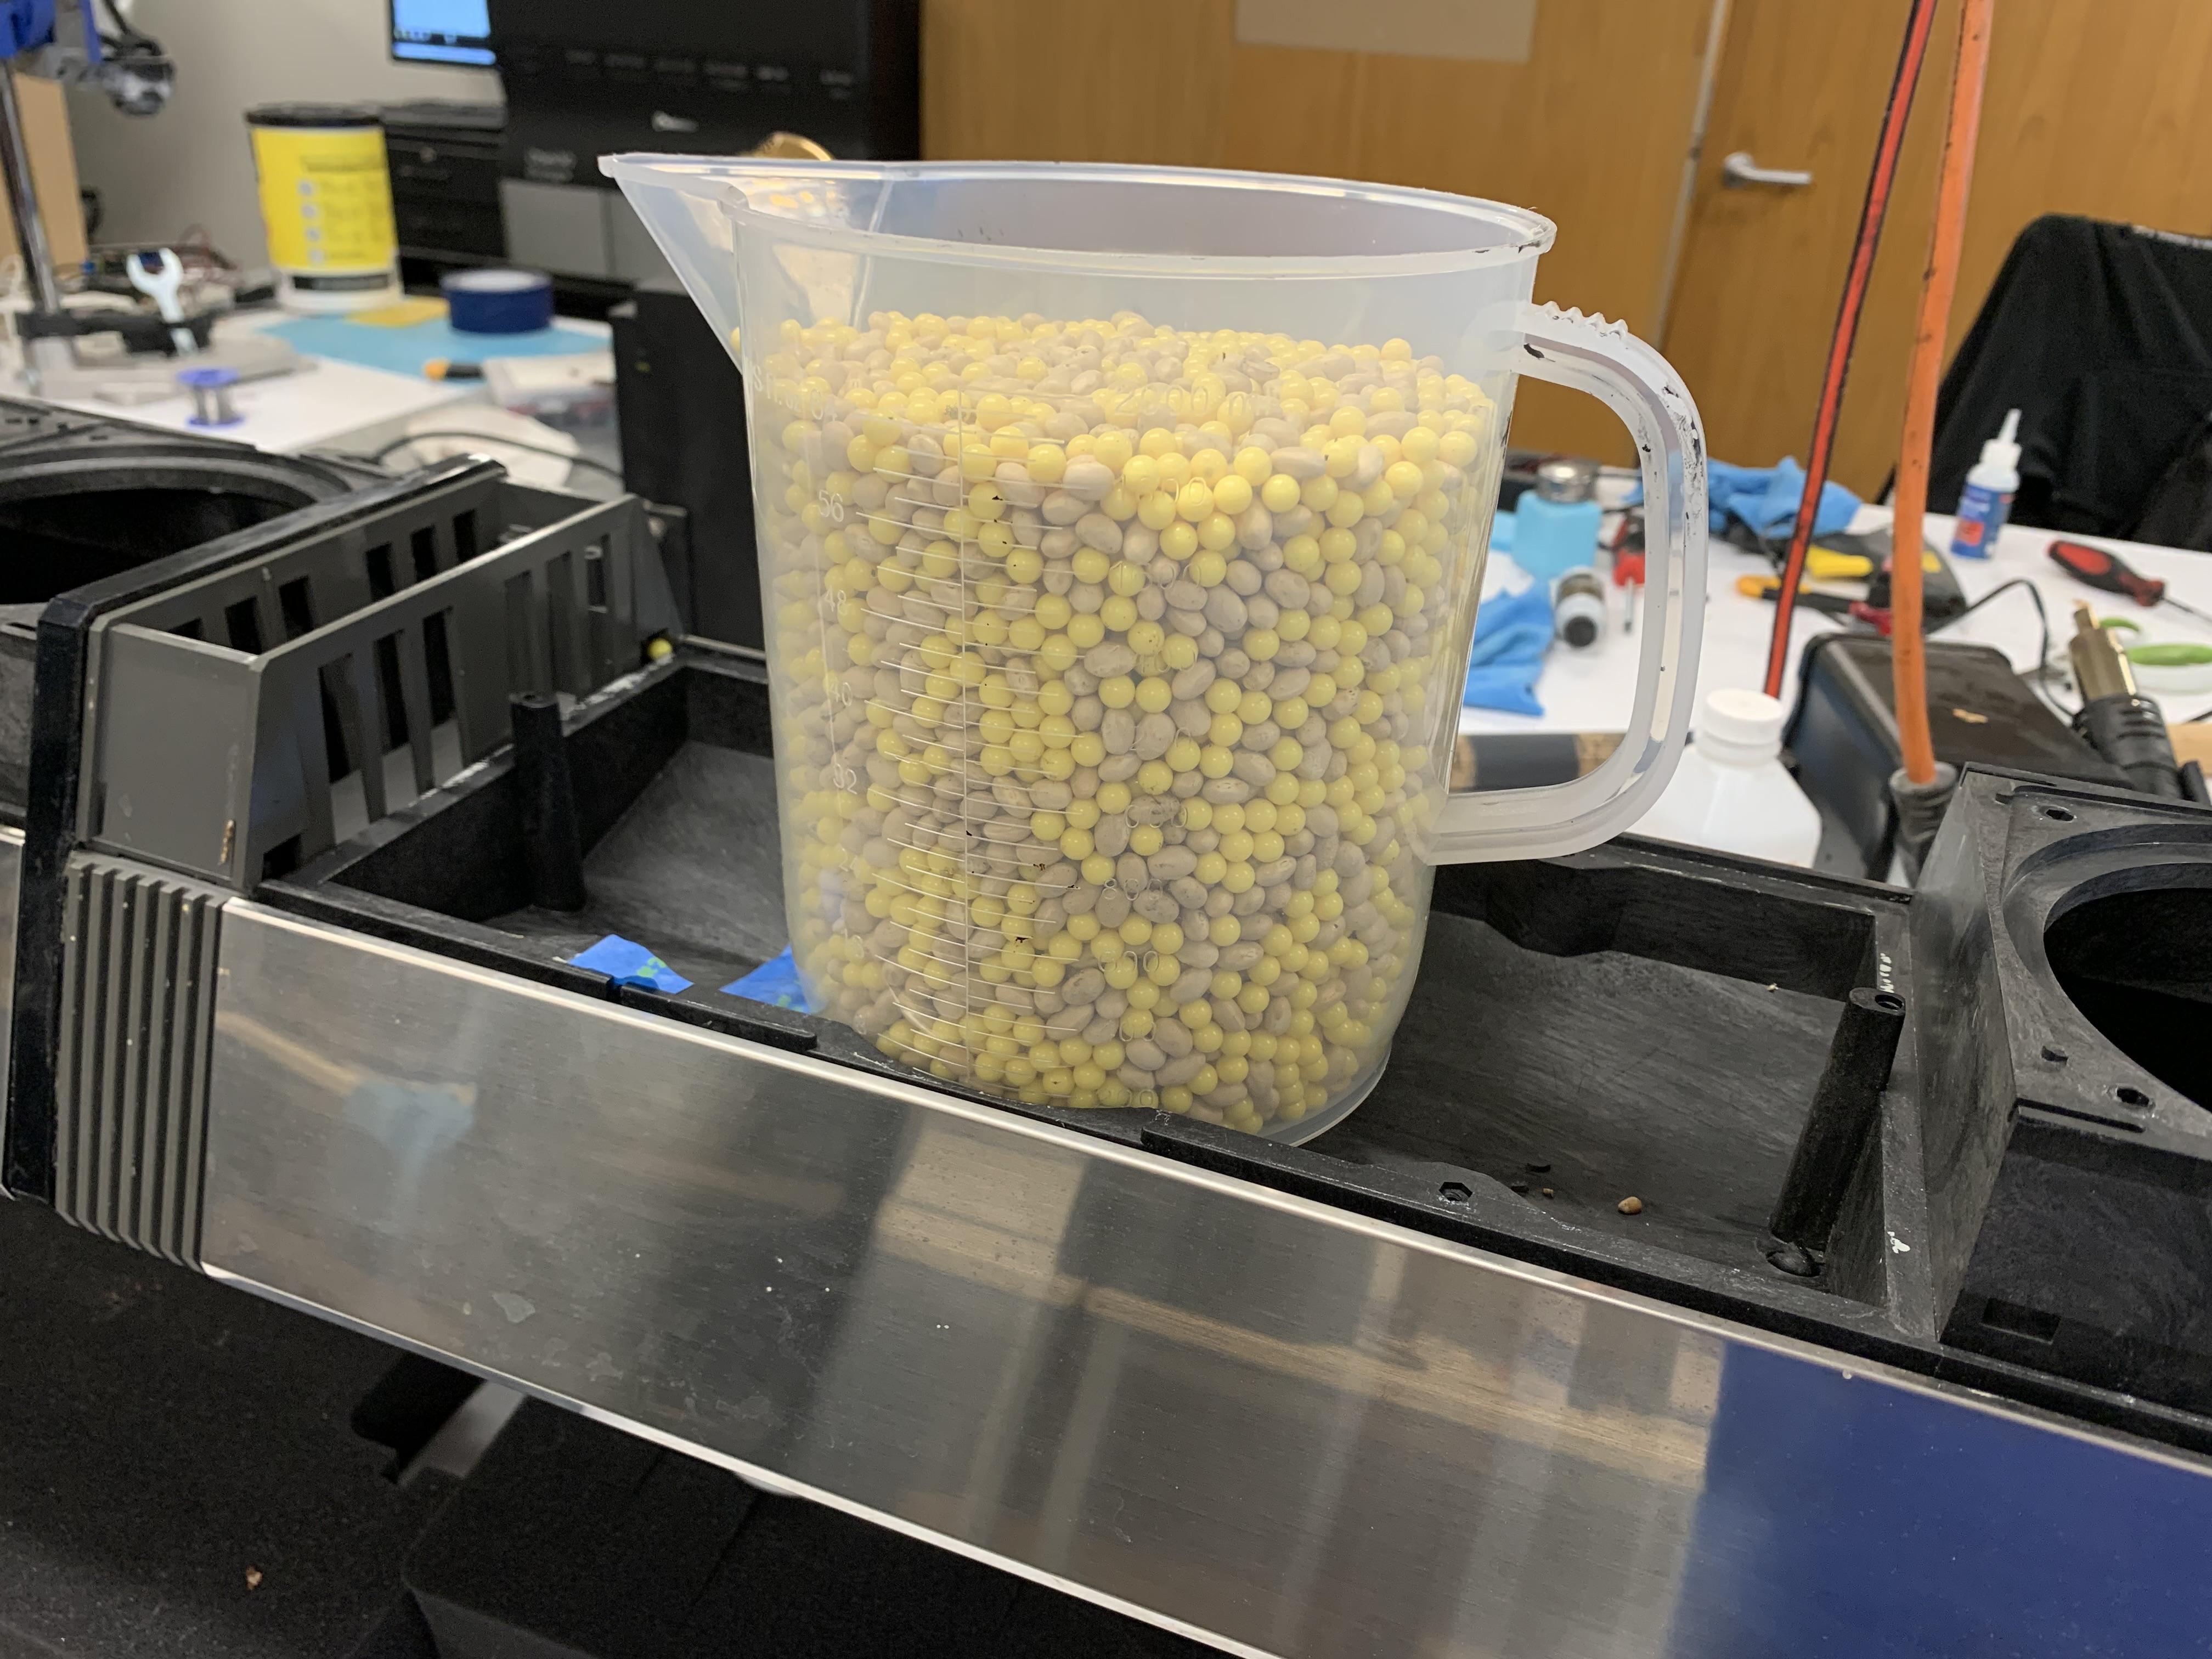
The result: approximately 1950ml of bb-bean volume matrix compound.
 8 May 2024 at 23:27 #55409
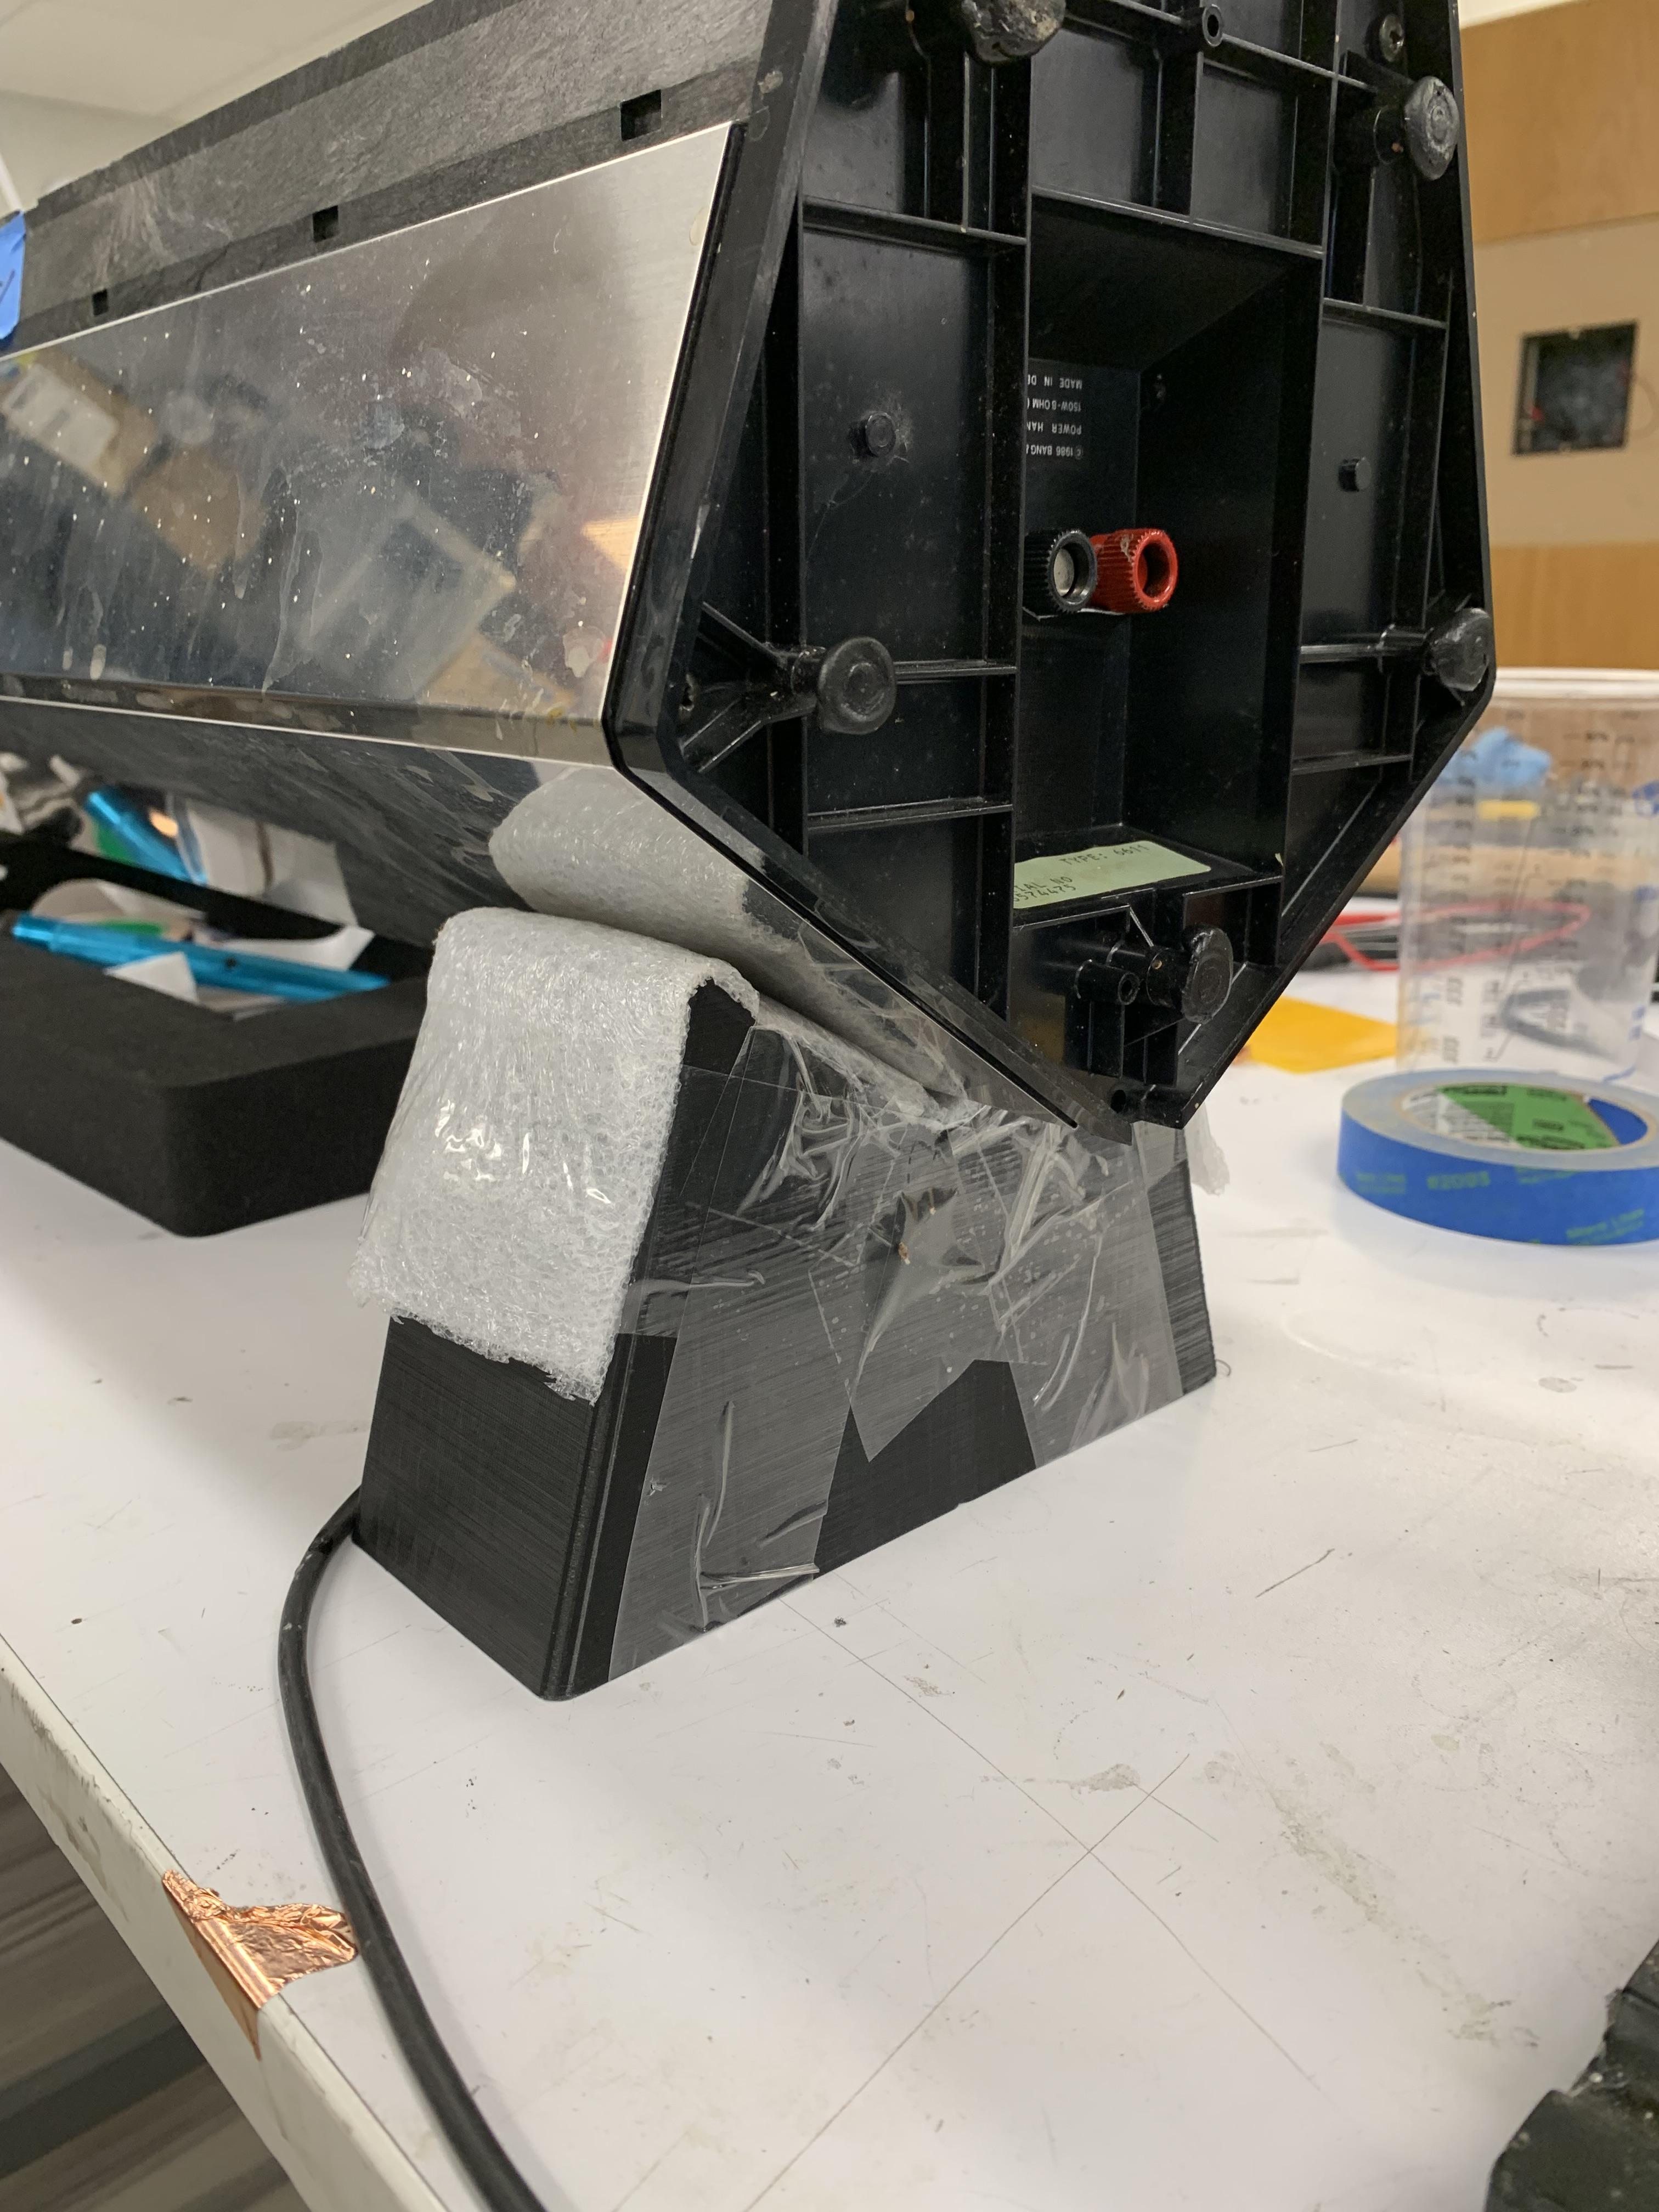
Special shoutout to a little 3D print I made up a couple years ago. I designed this transport block to carry Pentas safely on their backs during a house move. They’ve been super useful for this project and enabling these past two experiments by pointing the speaker directly upwards.
 13 May 2024 at 23:33 #55587
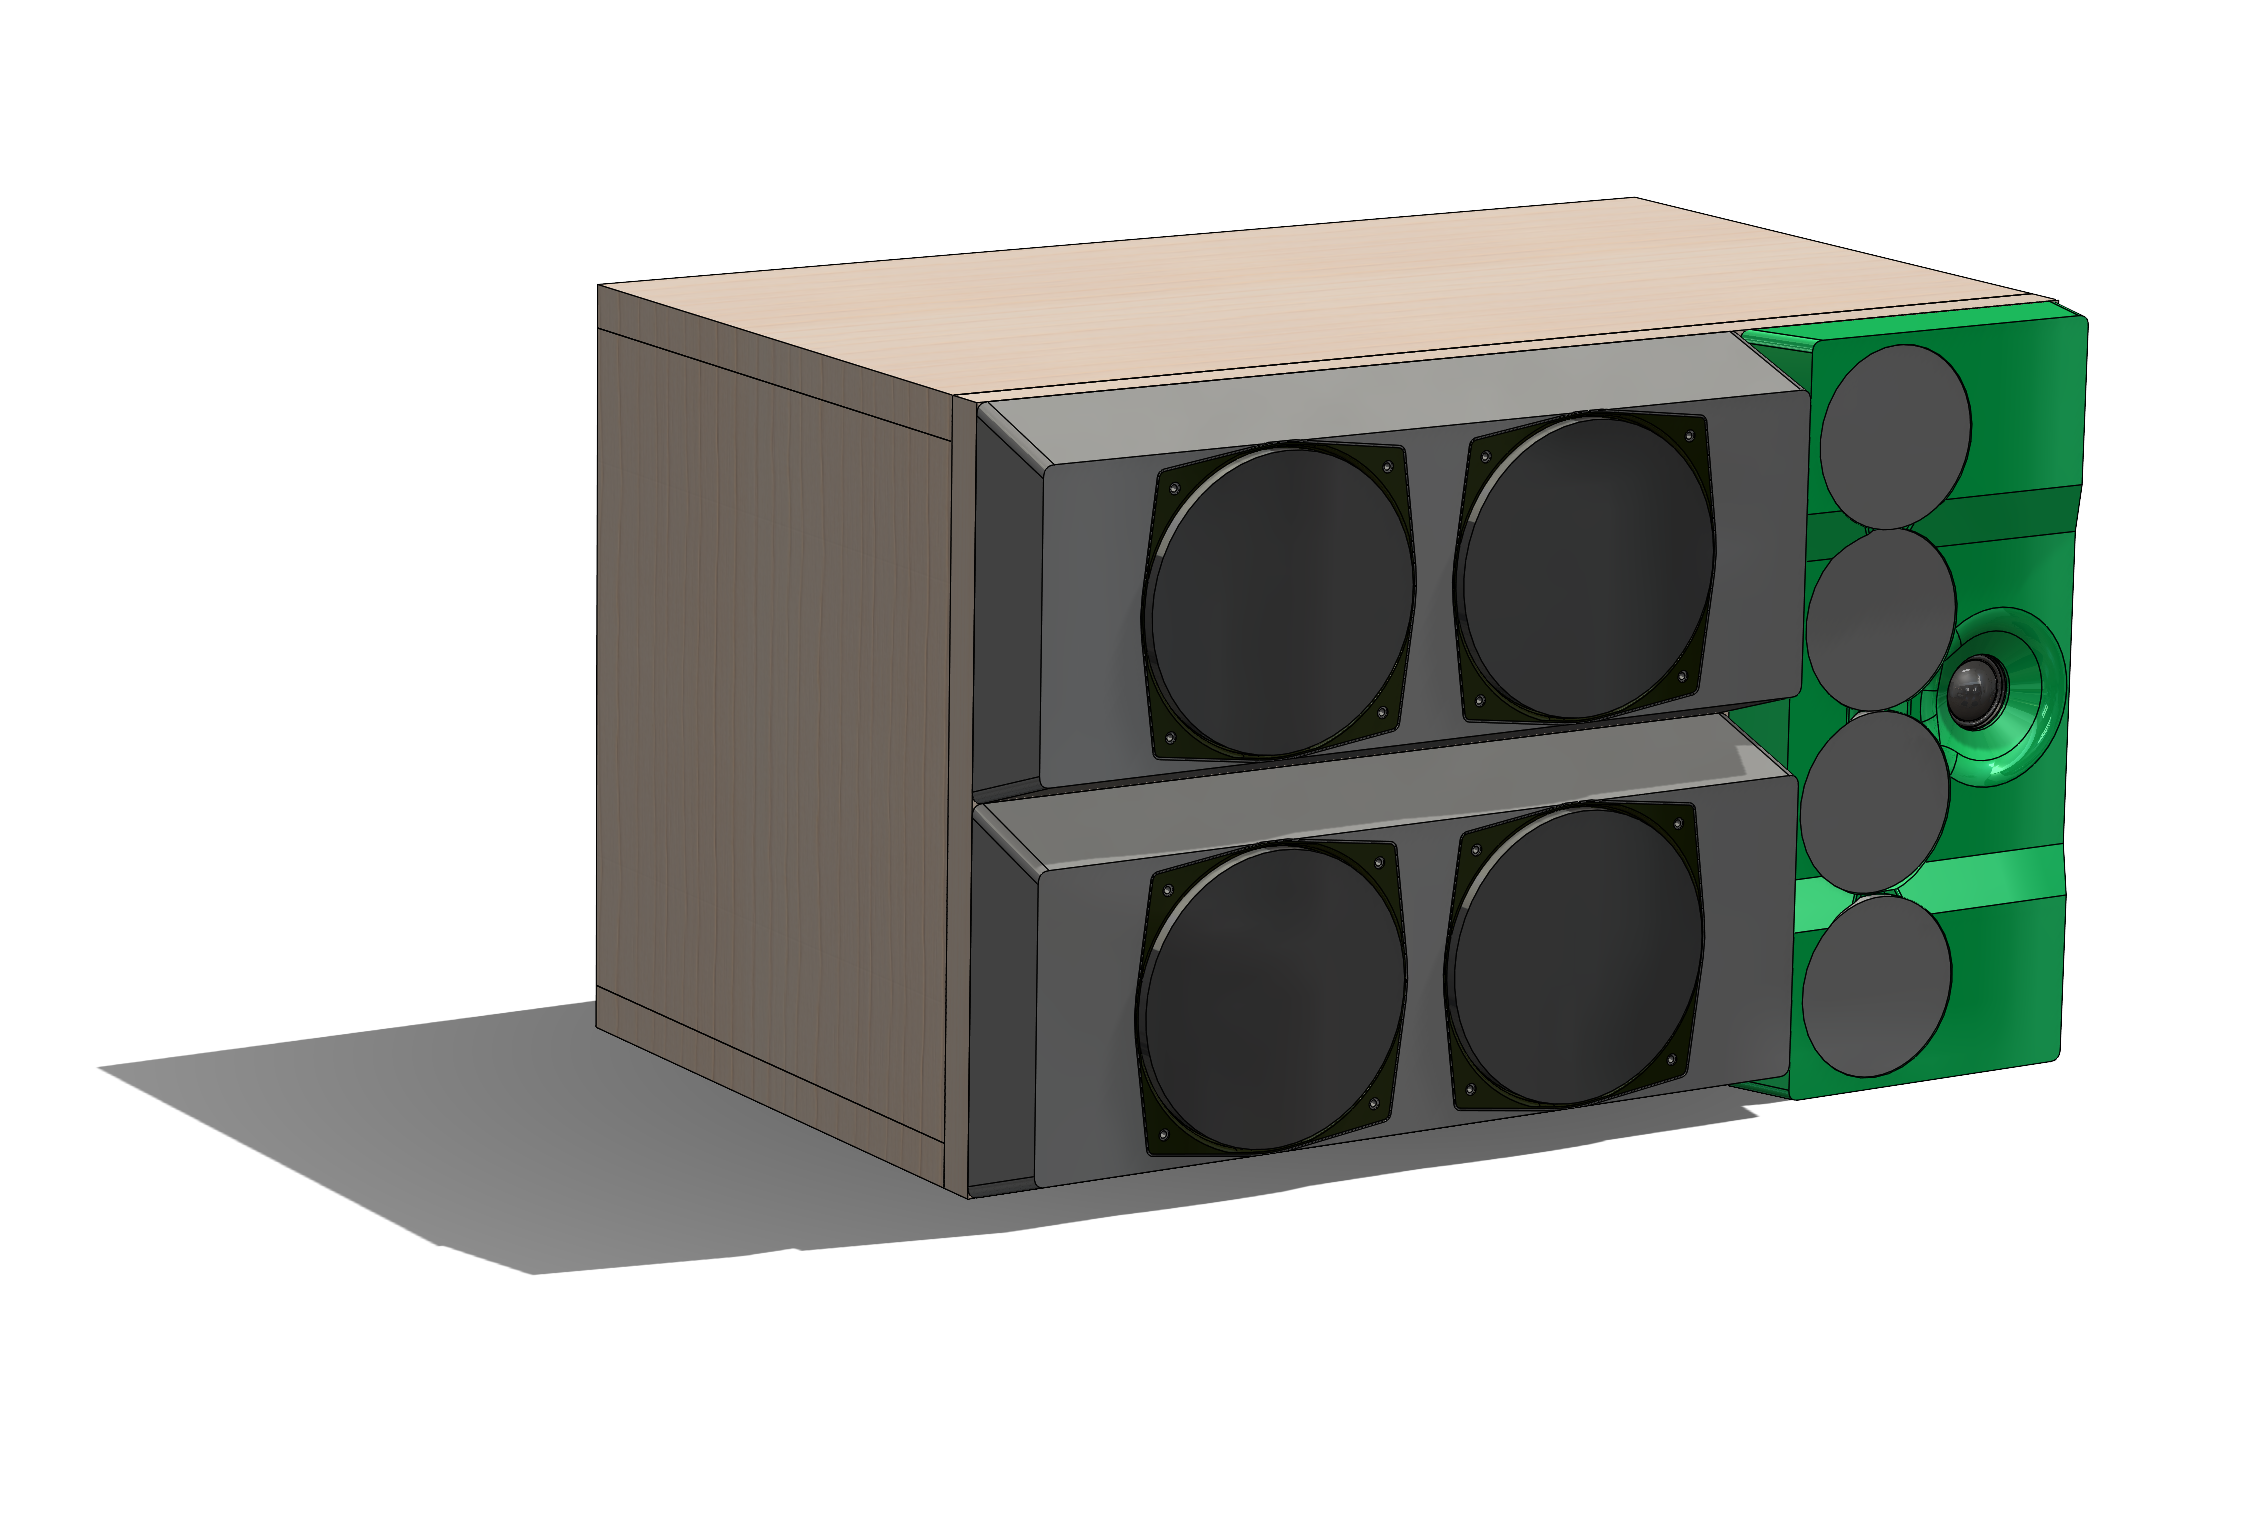
Design update for y’all. I have been wrestling with the design of the baffle but it has been challenging to get it right considering the ID translation from pentagonal pole to wooden cube. I think this is going to be the direction I take. Having multiple pieces allows me to step the baffle correctly (even if it is acoustically not a concern) and I want to retain the soul of the Penta look and feel with the tapered sides.
I don’t really want to build a fret for this but was originally planning to. Now the plan of record is to 3D print the baffle modules and attach them to the wooden baffle underneath. Currently the first test print of the tweemid baffle is underway. And yes, these elements will be printed in color (another reason for the baffle to not be hidden under a fret).
 14 May 2024 at 13:52 #55604
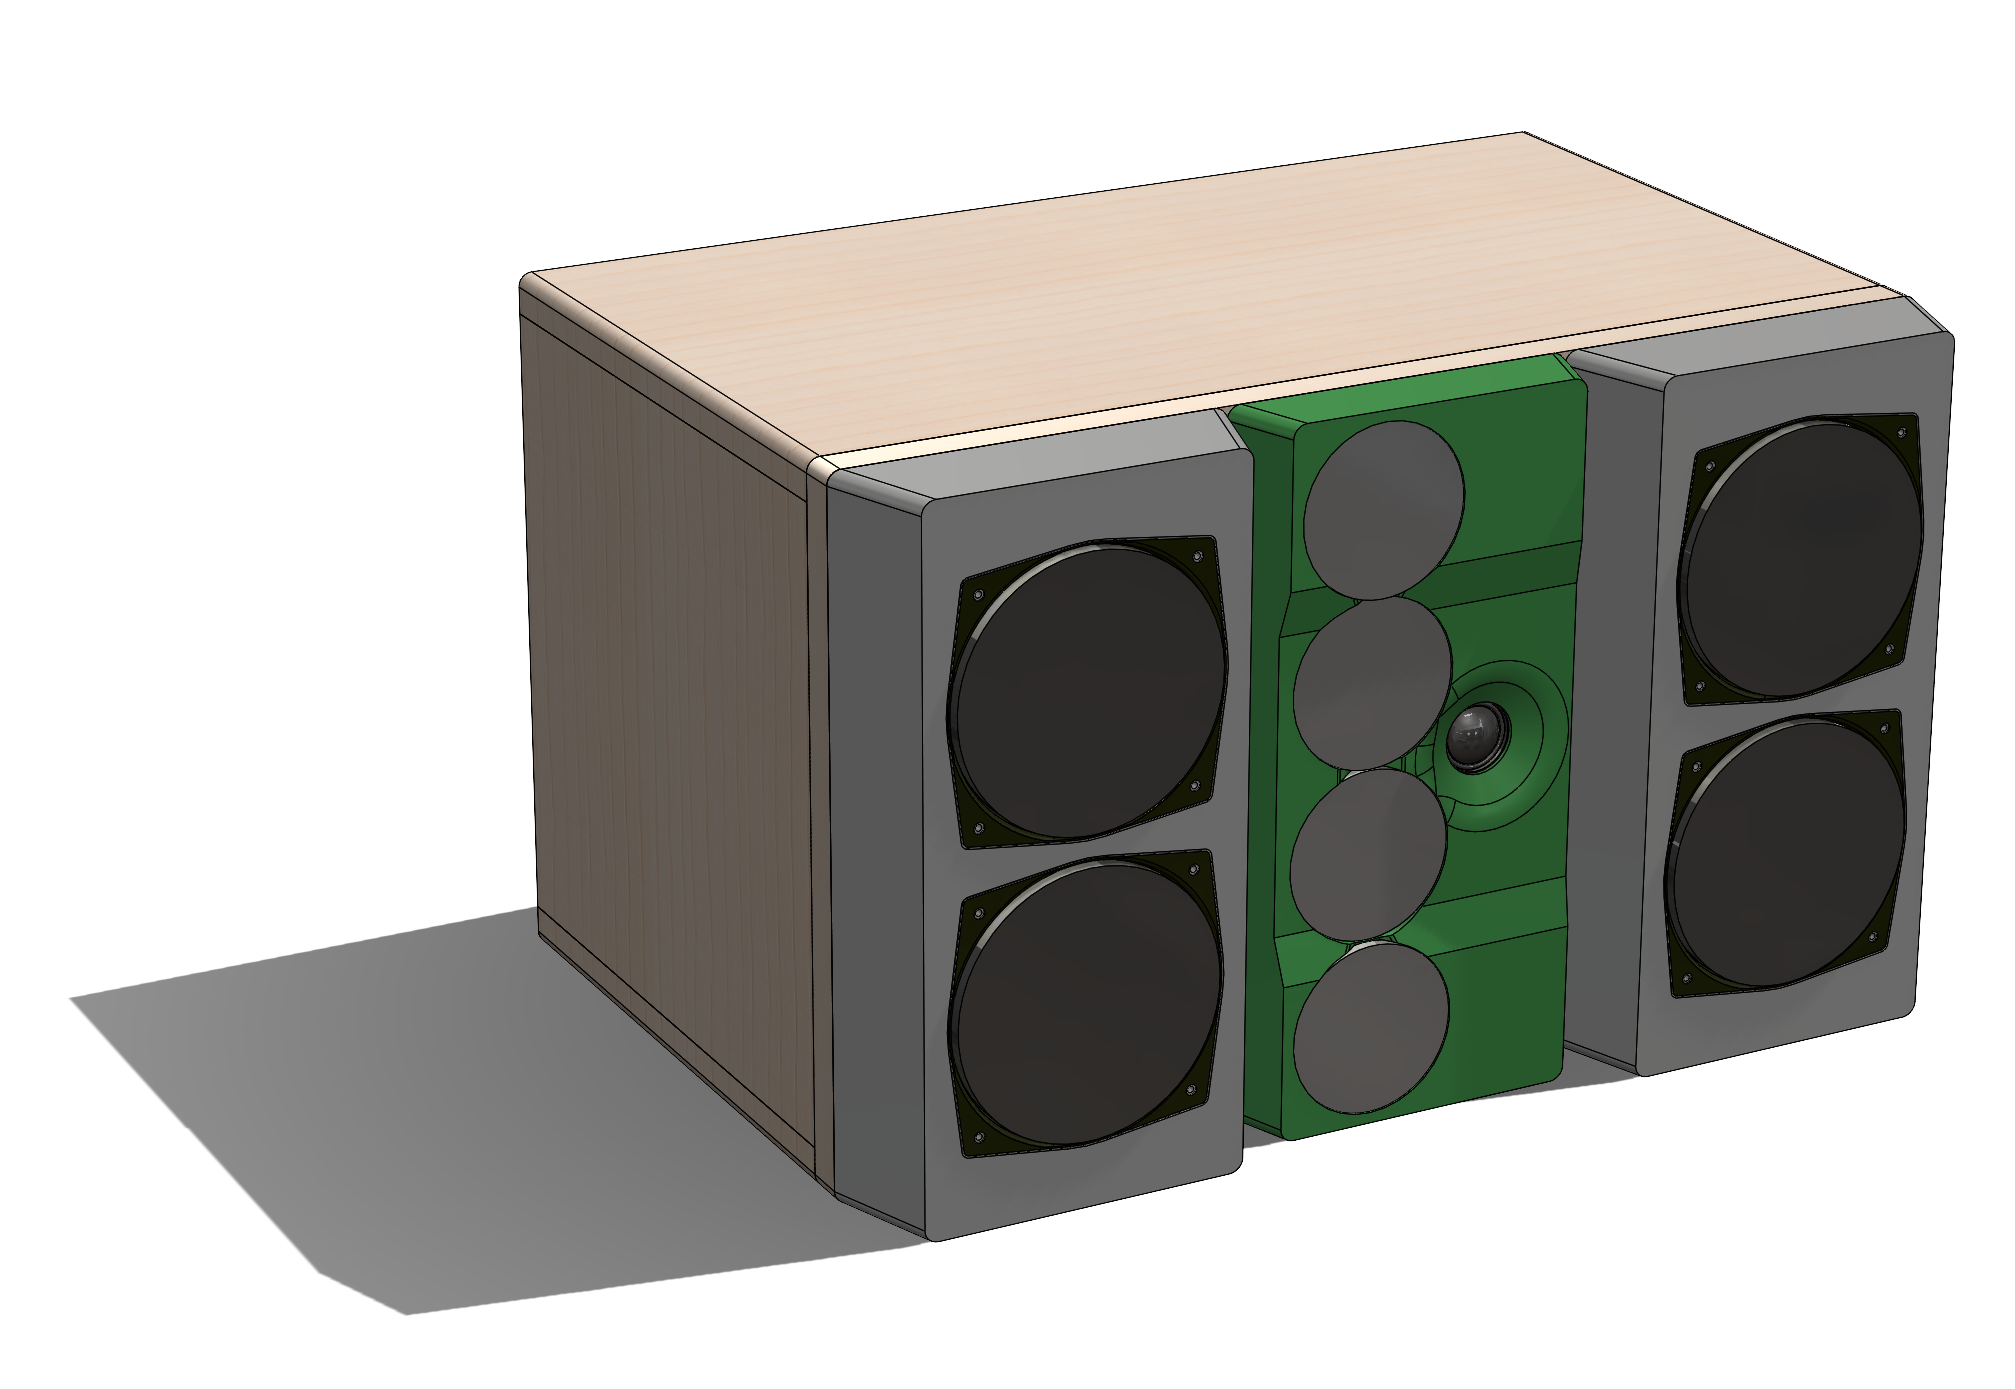
After socializing the design around the office a bit more with some even more acoustically-minded colleagues, it was time to give up on the asymmetric design. Too many concerns over diffraction and not enough of a concern (apparently) about comb filtering from the woofers, it seemed best to revert to a conventional-ish layout.
So re-thrashing yesterdays CAD leads us to the final architecture. Sadly the new layout doesn’t look so good in the same colors. I think all three baffles may have to go to one color.
 14 May 2024 at 16:45 #55611
Evan, I admire your dedication! And am glad you go symmetric :-). Keep us posted, Johan
15 May 2024 at 01:41 #55644Cheers, Johan! Trying to push hard to the finish and get this speaker making noise.
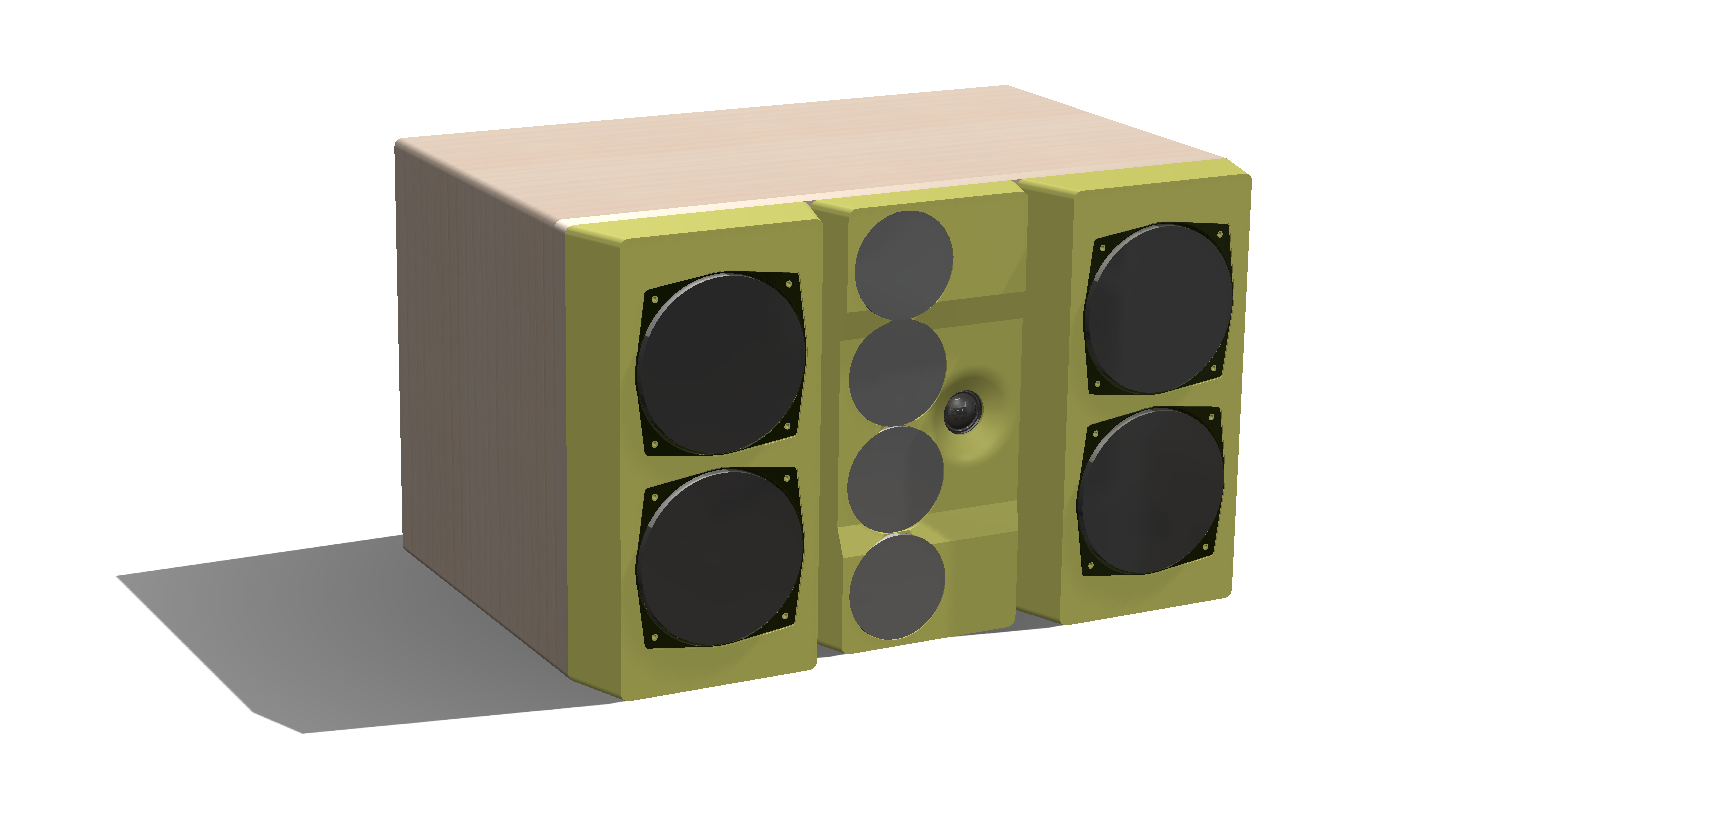
Current artistic direction is to go single color for all three baffle pieces. The decor of the room where this speaker will ultimately live is predominantly yellow so that is plan of record right now. I think it looks fantastic so far. The only stylistic change I might add is a trim ring to convert the woofer frames to a round profile visually.
 15 May 2024 at 13:51 #55653
Have you made any progress on the midrange rebuild? Did you decide to remove the dustcaps as part of the rebuild?
I think the symmetric design is more aesthetically pleasing than the non-symmetric. Will the final design be ported?
You mentioned paying homage to the original Penta style. Have you considered angling the woofer modules outward? This would have the visual effect of slimming down the side profile of the cabinet. I have no idea of what the sonic impact would be. However, since the overall shape would now be hexagonal, you could call the speaker a CentaHexaPenta ;-).
Glitch
15 May 2024 at 19:06 #55657No progress on the refoam yet, that is still ahead of me. I want to get back to the Klippeling as I have some other things I want to measure as well.
Tentatively planning to leave the speaker sealed. My personal listening preference seems to always point to sealed units. I think I have the volume in this situation to go for a sealed alignment but that will be confirmed with some simulations soon. There is plenty of space on the woofer baffles to add ports, though.
I did have another design in mind that would be less boxy in shape, yes. The idea there was still sort of a 3 pillars style design but has not made it off the sketch pad yet. It would be a fully printed / plastic design that will just need way more time for me to make real. I’ll get some sketches up here eventually though. The acoustic arrangement would be very similar though.
For this version, I’ve attempted to capture as much Penta essence in the baffle design as possible by mimicking the angles of the Penta body.
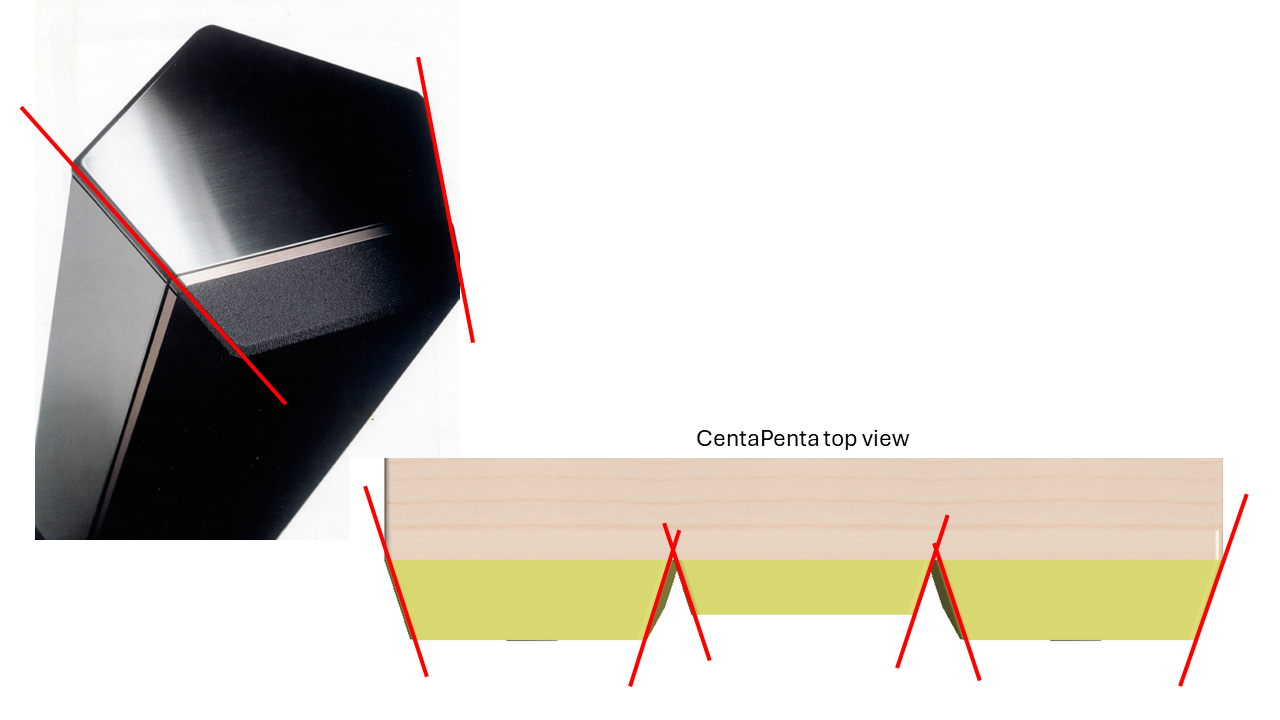
Almost like imagining the Penta fret as a “volume” on its own \/
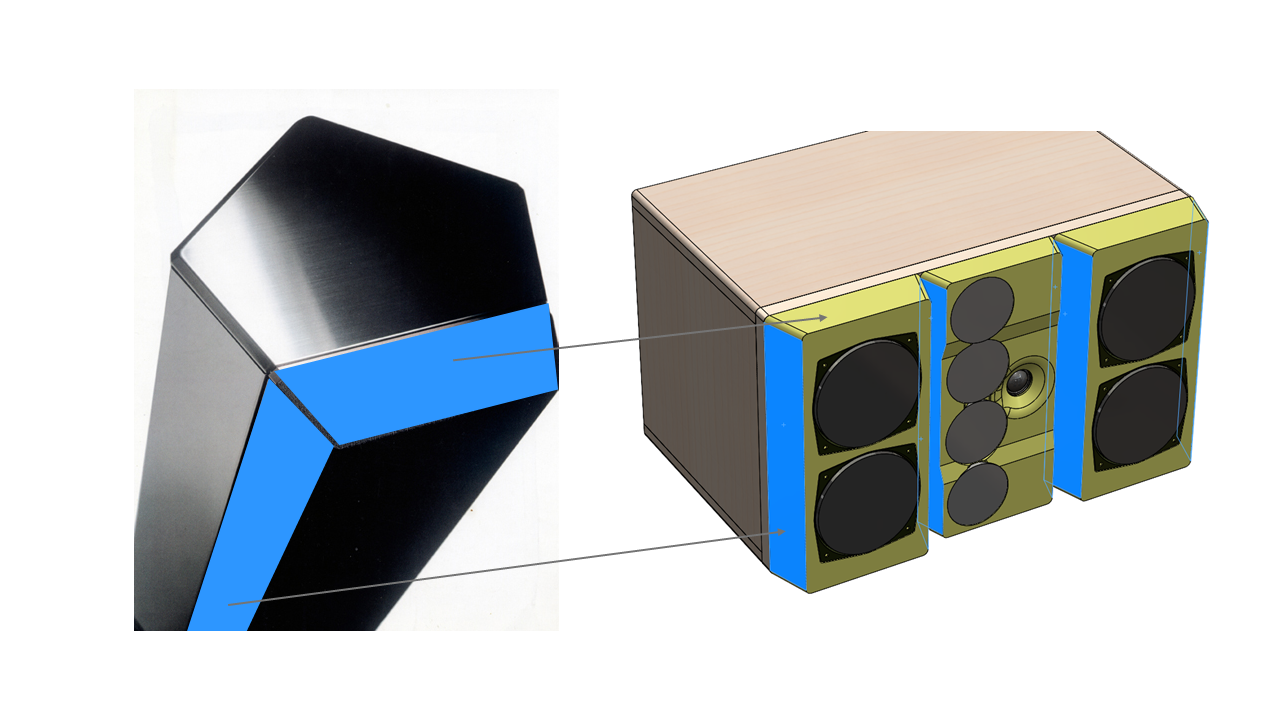
However I will be departing from the Penta design massively in the CMF domain. WAF has driven the project to a more fun result. I want to admit I really do like the wood+yellow baffles. Trying to find an appropriately soft-yellow 3Dp filament now. Most yellows are incredibly intense or even dark (such as most PETG filaments).
15 May 2024 at 19:10 #55658First tweemid baffle test print is complete. Only took 40 hours of time on the machine! I’ll be going up a size or two on the nozzle to speed this up on the next/final rounds. Also ran out of filament on the spool so there is a nasty color change at the top. This also led to a not-so-great structural result as there is a big split in the part at the layer where the print resumed. No problem though as this won’t happen on the final prints.
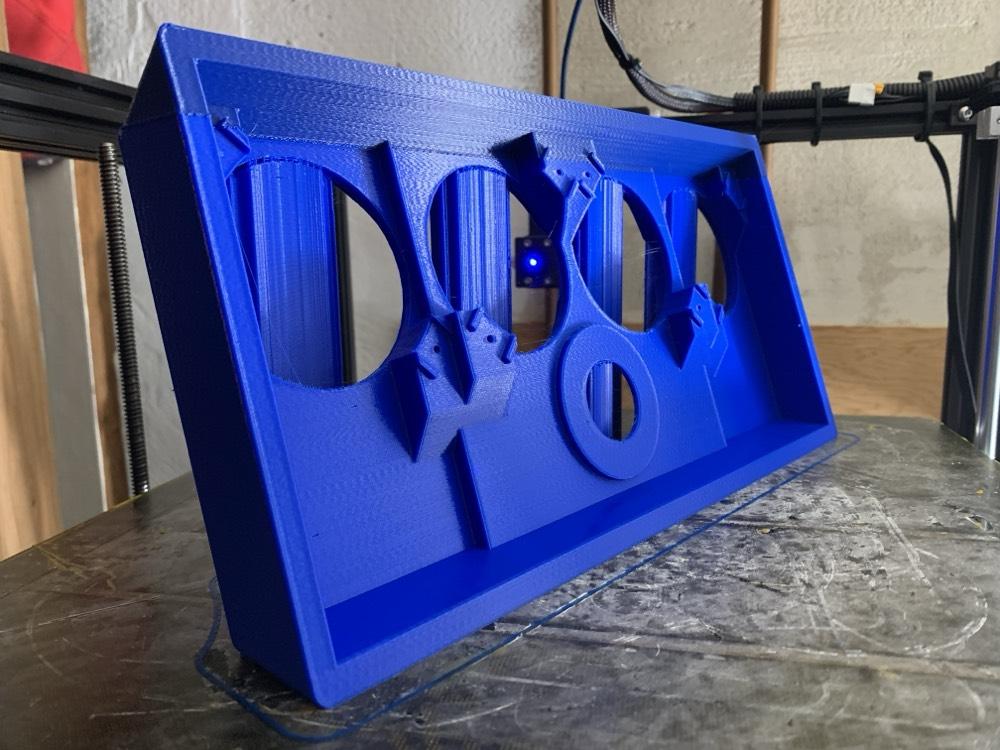
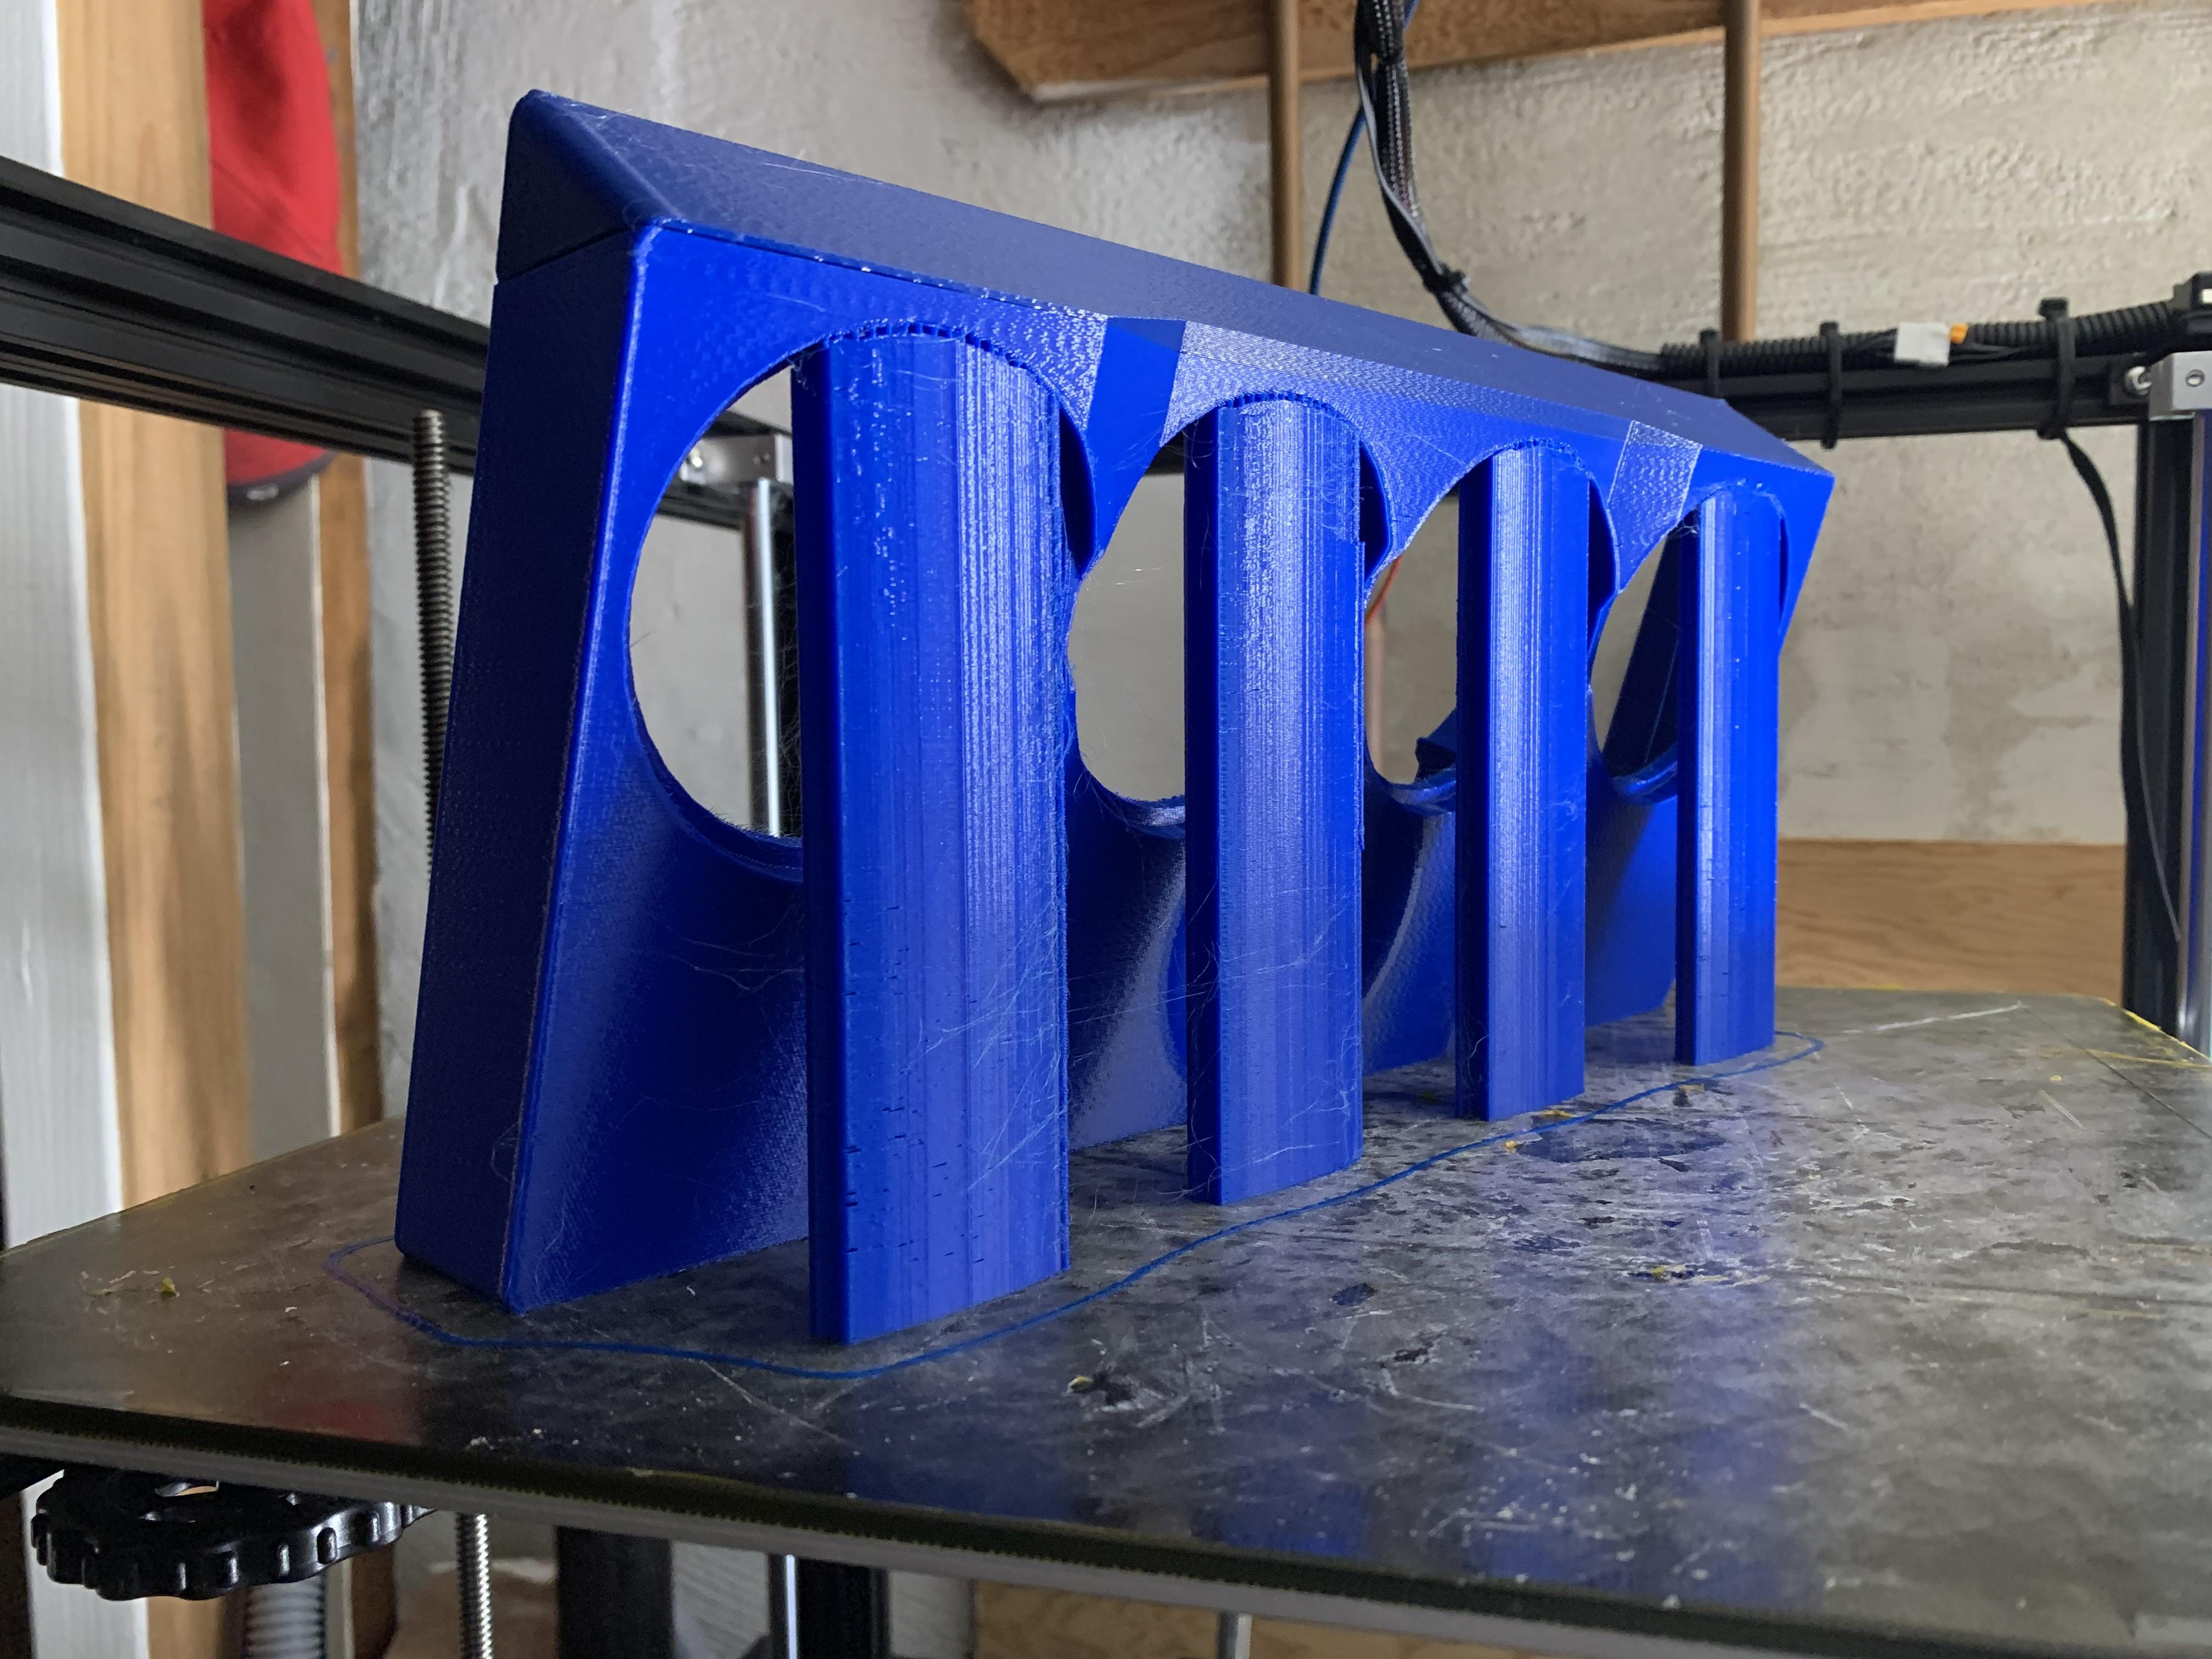
There is a lot left to model and I’m trying to keep the momentum up. Need to add the rest of the fastener features and decide on how I’m going to attach it to the box.
18 May 2024 at 17:03 #55748On Evan saidTrying to find an appropriately soft-yellow 3Dp filament now. Most yellows are incredibly intense or even dark (such as most PETG filaments).
I’ve had a few projects where the appearance of the 3D printed part was important. For these projects, I primed, filled, and sanded the parts to hide the “print lines”. I use materials originally intended for automotive repair. The options for the final coat of paint are nearly unlimited. With this strategy you wouldn’t need to worry about finding the right color filament.
You may want to consider dyeing the mid-ranges if they will be exposed in the final design. The light grey color of the stock drivers gives me the impression of sun fade. Dye (as opposed to paint) adds negligible mass to the driver. I’ve used either alcohol or acetone to thin the dye and an air brush to apply multiple thin coats.
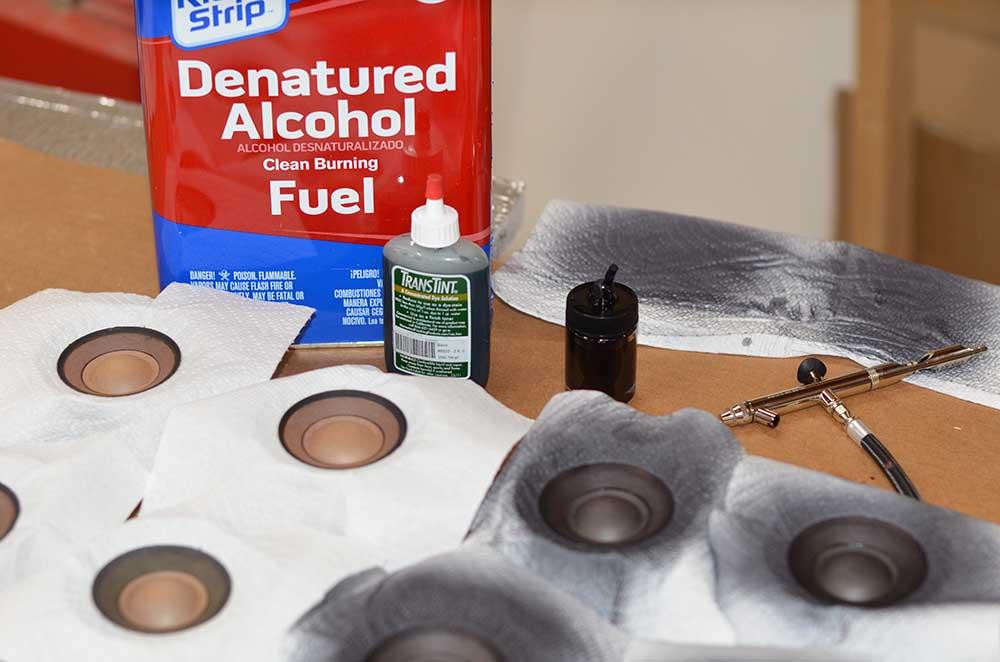
I’ve only used black dye, but I don’t see any reason that other dark colors wouldn’t work. Dyeing may also help match the color of the cone to that of the replacement dust cap.
Glitch
21 May 2024 at 18:05 #55815I seem to be in the minority when it comes to 3D printed part appearance – I love printing and love seeing the parts. I think final execution of printing can go two ways; either you leave the part as-is and print to the best of your machines ability and in the color you want or as you say, Glitch, go “ten tenths” and completely finish the part with filler and paint etc.
This project will take the as-printed approach. I really like printed in color type parts as they don’t show wear very much when scratched etc.
Dying the speaker cones and dust caps is a great idea! The old dust caps are a not-so-great pink-ish brown color. Maybe later on I will do this.
I just started the first woofer module test print. I changed the nozzle to 1mm on my machine so some of the beauty has been compromised. Maybe I can do some final tweaks and re-print the final parts.
- AuthorPosts
- You must be logged in to reply to this topic.
